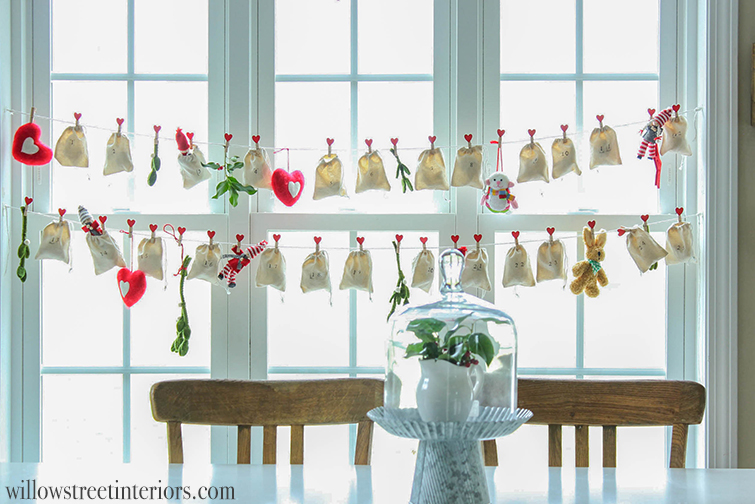
Cozy Advent Calendar Idea
Oh my goodness, how is it already the end of November? I feel like life’s been moving in fast forward lately, but that’s ok because I am so excited that the holidays are here! #bringonthetwinklelights
Did you see my kitchen all dressed up for Christmas yesterday? You can see it here if you missed it.
I’m mostly done decorating for Christmas now, aside from our front porches, and the house is feeling super cozy. Mira’s been teething for weeks and all of the girls are getting over an awful cold, so there’s been lots of tears and whining and snuggling for the last few weeks. So decorating for Christmas and watching cheesy Hallmark flicks after bedtime has essentially been my mommy therapy.
Who else is into the Christmas movies right now? I must confess, I’m loving the heck out of them!
So, I went in a totally different direction than last year in terms of color scheme/Christmas theme and I can’t wait to share our living room with you guys! More on that in the next couple of days though.
I loved last years’ decor, but I wanted to pull out some of my more neutral ornaments and go for an even cozier look this year. If you missed last year’s tour, you can see it here.
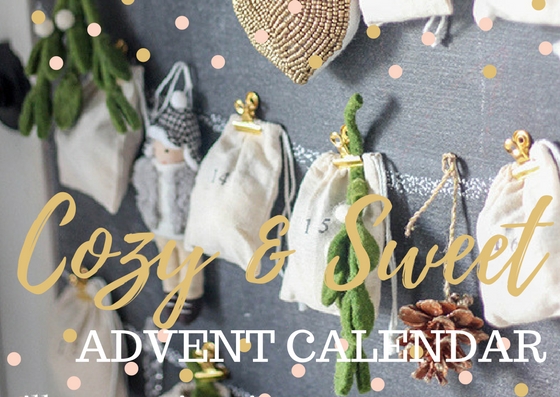
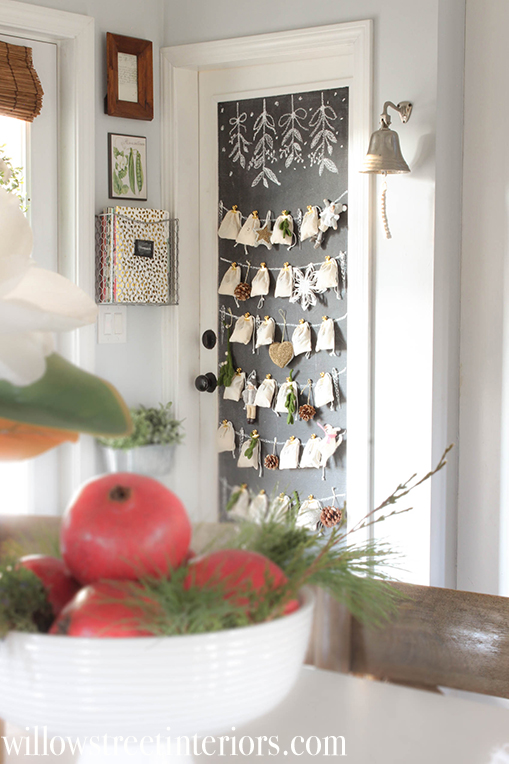
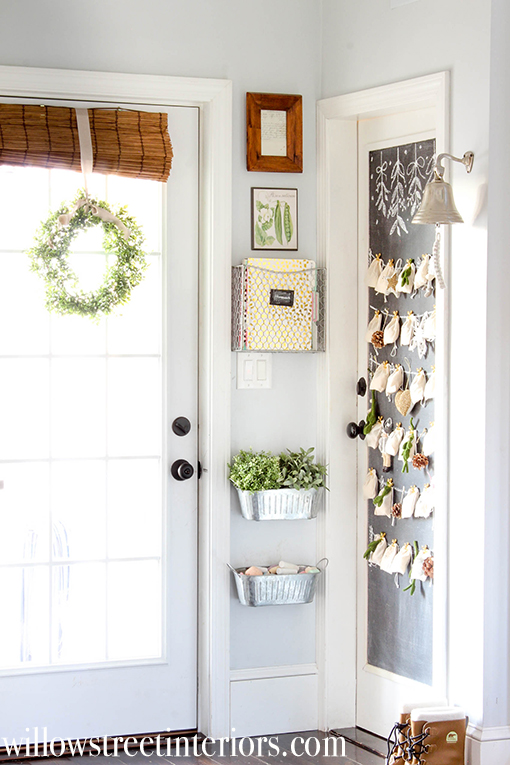
Today I wanted to show you how I changed up the girls’ advent calendar that I made a few years ago, to fit more with this year’s Christmas theme.
If you’re new here and aren’t sure what I’m talking about, you can find my other DIY Advent calendar tutorial here. It’s super simple, just like this one, and if you have a more traditional, red and green theme going on, you’ll definitely want to check that one out.
Here’s what you’re going to need:
• kitchen twine, string, or yarn (if you don’t have a chalkboard to sketch a string onto, you can use an actual string like I did in my original calendar)
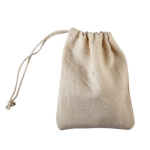
• muslin favor bags like these from Michael’s
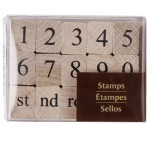
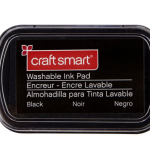
• a number stamp set like this one
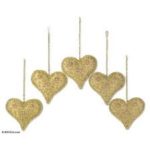
• a few, cute felted ornaments and a few gold ornaments
• small pinecones
• 3M sticky tabs (I used the ones that came with a small, 3M wall hook set)
My Process:
Stamp number 1 – 24 on your muslin bags using your stamp set.
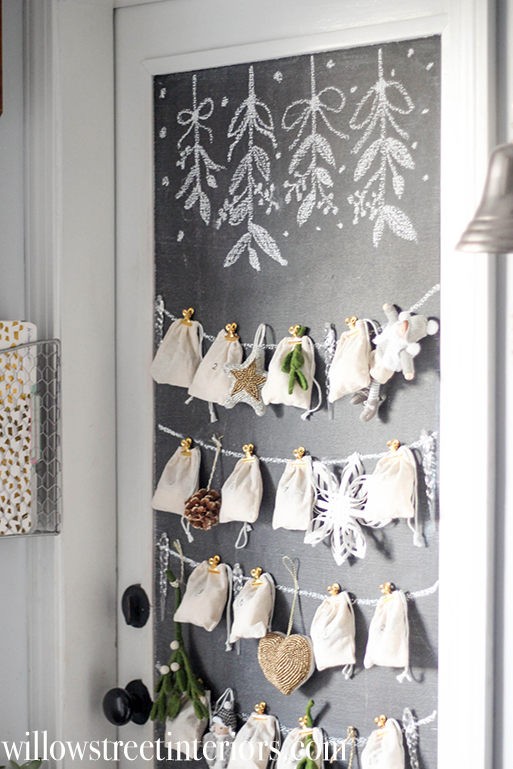
Draw a string onto a chalkboard surface. This could be a wall, door etc. If you don’t have a chalkboard surface, then string some twine along a window, a wall, in a picture frame – the options are endless, really.
Fill your bags with goodies, and put the clips on (if you’re using actual string, see this post for instructions. This next part won’t apply to you.
Cut your 3M wall tags into thin strips. I used the ones that came with a small wall hook set because that’s what I had on hand. If you can get a roll of wall tape, even better! Just make sure you cut it into very small strips.
Sorry about this terrible cell phone photo, but I wanted to show you what I mean just in case it’s hard to picture.
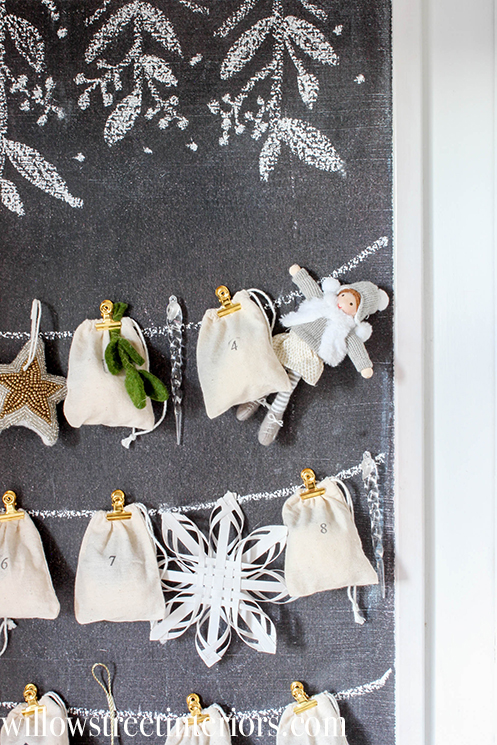
You want to attach these thin pieces of sticky tape onto the backs of your clips and then stick those just above the drawn on string, so that the bags look as if they’re hanging naturally.
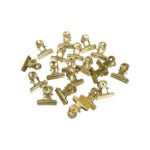
A little side note. I actually found my clips at target in the Christmas section. They came as part of a Christmas card hanging set for $3.99 but I couldn’t find a link online. I linked similar ones that I found on Amazon above, but if you can find the Target version, it’ll save you a little money.
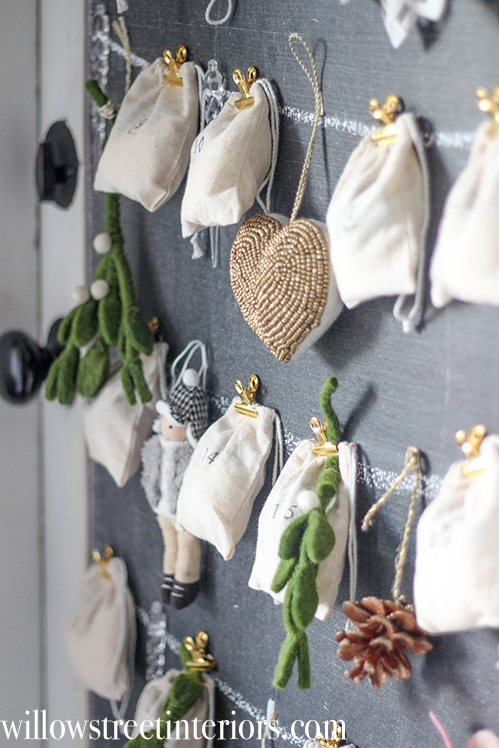
I picked up a couple of cute ornaments at Target, and also used a few that I already had to add a little interest and whimsy. Just try to keep them neutral, gold and sparkly, if you’re going for this particular look.
I used the same method to hang the ornaments as I did the bags – just thin strips of 3M sticky tape!
I bought the felted mistletoe at target years ago, and I see similar ones fairly often. I just cut it into a few different sections, and string some of those up as well.
Isn’t it cute, guys? The girls are SO excited!
Have a happy Friday tomorrow!
Laura ♥

