Make a Hanging Planter with Galvanized Buckets
Hi there! As I made my way through target yesterday morning, I found a few adorable galvanized buckets in the gardening section that were just too cute to pass up.
I was standing there, staring at these little buckets and asking myself whether or not I really needed them, when my eyes landed on hanging hooks – and a lightbulb went off.
Plant hangers!
I love cooking and gardening, so you’ll pretty much always find fresh herbs in my house. The problem is, the window above my sink is shaded by a big tree in our yard, and the sunnier windows in our house just don’t work for a little, indoor herb garden on the sill. I’ve been trying so hard to get my indoor gardening on the go, that I’ve completely forgotten about the outdoor garden I have! Its gone down hill a little bit over the last few months, so I think I’ll have to get in touch with trugreen in georgia to see if they can help me out and revive my garden. But anyways, we’re hear to talk about my little plant hangers I’m trying to create.
So, with that being said, I really wanted to find a way to prevent garden pests from eating my plants! A friend of mine told me that growing herbs like peppermint and spearmint can keep pests like ants away from your garden and therefore I wanted to cultivate my own natural forms of pest control! Of course, if things ever got out of hand, I would not hesitate to contact a nashville tn pest control expert to address the issue, but I wanted to try a natural form of pest control first!
So for the last {almost} eight years, I’ve kept potted fresh herbs on the counter by my sink, until they’d start looking sad, which would force me to move them to my back windows until they perked up. B u t… it made the window kind of look like a crazy, plant hoarder lived here, which I could only take for a day or two, until I moved them back. And on and on this went.
I feel kind of silly admitting this. Why on earth didn’t I come up with this solution sooner?!
Lack of sleep? Mommy brain? Having 483 questions tossed at me by kiddos at any given moment?
I honestly don’t know. Probably all of the above, honestly. But regardless of what it was, I’m just sooo happy to have this project done. It looks adorable, but what I’m even happier about is the fact that it’s practical, and I’m finally going to be able to keep my little, indoor garden in the sunny spot where it belongs – and not look like a crazy, plant hoarder 😉 Yay! I may even start looking into the best indoor plants for air purification australia now that I’m building up some expertise in indoor plant growing.
I’m going to be using these planters for herbs right now, but I’m thinking that when the weather gets warmer, and I can start to grow everything outside again, I’ll probably replace the pots with flowers or little succulents.
Just one thing before we get started though; this isn’t a project that you can finish in 10 minutes. I’d say it took about an hour, and required some measuring and knot tying in just the right places. It calls for a little precision and fine-tuning, so start it when you have an hour or so to devote to it. You may also want to look at your local DIY store or online with the help of sites like Tradefix Direct for your DIY and home improvement needs and wants to ensure you have everything ready to tackle your hanging pot project!
Things you’ll need:
• 3 galvanized buckets with rope handles {target, garden section}
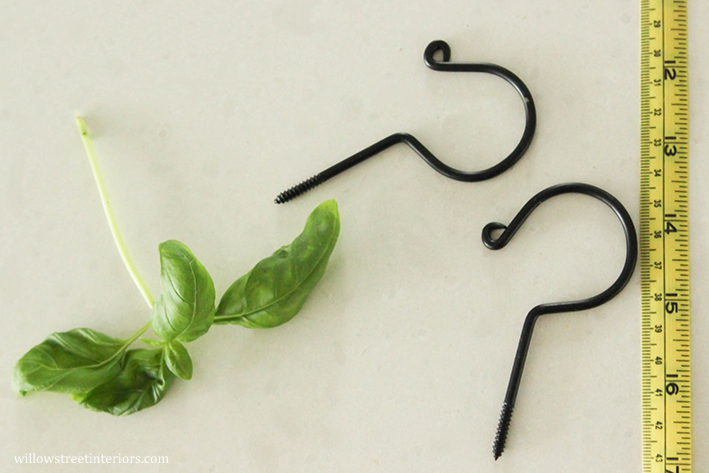
• Plant hanging hooks {target, garden section}
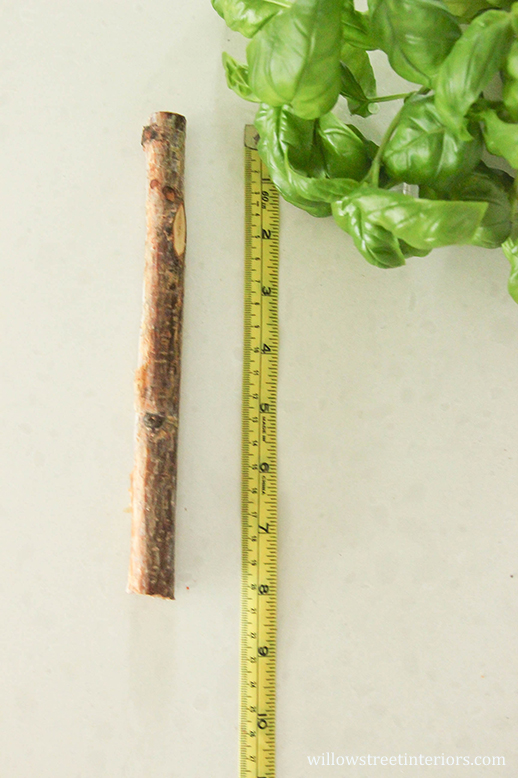
• 3, 8″ thin(ish) branch sections
• A roll of hemp or coconut fiber twine {target, garden section}
• Plants or herbs of your choosing
• Potting soil
Here’s what you do:
Get some thin(ish) branches, and cut them into 8 inch sections.
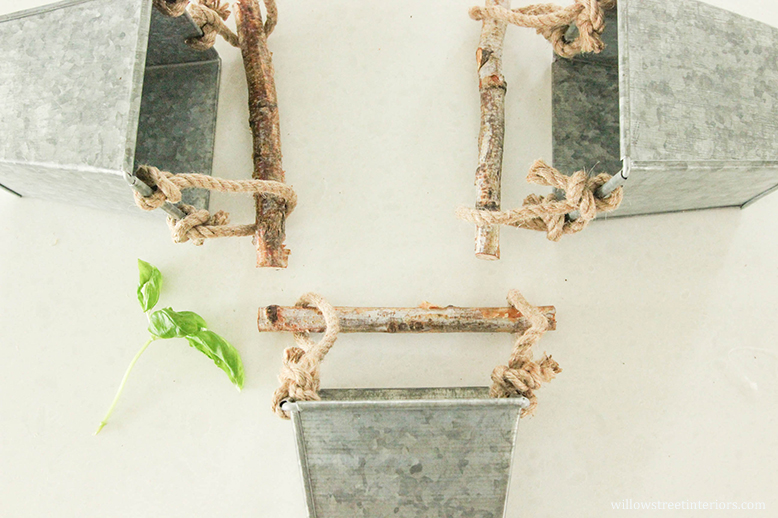
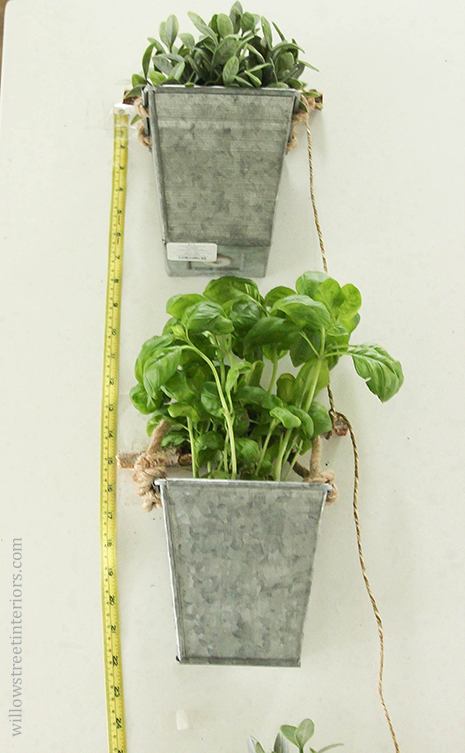
Take your buckets and slide the branch sections through the handles, and then lay them out. Decide how much space you want to have between your pots when they are hanging. I decided I wanted mine to be spaced apart by 15″ from the top of one branch, to the top of the next. {I’m sorry these photos are blurry. DIY project + photo shoot squeezed into nap time = terrible photos. Lesson learned!}
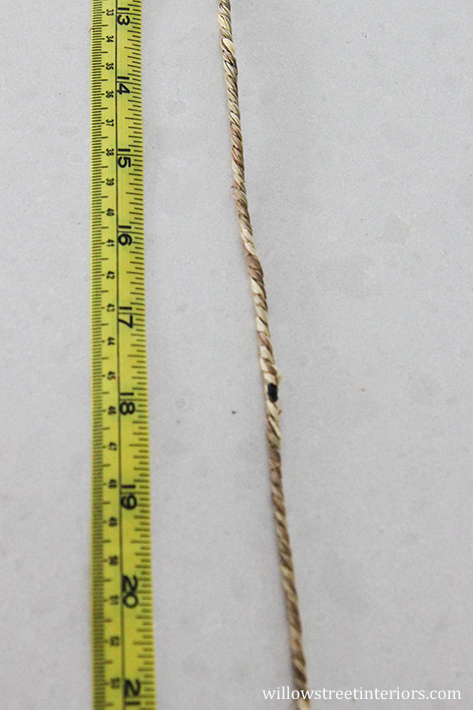
Next, take your twine, and cut it into two equal pieces. To make these hangers, exactly as I did, your twine strands are going to need to be 66″ long.
Remember how I decided that I wanted my buckets to be spaced 15″ apart? I added 3″ to that when I marked my twine.
The three inches is the extra knot tying allowance that you’ll need in order to get your buckets to hang at the 15″ mark.
Above, you can see that I’ve marked the twine at 18″. I did this 3 times down the length of both pieces of twine. This will leave you with 12″ leftover on each strand. You’ll need this extra amount in order to hang your planter. If you look at the photos of the finished planter below, you’ll see what I mean.
Next, tie your knots.
I had my husband demonstrate how this was done.
He has great man hands.
But not great lady hands.
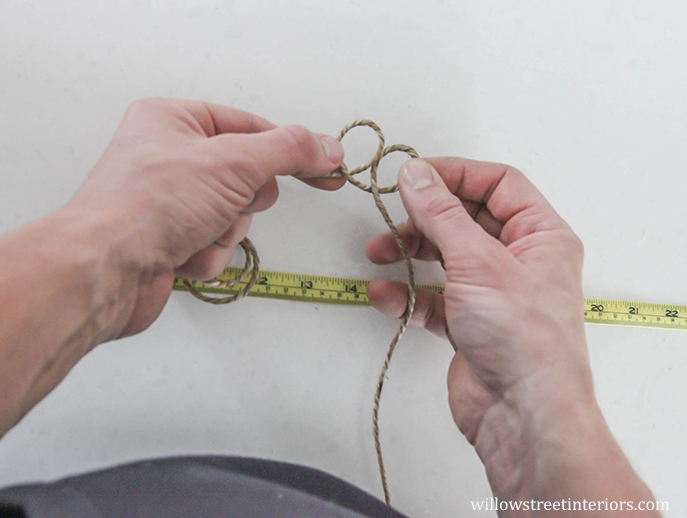
NOTE: THESE ARE NOT MY HANDS! Haha!
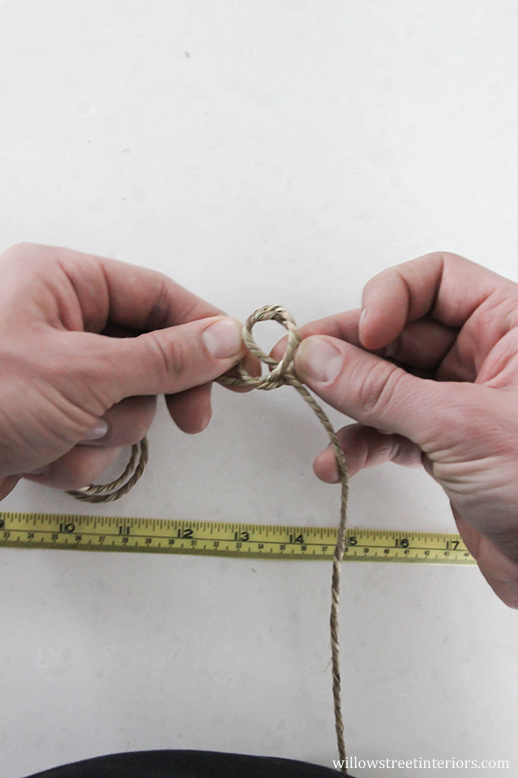
Anyway, begin by making two loops, the lowest loop intersection should be at the 18″ mark that you made.
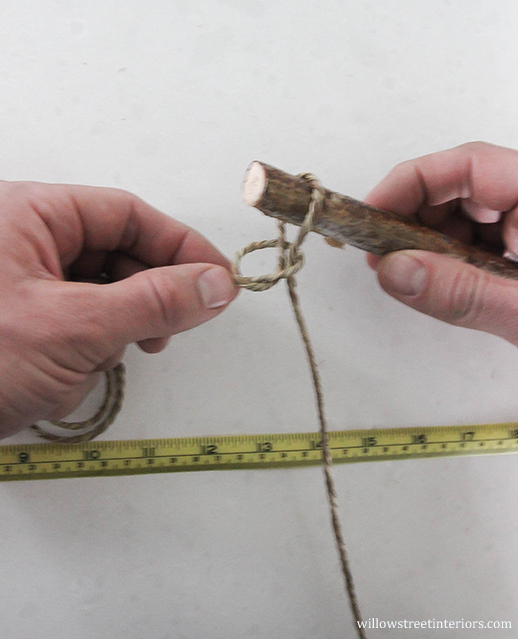
Pull one loop through the other…
Slide your stick through the loop that you just pulled through, and pull taut around the end of your stick. Do the same thing at each of your spaced markings, until you have the ends of three branches attached to one strand of twine.
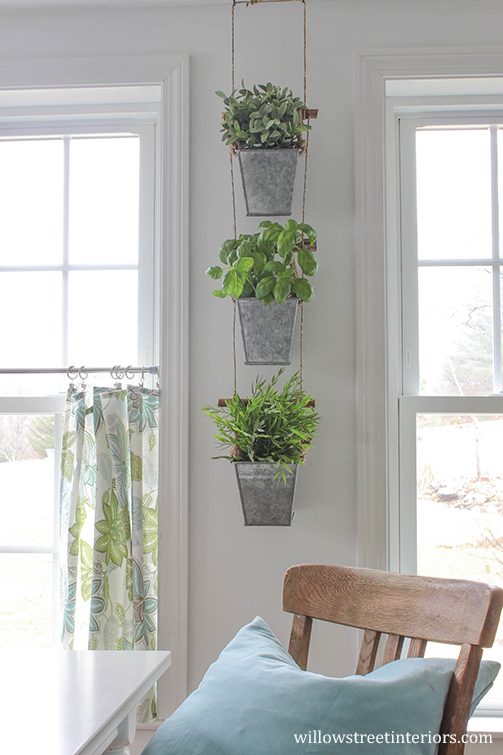
You’ll then have three branches, spaced 15 inches apart, attached to your twine. If you look at the photo up there ?, you can see how the branches are only attached to the twine on one side. This is exactly what you want.
Next, slide your buckets onto your branch sections.
Place your plants inside the buckets to make sure the spacing is adequate. If it is, continue to do exactly what you did above, to the other side of your planter until it looks like a hanging planter that isn’t hanging yet! If you don’t like the spacing, adjust your knots until you do, and then move on to the other side.
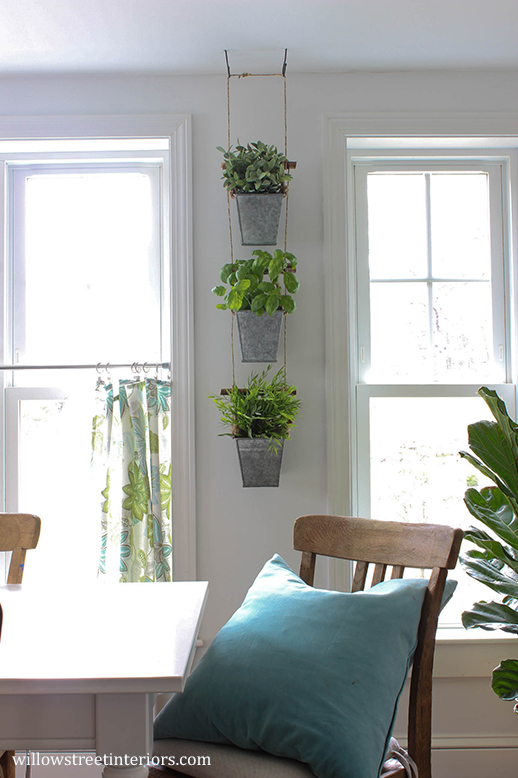
You’ll be left with a hanging plant ‘ladder,’ and twelve inches of extra twine at the top.
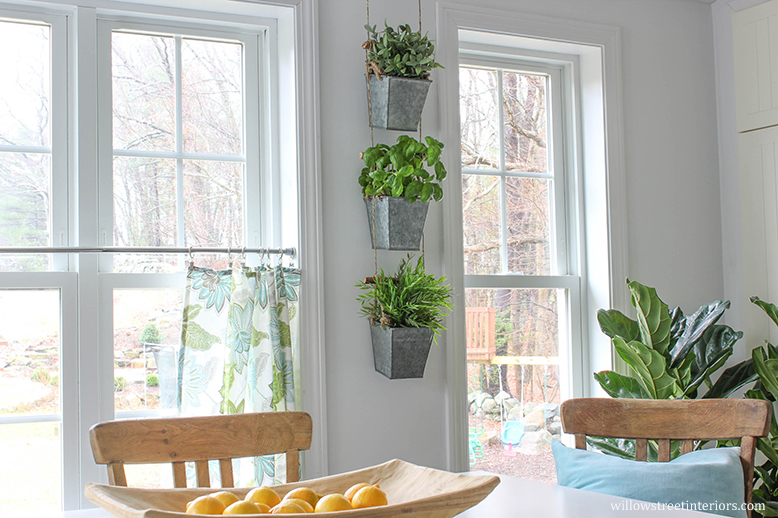
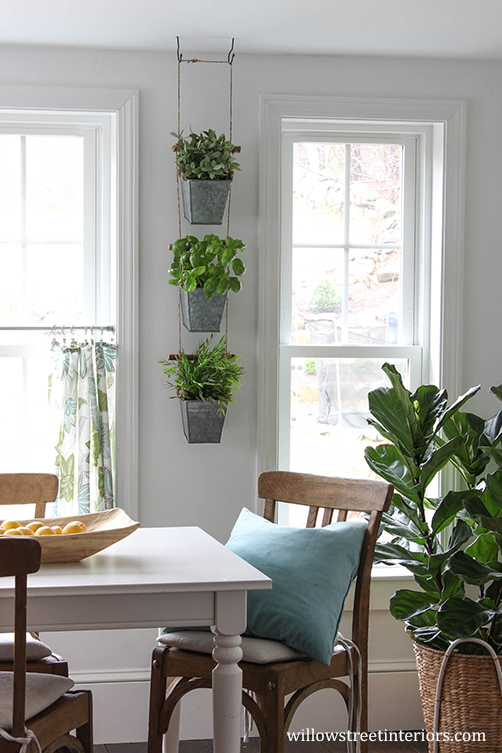
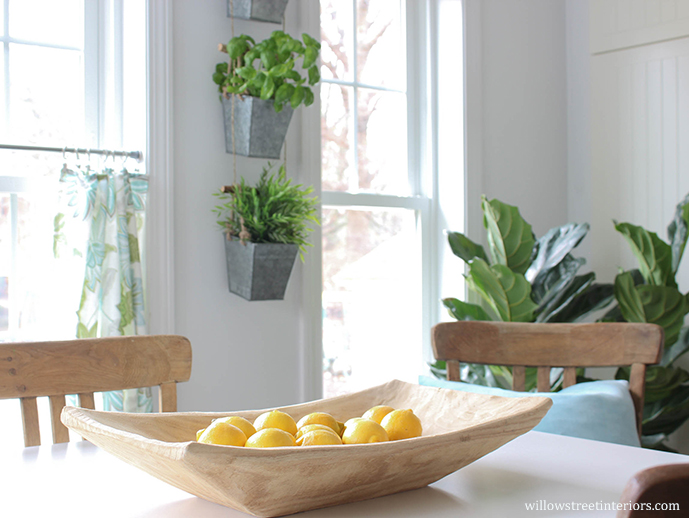
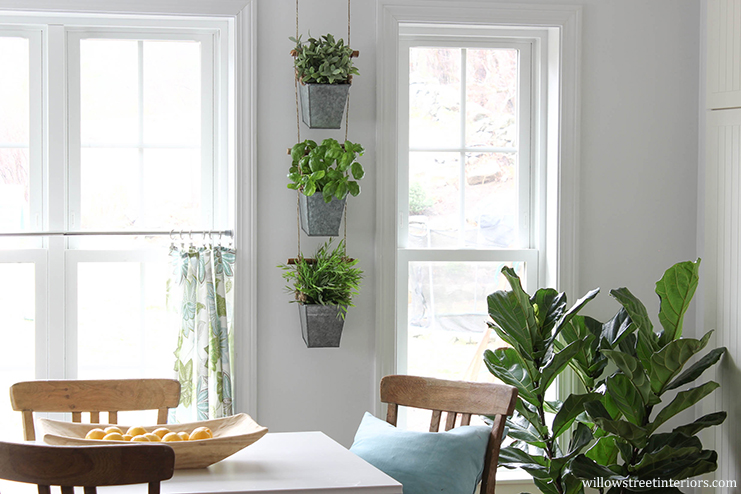
Next, decide where you want to hang your planter, and then screw your hooks into the ceiling, roughly 6 inches apart, in that spot. {see below}
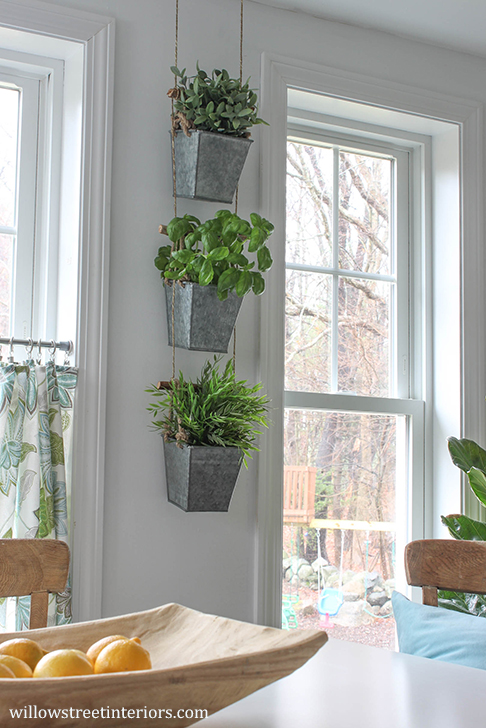
Remember how I said that you were going to have 12″ of extra twine at the top of your hanger? If you look at the photo above, you can see how I tied the extra twine in a knot and then hung the entire hanger on the hooks. Exactly where you tie your knot, will depend on how high or how low you want your planter to hang.
And that’s it folks! I want to say, easy peasy here, but it’s not that easy.
There’s a lot of knot tying precision that has to take place here to get your galvanized buckets to hang just right.
I wouldn’t say it’s hard, but it’ll require a little bit of extra effort, and will be so worth it in the end.
Promise!
Check out all of my other DIY tutorials on Instagram or on the blog, by searching #DIYwithWSI. Have a DIY project of mine that you’ve tried? Tag it #DIYwithWSI on Instagram so I can see it and feature it, if you’d like!
Have a happy week, Friends!
Laura ?


Laura –
these are so cute!!! I like to grow herbs indoors too. Well.. at least I do until my black thumb kills them! 😉 But I have the perfect wall for this planter in my kitchen, and I think I’ll give it a shot this weekend!
Hahah! I get it, Liz! It’s tough keeping plants alive inside when they’re not getting enough sun! Good luck with it, and I’d love to see it if you make it! ??
So cute!!! I adore this Laura! I need to find a space for it ASAP!
Oh yay! Thanks, Stephanie! It’s such a handy little thing. I wish I had made it sooner! ?