Hi Guys! How are you? Can you believe it’s already November? I’m not sure how that happened, and I may have had a mild heart attack when I realized, last week, that my first Christmas post was due to go up today! I’ve been pretty quiet the last few weeks because it’s been SO busy around here, and I’ve been working on a few big work projects that I’m super excited to share with you guys soon!

Today marks the first day of The Seasonal Simplicity Series that Krista over at The Happy Housie puts on at the start of each new season. I’m always so excited to take part, because the talent and ideas that everyone brings each week is pure inspiration! If you’re from the US, you may be thinking, Christmas?! Seriously, Lady, Thanksgiving’s still 2 weeks away. And I get it. That’s where everyone’s brain is at right now – mine is too! But we bloggers need to share our holiday ideas way before everyone else starts decorating, otherwise, what would the point be? Nobody’s decorating for Christmas the week of Christmas, right?
And no word of a lie, we have had the most relaxed and magical Christmases since I started decorating early. The unpacking-and-repacking-Christmas-box-craziness all happens in mid November, and the next six weeks are all about hot cocoa, and candles, and twinkly lights, and just enjoying the season. That’s been a completely unexpected perk, and I’m not ever going back to decorating after Thanksgiving, let me tell ya!
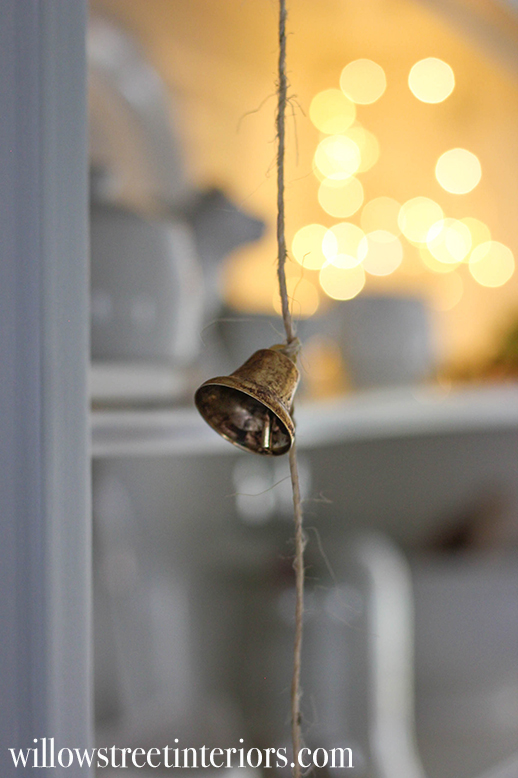
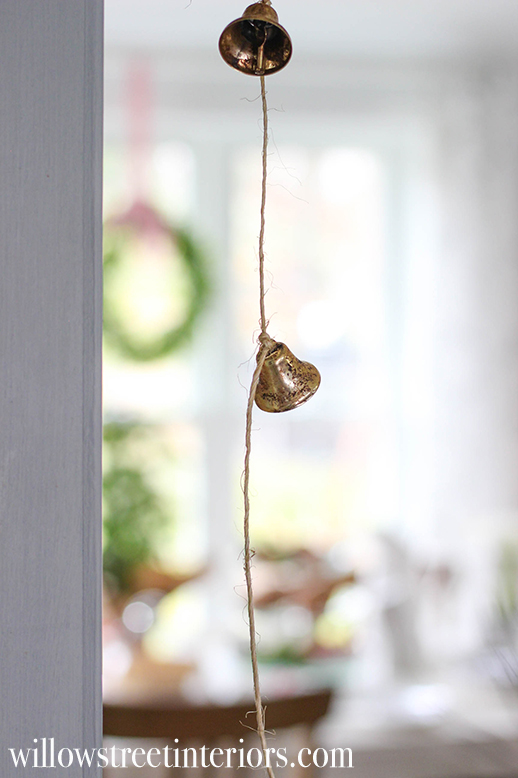
But anyway, it’s getting late, and I want to share this really simple tutorial with you. It’s actually a Christmas bell garland that I made a few years ago now, so technically, I’m re-sharing it, but it’s still one of my favorite Christmas DIYs of all time.
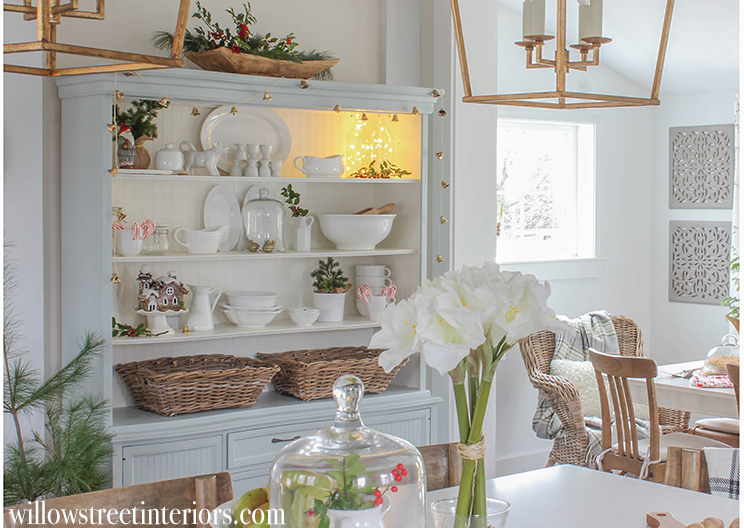
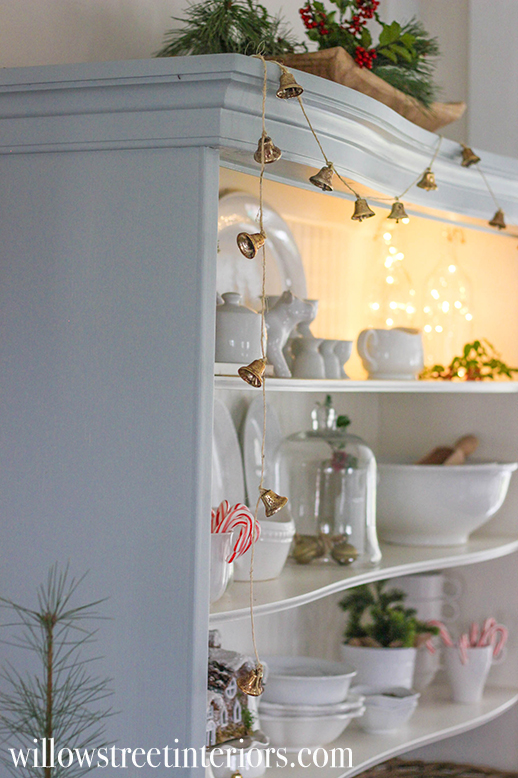
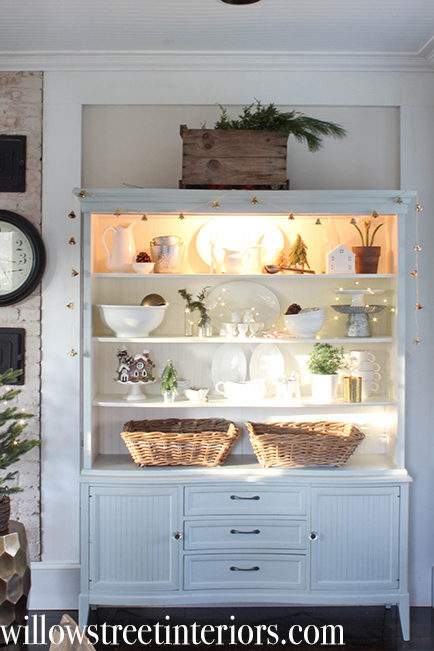
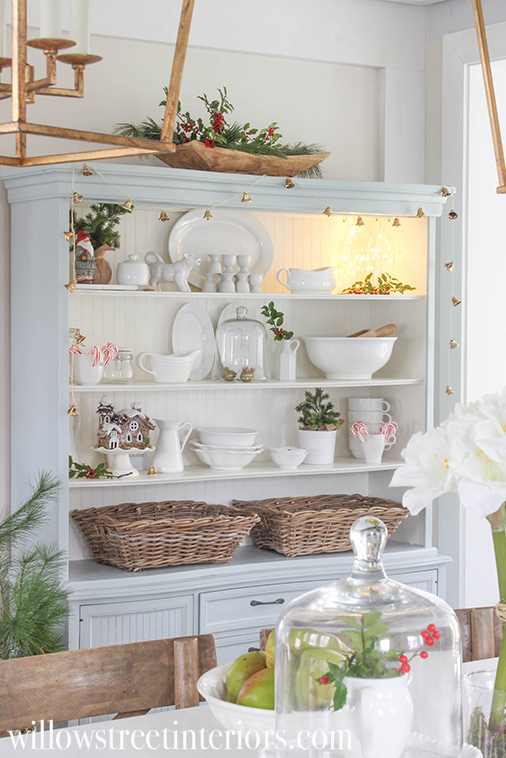
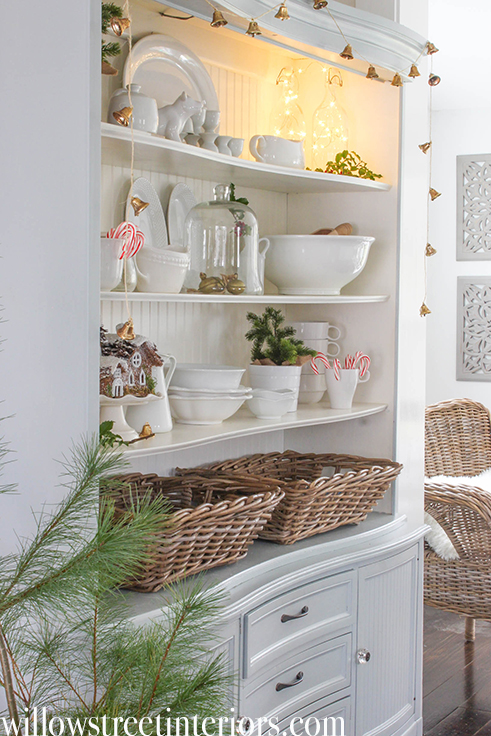
I usually drape it across my hutch at Christmas, and I’m pretty sure that’s what I’ll be doing again this year! Isn’t it cute? Hopefully it has inspired a few Christmas Decoration Ideas of your own!
Here it from Christmases past 🙂
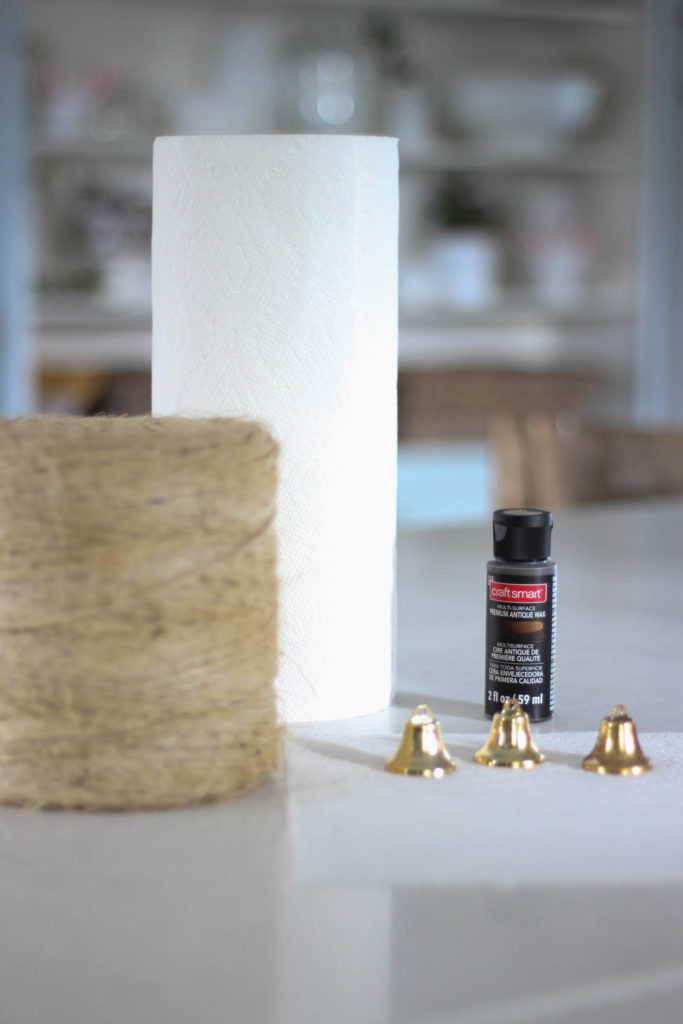
All you need for this project is:
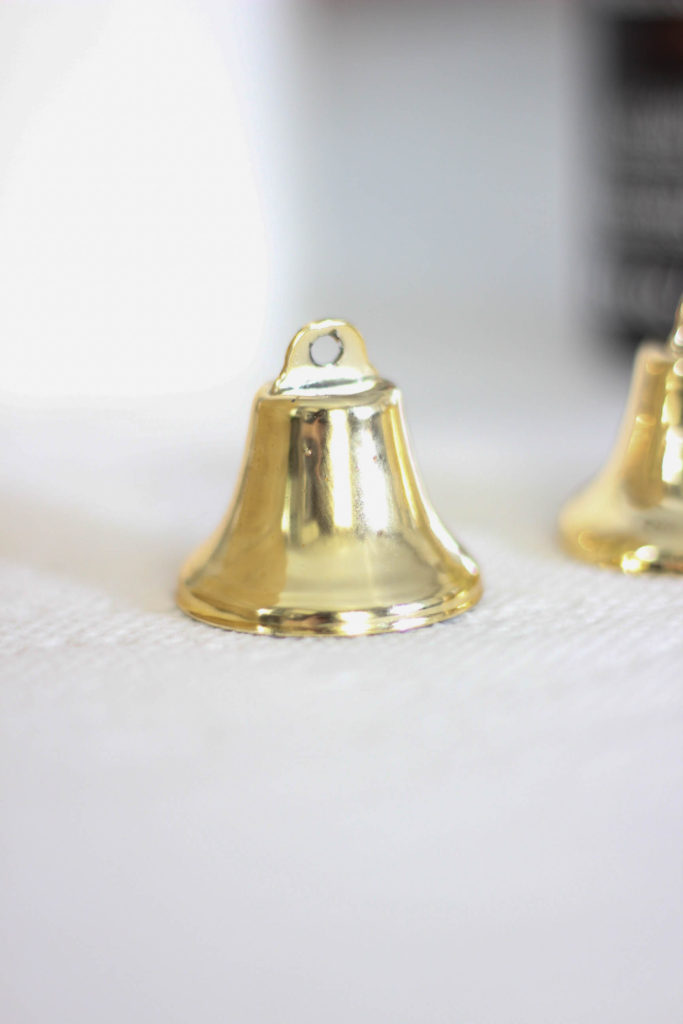
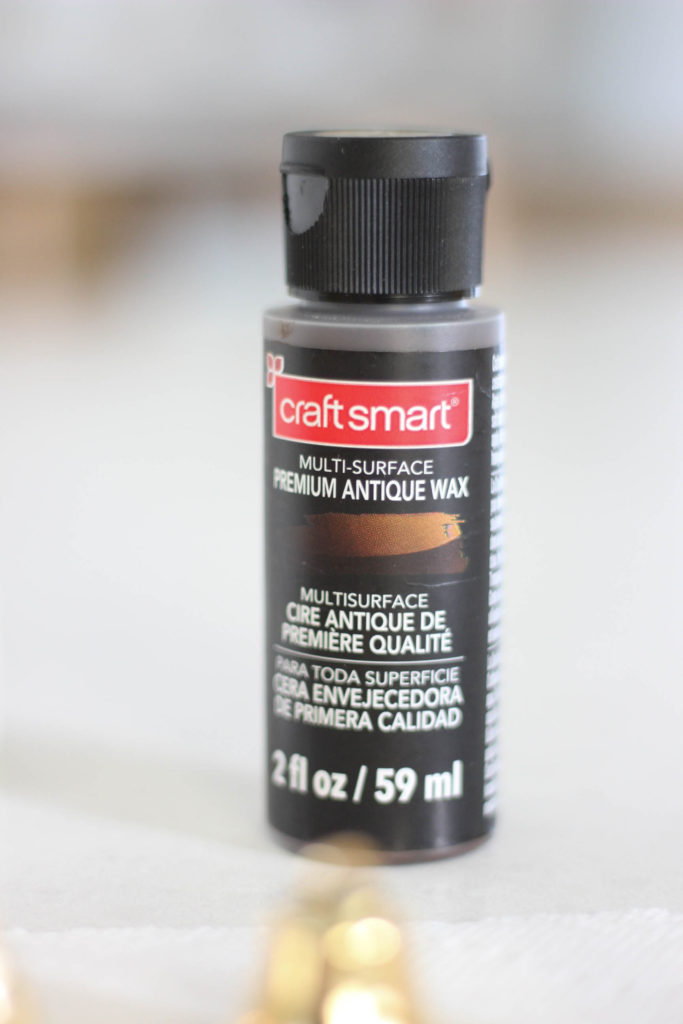
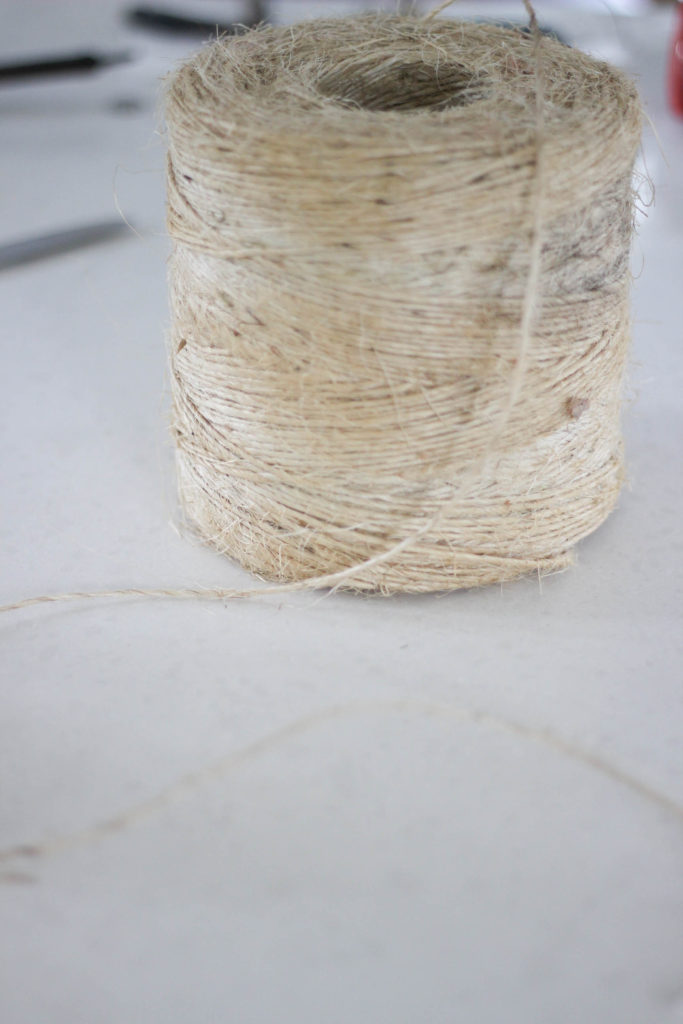
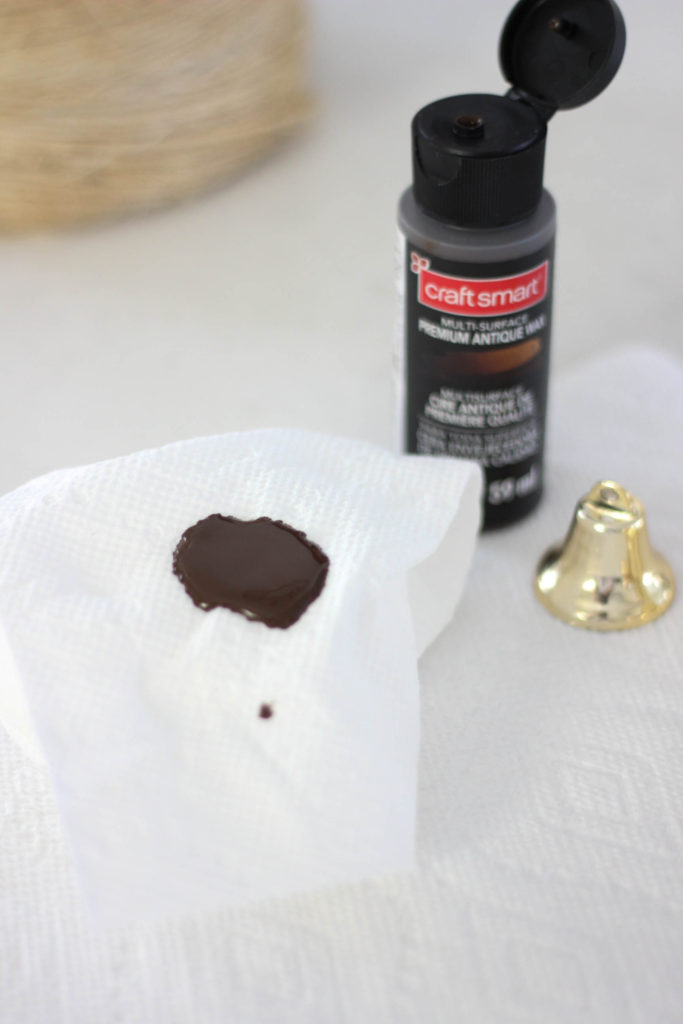
2 bags of brass bells from Michael’s like {these}, some jute string, a roll of paper towel, and this antiquing wax, also from Michael’s.
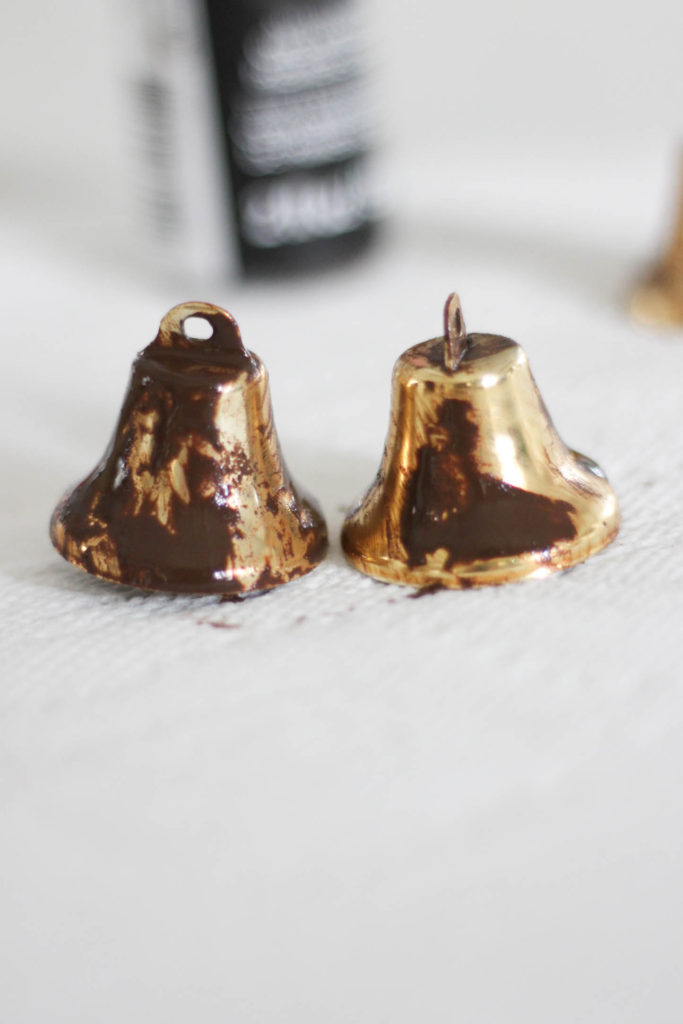
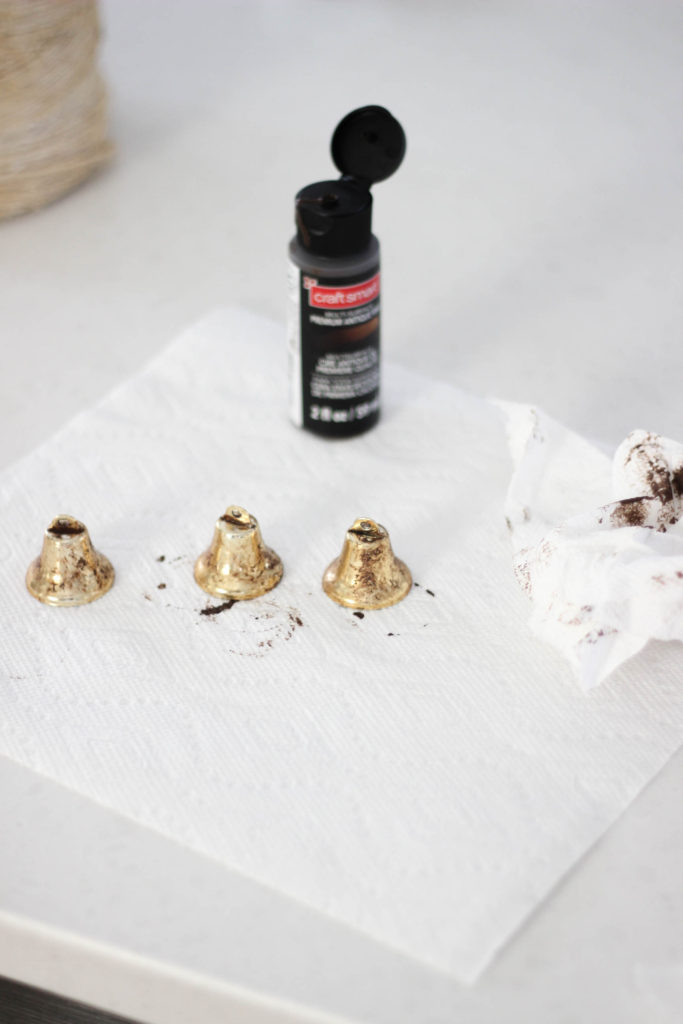
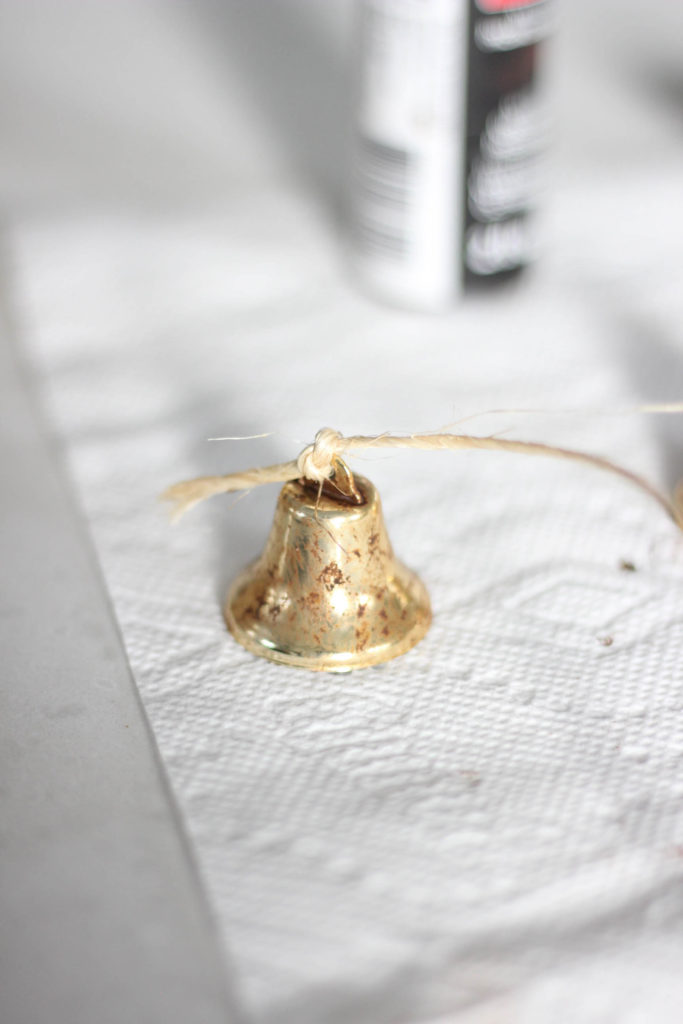
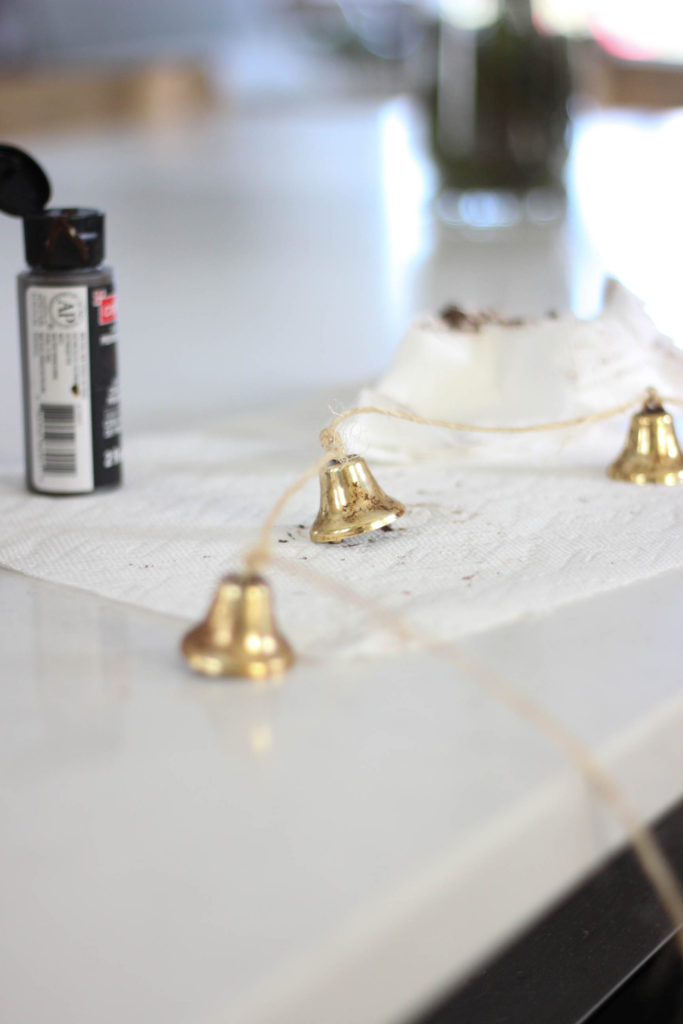
The process is embarrassingly simple! First, squeeze out some of the antiquing wax onto a piece of paper towel, and dab it all over your bell. Don’t forget to do the inside. You want to let the wax sit on the bells for 3 or 4 minutes before you start blotting it off again, so continue adding the wax (which has the consistency of paint) to your bells until three for four minutes have gone by, and then start blotting off paint from the bells you’ve already covered.
Do this until all of your bells are finished, and then let them dry for 15 minutes.
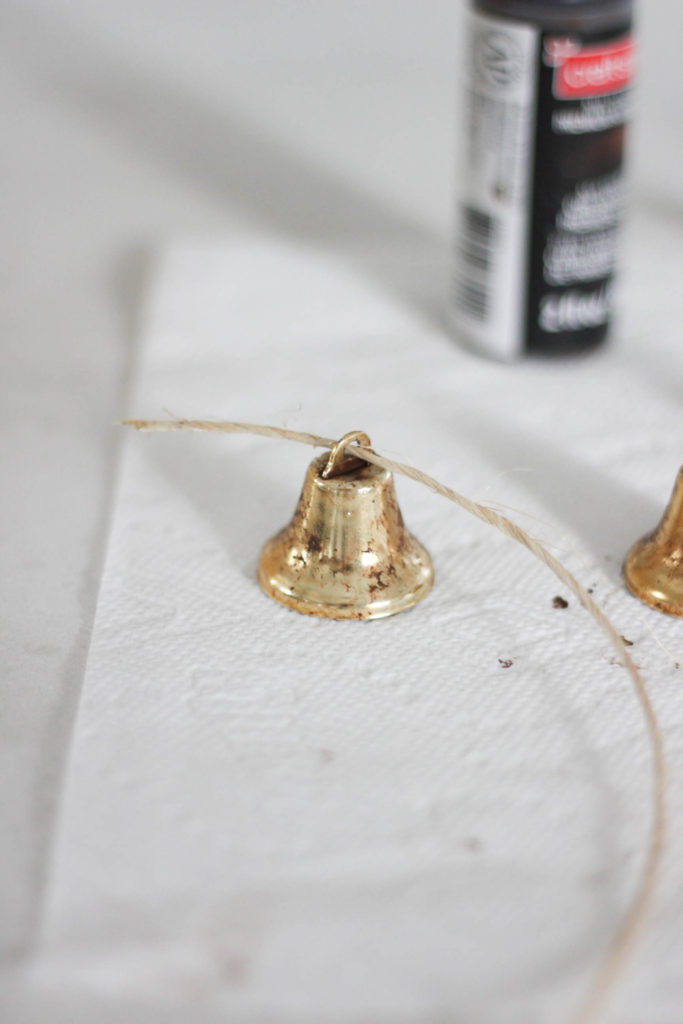
Next up, cut a piece of jute string, approximately 6 feet long. Start stringing the jute through each bell, tying each bell to the jute at 4 inch intervals. Your jute will fray quite a bit as you do this, and will look super messy, but don’t worry. Once you’ve finished go along and trim off the fray until your garland looks nice and neat.
And that’s it, folks! I seriously love how sweet and simple it looks, and I think it’s perfect for any spot in your house that needs a quiet, but festive, Christmas touch.
I’d love to hear about how this goes if you give it a try.
Better yet, I’d love to see it, so tag me on Instagram or share it with me on Facebook, Guys!
Wishing you all a wonderful rest of the week. And thanks so much for stopping by my little corner of the internet. I appreciate you being here! Don’t forget to stop by and check out all of the other, beautiful Christmas crafts being shared today!


How to Flock a Christmas Tree at The Happy Housie
DIY Asymmetrical Wreath at Rooms FOR Rent
DIY Christmas Countdown at Lolly Jane
Christmas Gingerbread Cookie Wreath at Sincerely Marie, Designs
Clock turned Holiday Shadow Box at Confessions of a Serial DIYer

How to Make a Fleece Cone Christmas Tree at Happy Happy Nester
How to Make a Holiday Scrabble Letter Board at Tatertots & Jello
Simple & Natural Wire Hanger Christmas Wreath at Jenna Kate at Home
Kringle’s Cookie Co Christmas Kitchen Sign at Tauni Everett
Easy Advent Countdown Calendar at Jamie Costiglio

French Country Christmas Wreath Printables at Designthusiasm
Copper And Gold Mason Jars DIY at Shabbyfufu
DIY Christmas Crackers at So Much Better With Age
Star Christmas Tree Garland at On Sutton Place
Easy Fringe Napkins for Your Holiday Table at Satori Design for Living

DIY Real Christmas Wreath at Clean and Scentsible
Birch Candle Holders at Finding Silver Pennies
Homemade Dry Holiday Potpourri at TIDBITS
Modern Traditional Christmas Countdown Calendar at Rambling Renovators
Embroidery Hoop Christmas Wreaths at Town and Country Living

Quick & Easy Floating Candles for Your Christmas Centerpiece at Home.Made.Lovely
Glass Filled Ornaments at My Uncommon Slice of Suburbia
Ombré Bottle Brush Tree DIY at Modern Glam
Modern Boho Christmas Wreath at Life is a Party
How To Easily Make A DIY Eucalyptus Wreath at Inspiration for Moms

String Art Christmas Stocking Holders at The Turquoise Home
DIY Holiday Pennant- Two Ways at Lemon Thistle
Vintage Christmas Bell Garland at Willow Street Interiors
DIY Modern Christmas Sign at Love Create Celebrate
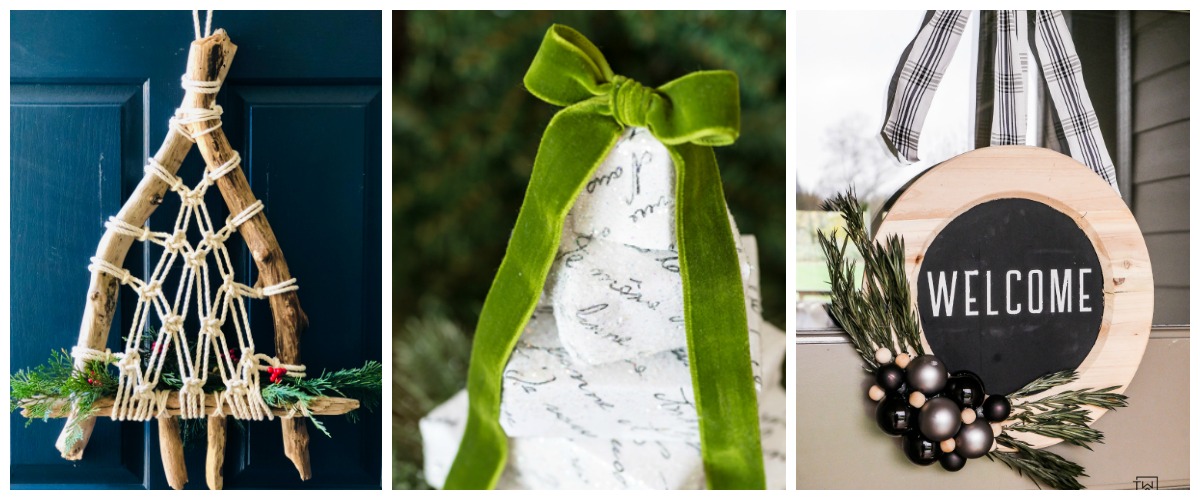
Easy DriftWood Macrame Christmas Wreath at Place of My Taste
Table Top or Mantel Christmas Tree Made Using Boxes at In My Own Style
Natural Wood Plate Charger Wreath at Taryn Whiteaker
Laura ?
By the way…
if you like what you see here, you can {subscribe} to my mailing list and join me on {Instagram}, {Facebook} or {Pinterest}, so you never miss a thing!
 Seasonal Simplicity Series {Spring Mantel}
 Caramel Apples and Glittery Hearts
 Tour the 2017 Coastal Living Idea House!
 Teen Girl’s Room Idea and Shopping List
Adorable! I am doing a scandinavian type christmas this year and LOVE this idea!
I pinned it to my holiday board 🙂
xoxo
Aw, thanks so much Jennifer! That’s so sweet of you! I can’t wait to see your scandi Christmas!!! xoxo
This is so pretty! I would love to make this to add to my decor.
Aw, thanks, Ashley! It was SO simple to make. Thanks for popping in! xoxo
These are so cute! Thanks for sharing Laura and for joining the blog hop!
Thanks so much for hosting it, Krista! I’m always so inspired by this series. And thanks so much for stopping by! xoxo
Love the distressed look! These would look so pretty with lights too!
Ohh I love the lights idea, Jennifer! I’m so happy you stopped by! xoxo
Love this garland, Laura! I’ve done a similar thing using Rub N Buff. Such a great idea!
Hugs, Jamie
Oh, I haven’t heard of rub and buff, Jamie, but that sounds perfect for something like this too! Hope you’re having a great weekend! xoxo
So smart to add the patina. Your garland is so pretty!
Thank you so much, Shauna!! xoxo