Hi there, Everyone!
I’m popping in today to show you how to make your own chalkboard door! They’re simple to make, and wayyyy cheaper than ordering a custom door from the hardware store.
But first, how’s your week been going? Hopefully well! Things are good here. Super busy and crazy, as usual, but good all the same! I feel like we’re juggling 192 things at the moment though. The kitchen is installed and functioning, which is AMAZING considering it was completely void of cabinets and appliances last week.
It was slightly inconvenient making breakfast, lunch, and dinner either on a hot plate on a folding table – or outside on the grill! But hey, we’ve always been up for an adventure, and it was an ‘adventure’ for sure 😉 At this point, we’re waiting to have the countertops templated later this week (we’ve got the old ones just sitting on top of the new cabinets for now so we can actually use the kitchen), the lighting is scheduled to be delivered on the 21st (darn backorder!), and the tile for the backsplash should be here by the 30th.
Man, it’s hard to be patient. Who remembers that show? What was it, Bewitched? I used to watch reruns of it after school when I was little, and stand in front of the mirror trying to do that thing with my nose, but looking more like I had something stuck in it, and not very much like the good witch from the show. Yeah. Well anyway, I kind of wish I could use her trick and make everything magically appear and install itself right now! But since that’s not going to happen, I thought I’d pop in and share how we made our chalkboard door last fall!
Want to see the embarrassing before photo? Agh. I’m not sure I want to share it. It’s amazing how after you live with something for awhile, you just kind of stop seeing it. Case in point.
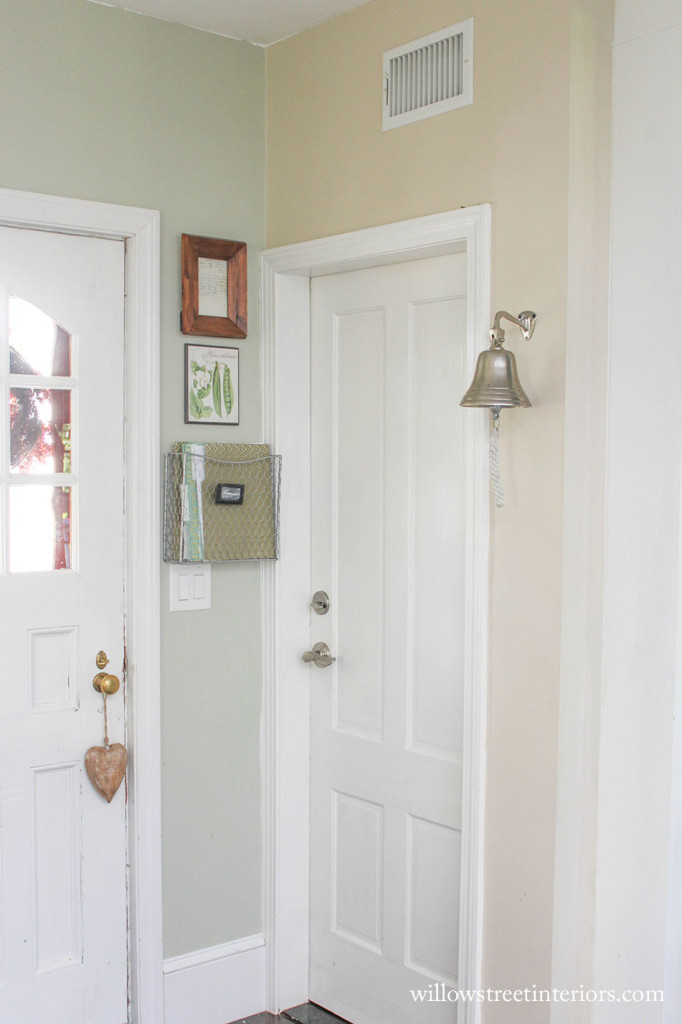
Okay, seriously, I am so embarrassed by how banged up our old door was, and who did the cutting in on that ceiling?! It was 8 years ago, and I can thankfully honestly say I don’t remember who painted this corner. I’m almost certain that we did it ourselves because I highly doubt that it would’ve looked like this if professional painters had done it. And I only say that because my friend has just had her house painted by someone like this Gresham house painter, and it doesn’t look like ours. In fact, it looks like the complete opposite. It was amazing. So, I think it’s just for the best that I keep quiet about who did what. No comment on the two tone walls or mismatched door knobs.
We couldn’t decide whether to buy a new door or whether to renovate this one. It was a tough decision, and part of me wishes we had taken more time in making the decision as we weren’t aware there were more deals at doorportal.com. But in the end, I am so happy with how it looks. Let’s just get to the after, shall we?
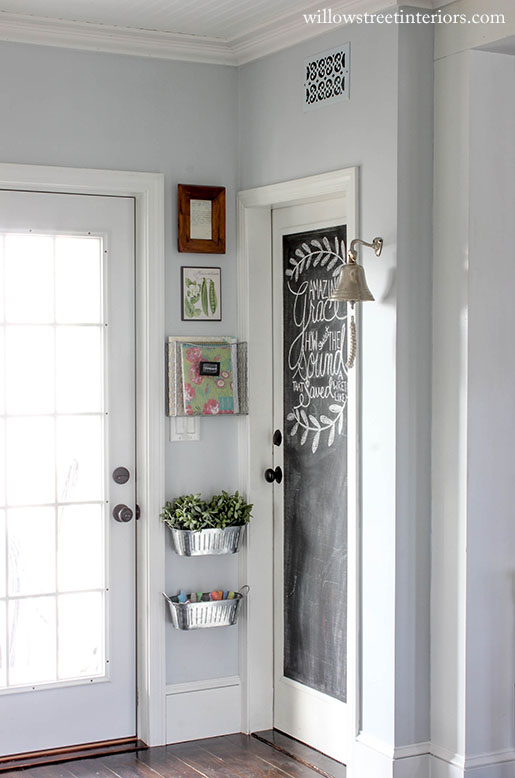
TA DA! So much better, isn’t it? I can’t tell you how much I love the ceiling in the kitchen now. Isn’t it night and day from before? And the new door lets in so much more light. My husband installed the door right after we finished up with the chalkboard door back in the fall. It’s something I’ve wanted to do since we moved in, and it finally made its way to the top of the list! A french door sure looks amazing when you think about it . Yay! I love how much more light it lets into the kitchen, and it helps the dark chalkboard paint feel fresh. Natural light is an amazing thing.
Folks, this door is easy to make, and super inexpensive! Yes, and yes. Let me show you how we made it!
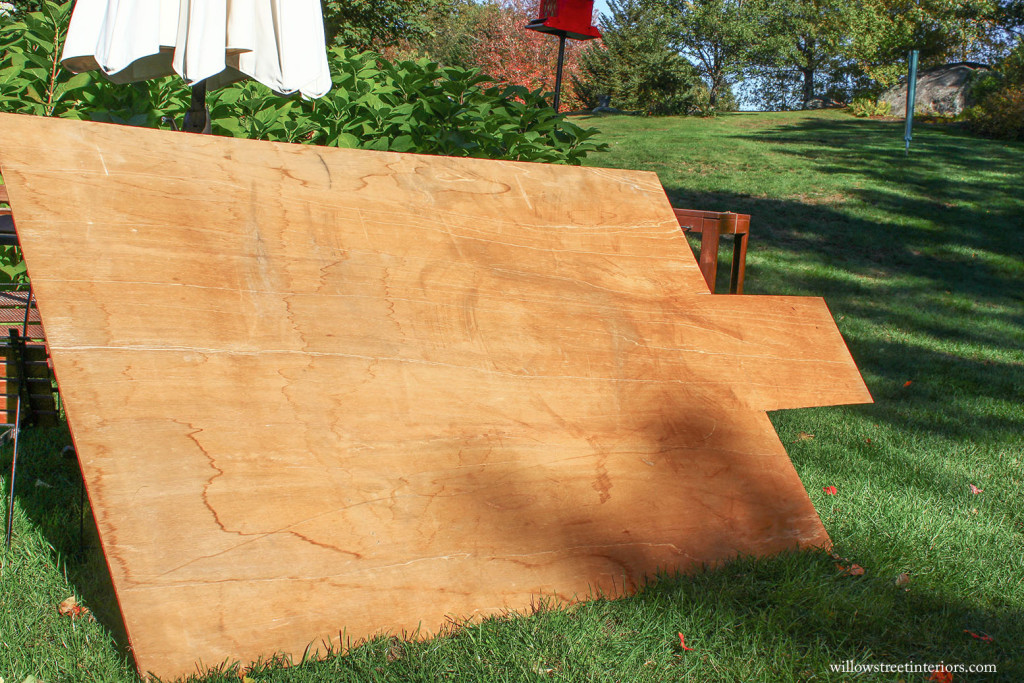
We had a piece of leftover utility paneling in our garage from a previous project. This is basically a really thin piece of plywood, also known as luan.
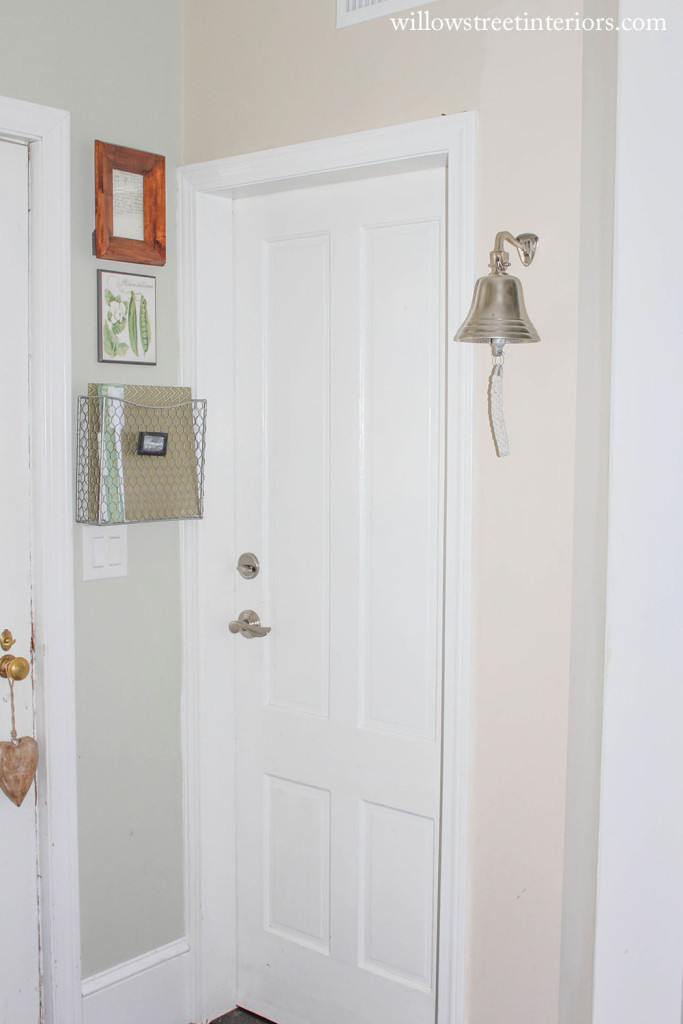
Notice the four panels on the old door? I wanted Michael to cover these up in order to give the door a more modern feel, but also to give the girls a smooth, uninterrupted surface to color on. Luan is the perfect product for the job because it’s super smooth and very thin.
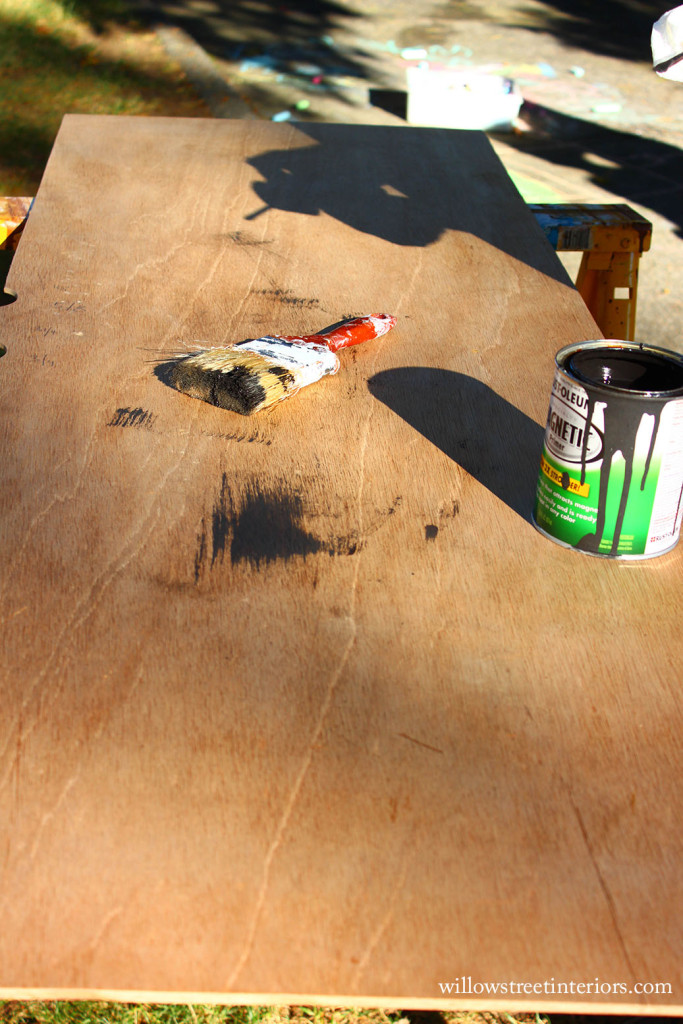
Michael cut the luan to size and notched out two half moons for the doorknob and the deadbolt. You can kind of see this on the left, in the photo above.
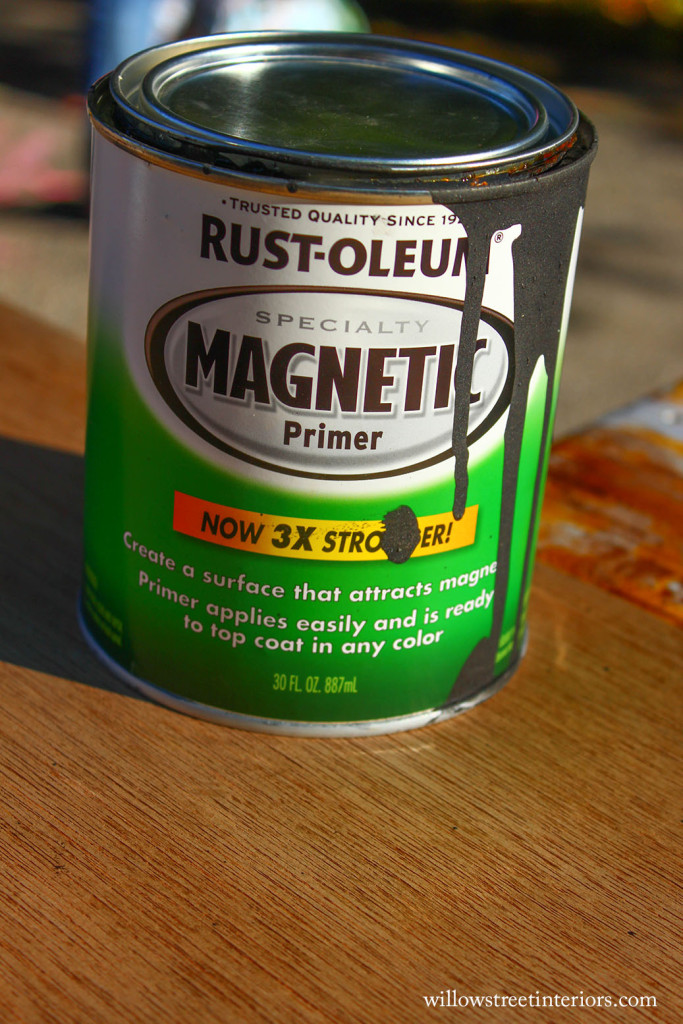
We primed the door with this magnetic primer before painting over it in chalkboard paint. Now the door can be used as a chalkboard, and the cuties can also use all of their magnetic letters and animals on it as well. Speaking of the cuties, this is what they were up to the afternoon that we were working on the door…
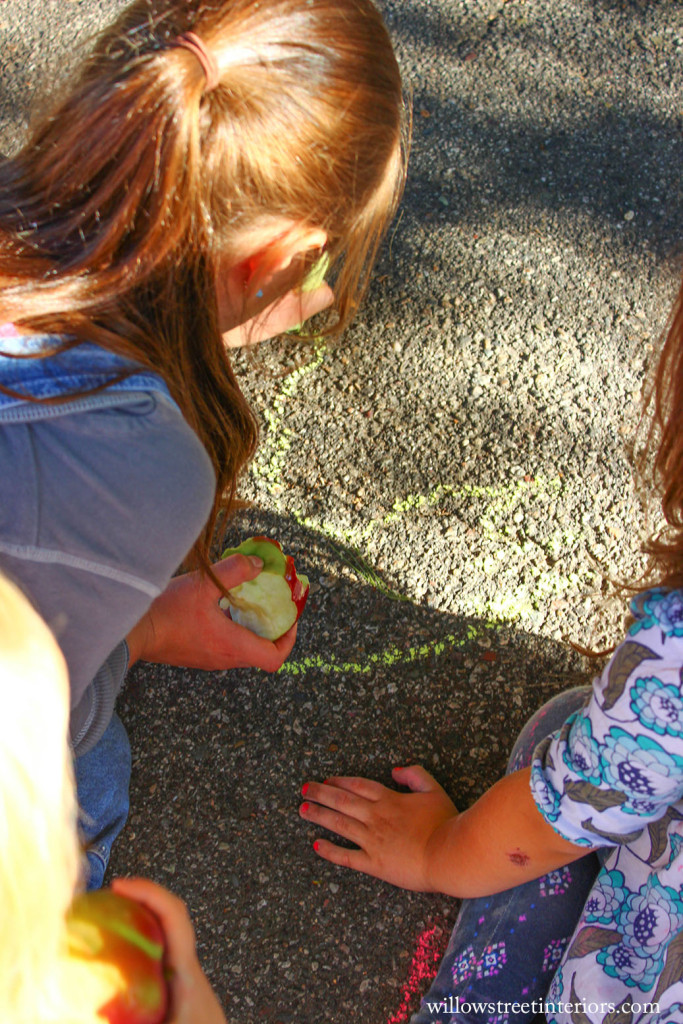
Mommy and Daddy at work, kiddos at work! I’m pretty sure Aubrey dressed herself that morning, judging by the patterns on her shirt dress and leggings 😉 But anyway, back to the tutorial…
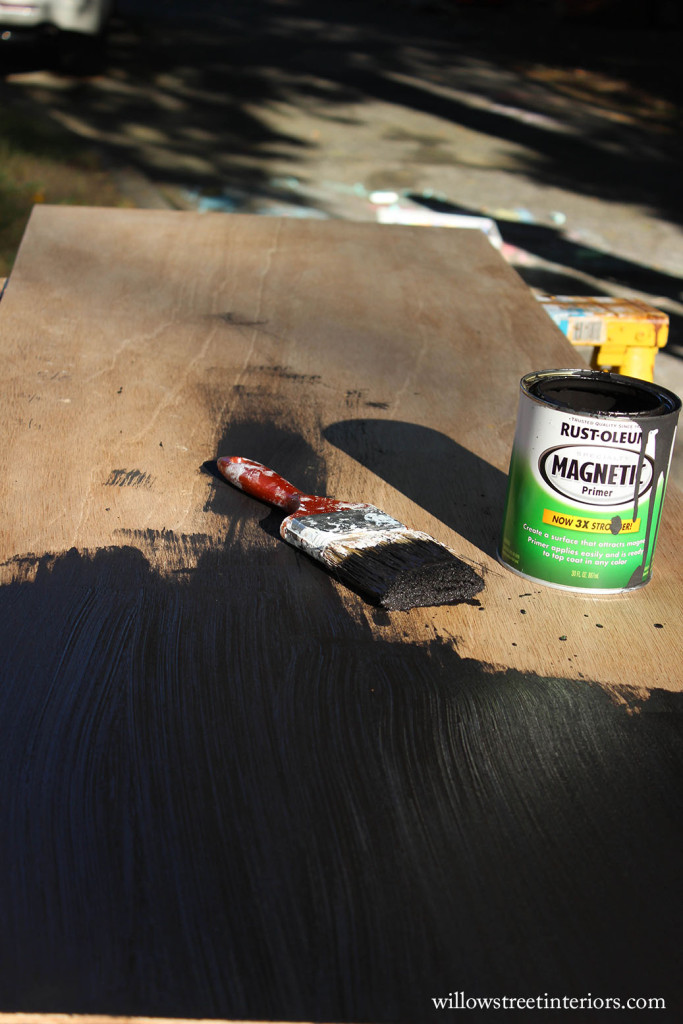
Once the door was primed with magnetic paint, we let it dry, painted it with the chalkboard paint…
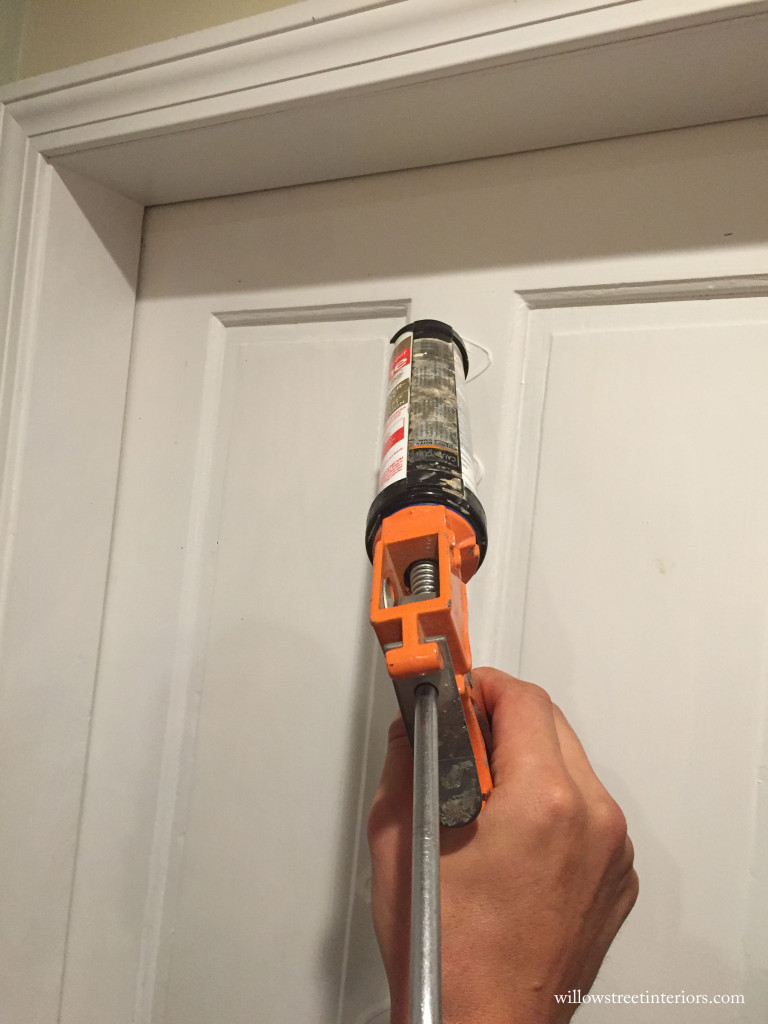
And then Michael applied all purpose construction adhesive to the back of the painted luan, and then to the old door before fixing them together. Once the board was up, he used his nail gun to tack it up with brad nails. I’m sorry that I don’t have photos of this! He quickly finished that part up while I was putting Ayla to bed.
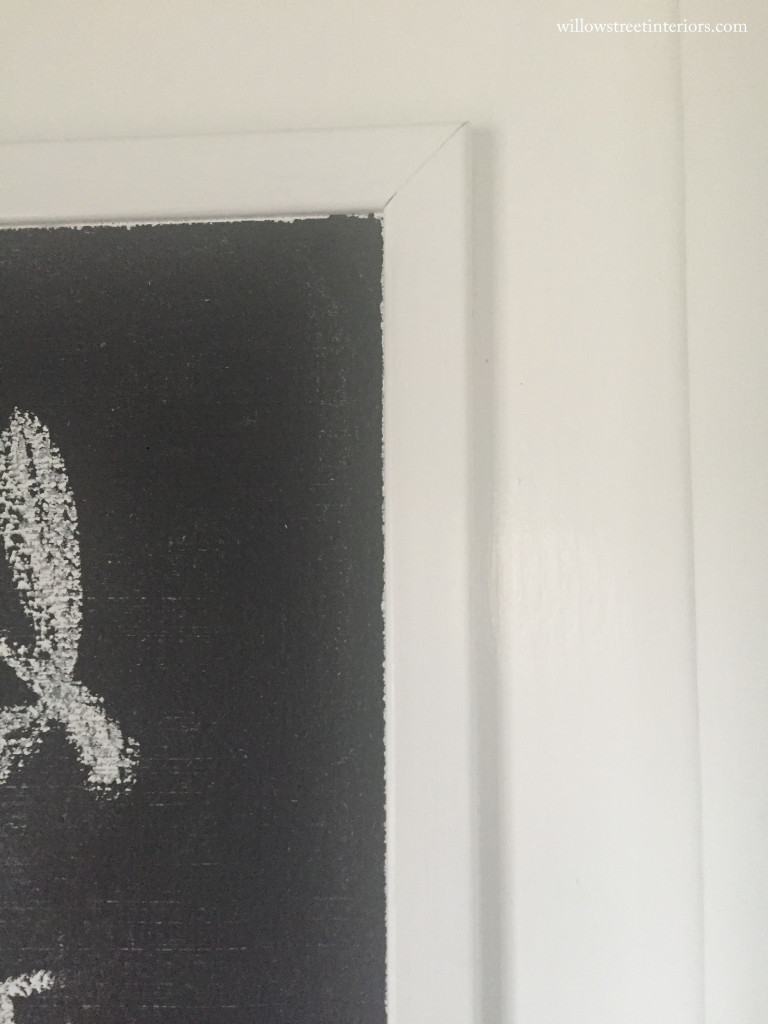
I chose this ? really simple trim to frame the luan with, and Michael tacked that up with his brad nailer as well! It gives the door a much cleaner, more finished look. A bit of nail hole patching and painting, and this corner of our kitchen now has a much different feel.
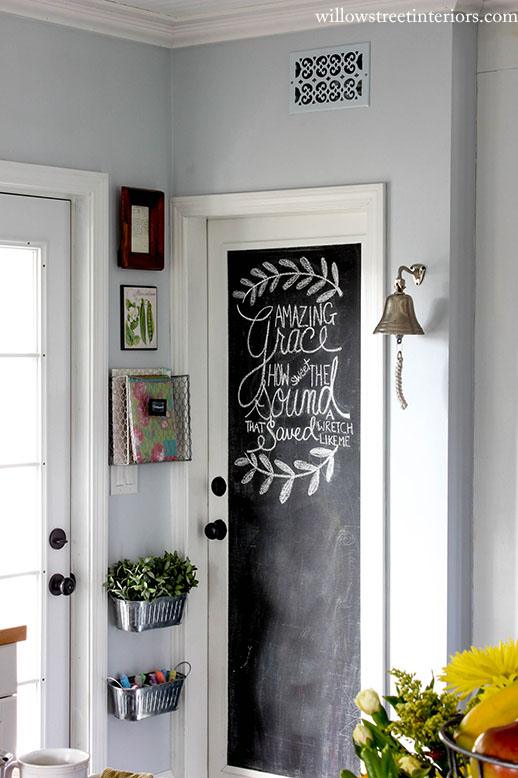
I changed out the vent cover, hung a couple of oval buckets for the chalk and magnets, and rehung the decor that was up before. I love how the space feels so much more fresh and a bit more au courant.
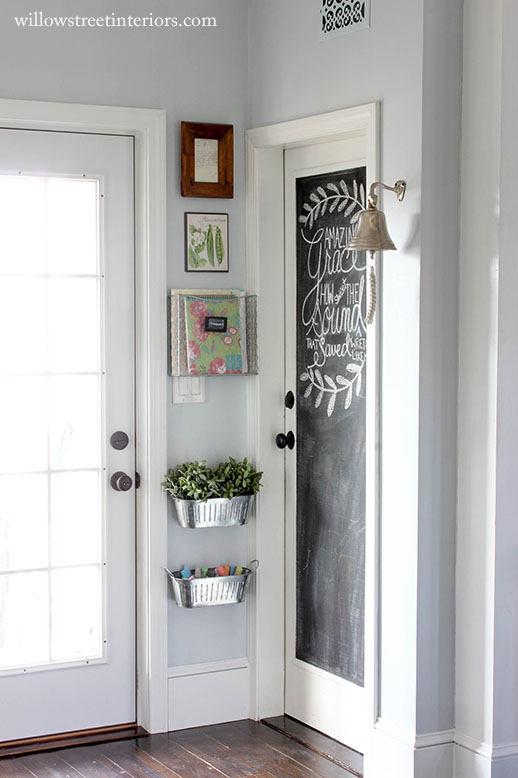
And I guess while I have you here in this little corner of my kitchen, I might as well share what I’ve got going on by way of decor/utility here as well. I hung the metal homework basket up when my oldest started school because I was in desperate need of a place to store all of the stuff that needed to go back to school, but not immediately. I.e. book orders, homework packets, permission slips, etc. Now that I have two in school, they each have their own pocket folder, and I keep my planner here as well.
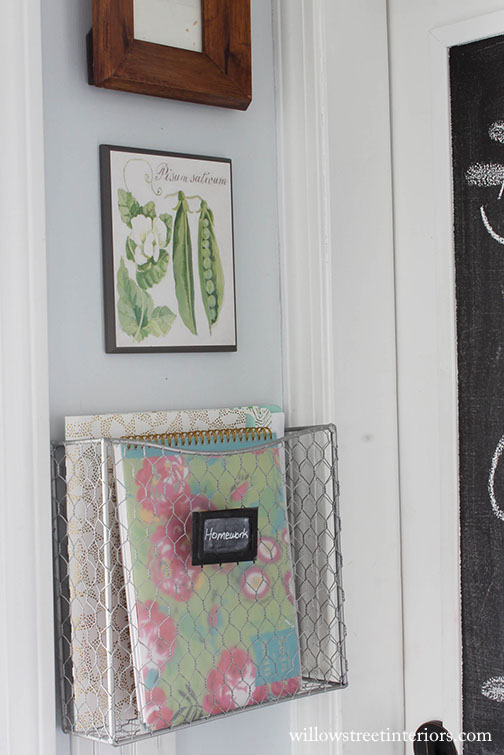
I assume as they get older, I’m going to need a little more than this, but this works perfectly for the time being and I’m *hoping* that maybe, just m a y b e we’ll be ready to do our mudroom addition at that point. Cue mega storage and family command center!
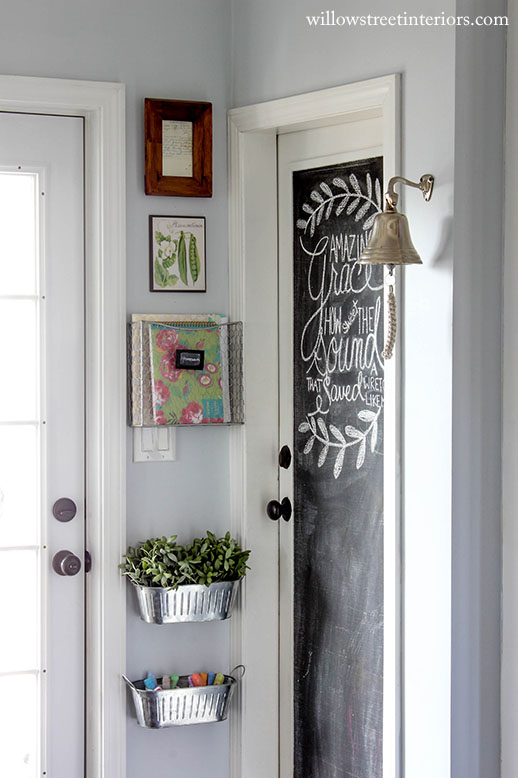
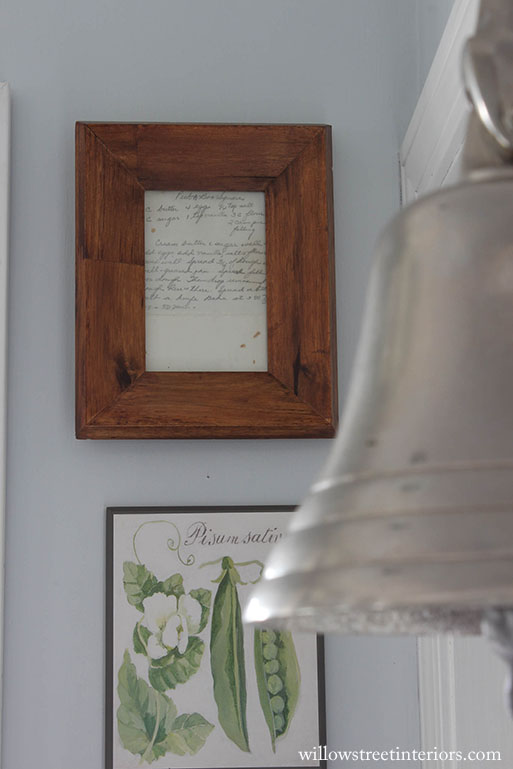
See the framed piece of what looks to be an old, handwritten note? That’s one of my grandmother’s recipes. I love having it in my kitchen. It makes me feel connected to my past, is a reminder of how important family is to me, and kind of gives my grandma’s memory a special place in our home. I think that whenever you’re holding on to something of sentimental value, it deserves a place of honor, and I love having her recipe sitting proudly on this wall. I actually did the same thing with my mom’s favorite recipe that my grandma used to make and gave it to her as a gift a couple of years ago, and she loved it too!
BEFORE…

AFTER!

I just love a pretty transformation! Thanks for stopping by, Friends. Wishing you all a wonderful rest of the week.
Laura ?
 An Alfresco Summer Tablescape Idea
 Uncle Bob’s {Gluten Free} Apple Cake
 Aubrey’s Bohemian Slumber Party
 New Art on Our Bookshelves {And a 75% Off Coupon Code!}
I LOVE this! Now I’m looking around to see what door could work in my house… ? I thought about doing a wall but I really like how the door looks painted black! Where are the silver buckets from?
Aw, well thanks, Mallory! It really is a simple project. The buckets are from Michael’s. I can’t remember exactly how much they cost, but they were cheap! ??
So I love everything about this makeover and I need to talk my hubby into doing this!!! Do you mind sharing where you got that gorgeous bell!
Thank you so much, Kathryn! I bought the bell at Homegoods last summer ?
I have been admiring your IG posts for a long time. It was one of the first ones I started following. I just love it..I’m new to IG and I don’t have a blog. But I’m awefully glad you do. 🙂 I have a really nice pantry with a really ugly door I’ve been wanting to kaint with chalk board paint for my grandkids go doodle on. I am so glad I looked up your blog. I didn’t know there even was such a thing as magnetic paint that’s amazing!! Now all I have to do is convince Papa it won’t ” ruin the looks of the place” if I paint one dull wood door. Thanks for sharing! Blessings, Pam.
Oh, thanks for the sweet comment, Pam! I’m glad the post was helpful ? convincing the hubby to work on one of your visions can be tough! I know all about that ? tag me on Instagram if you end up doing the door! I’d love to see how it turns out! ?
I really like how you did a door and not an entire wall. I love the idea of having a chalkbaord ‘something’ for my kids to draw on, but I’ve never been able to commit to a whole wall. This, I can handle! It’s so cute! Now to talk my husband into it 🙂
I’m so glad you like it, Kerry! It really wasn’t that hard, and I’m happy that I didn’t have to give up a whole wall too. Let me know how it goes, if you make it! ?