How to Create the Perfect Gallery Wall
Hi Friends! How are you all today? Gosh, the weather here in Massachusetts is absolute perfection today. I’m sitting here with the windows open and the sun streaming in, the chestnut tree out front starting to change and let go of its leaves. The chipmunks are scurrying around the flower beds, getting themselves plumped up for winter.
I just love fall in New England. There’s something so magical about the blueness of the sky and the colored leaves, the smell of apple pie and warm foods baking in the oven. Yep, I’m in an iabsolutelyadorefall kinda mood today, and I can’t wait to finally have a little lull with work {and life} to get going on my fall decor here at home.
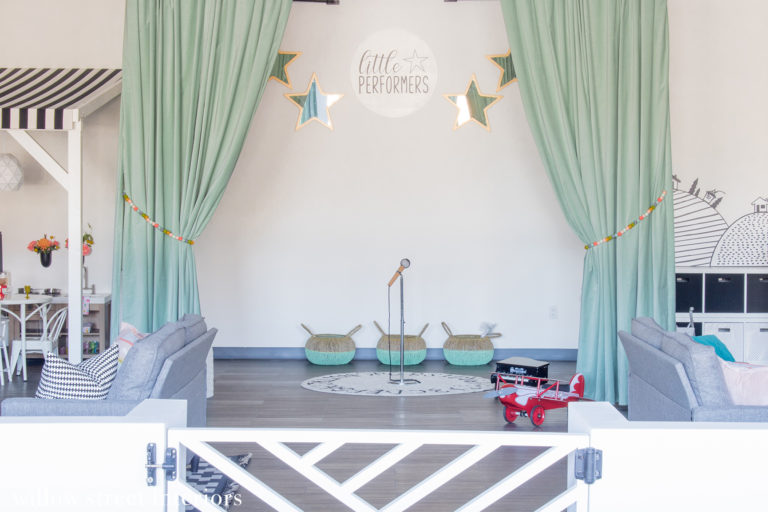
Well, last year at this time, I was just wrapping up an adorable playroom project. You may remember my reveal if you’ve been following along for awhile. If you missed it, you can see all of the photos {here}.
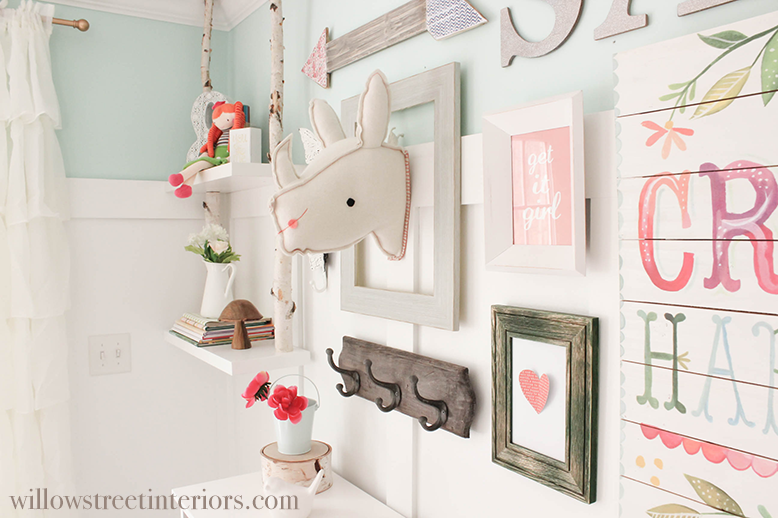
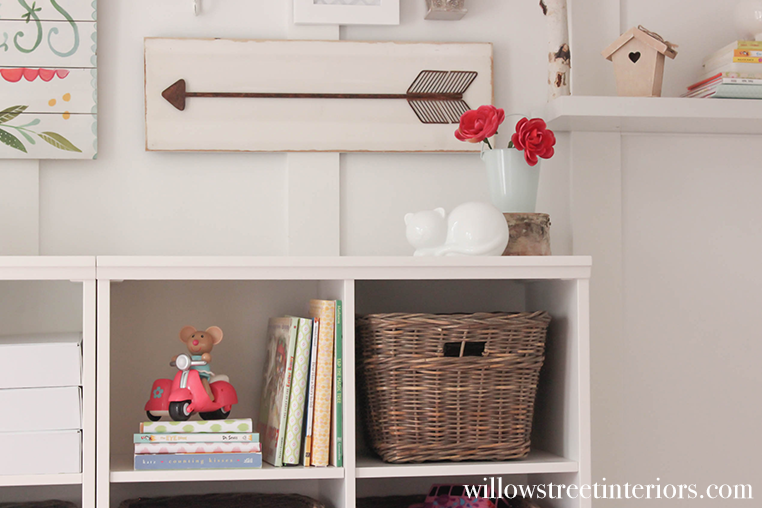
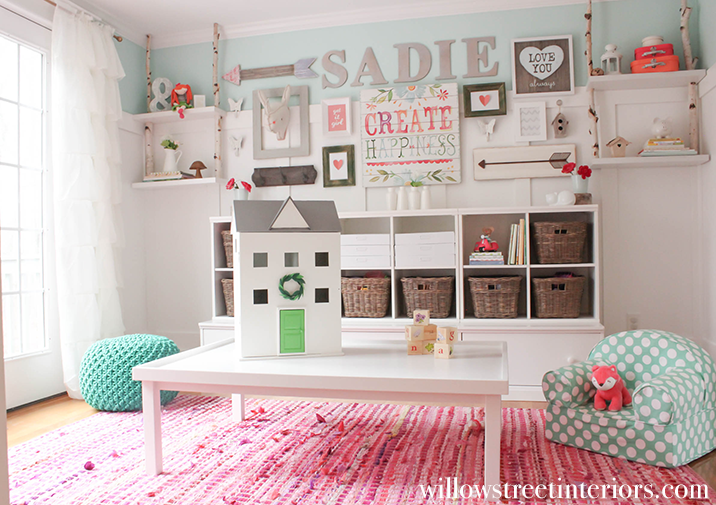
Here are a couple of photos to give you an idea of how the room turned out, and how large this gallery wall is.
It is seriously just the sweetest little space.
Today, I thought I’d pop in for a few minutes to share one of the simple tricks that I use to create perfect gallery walls in my designs! A gallery wall this size is seriously a whole lot simpler than you’d think. Alternatively, you could also think of installing translucent panels with lighting to give your gallery wall that extra oomph it needs to stand out from the rest of the room.
For a wall this size, I measure the space on the wall that I’d like the gallery to fill. I then cut a large piece of postal paper to that size.
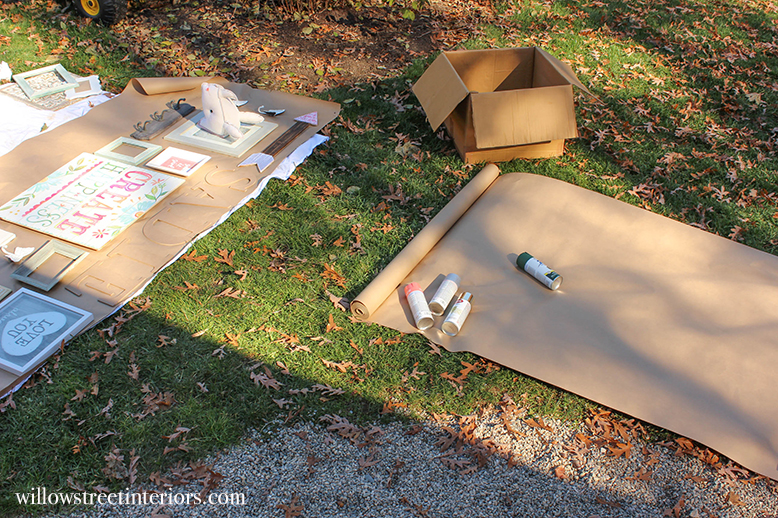
I got this roll of paper on Amazon.
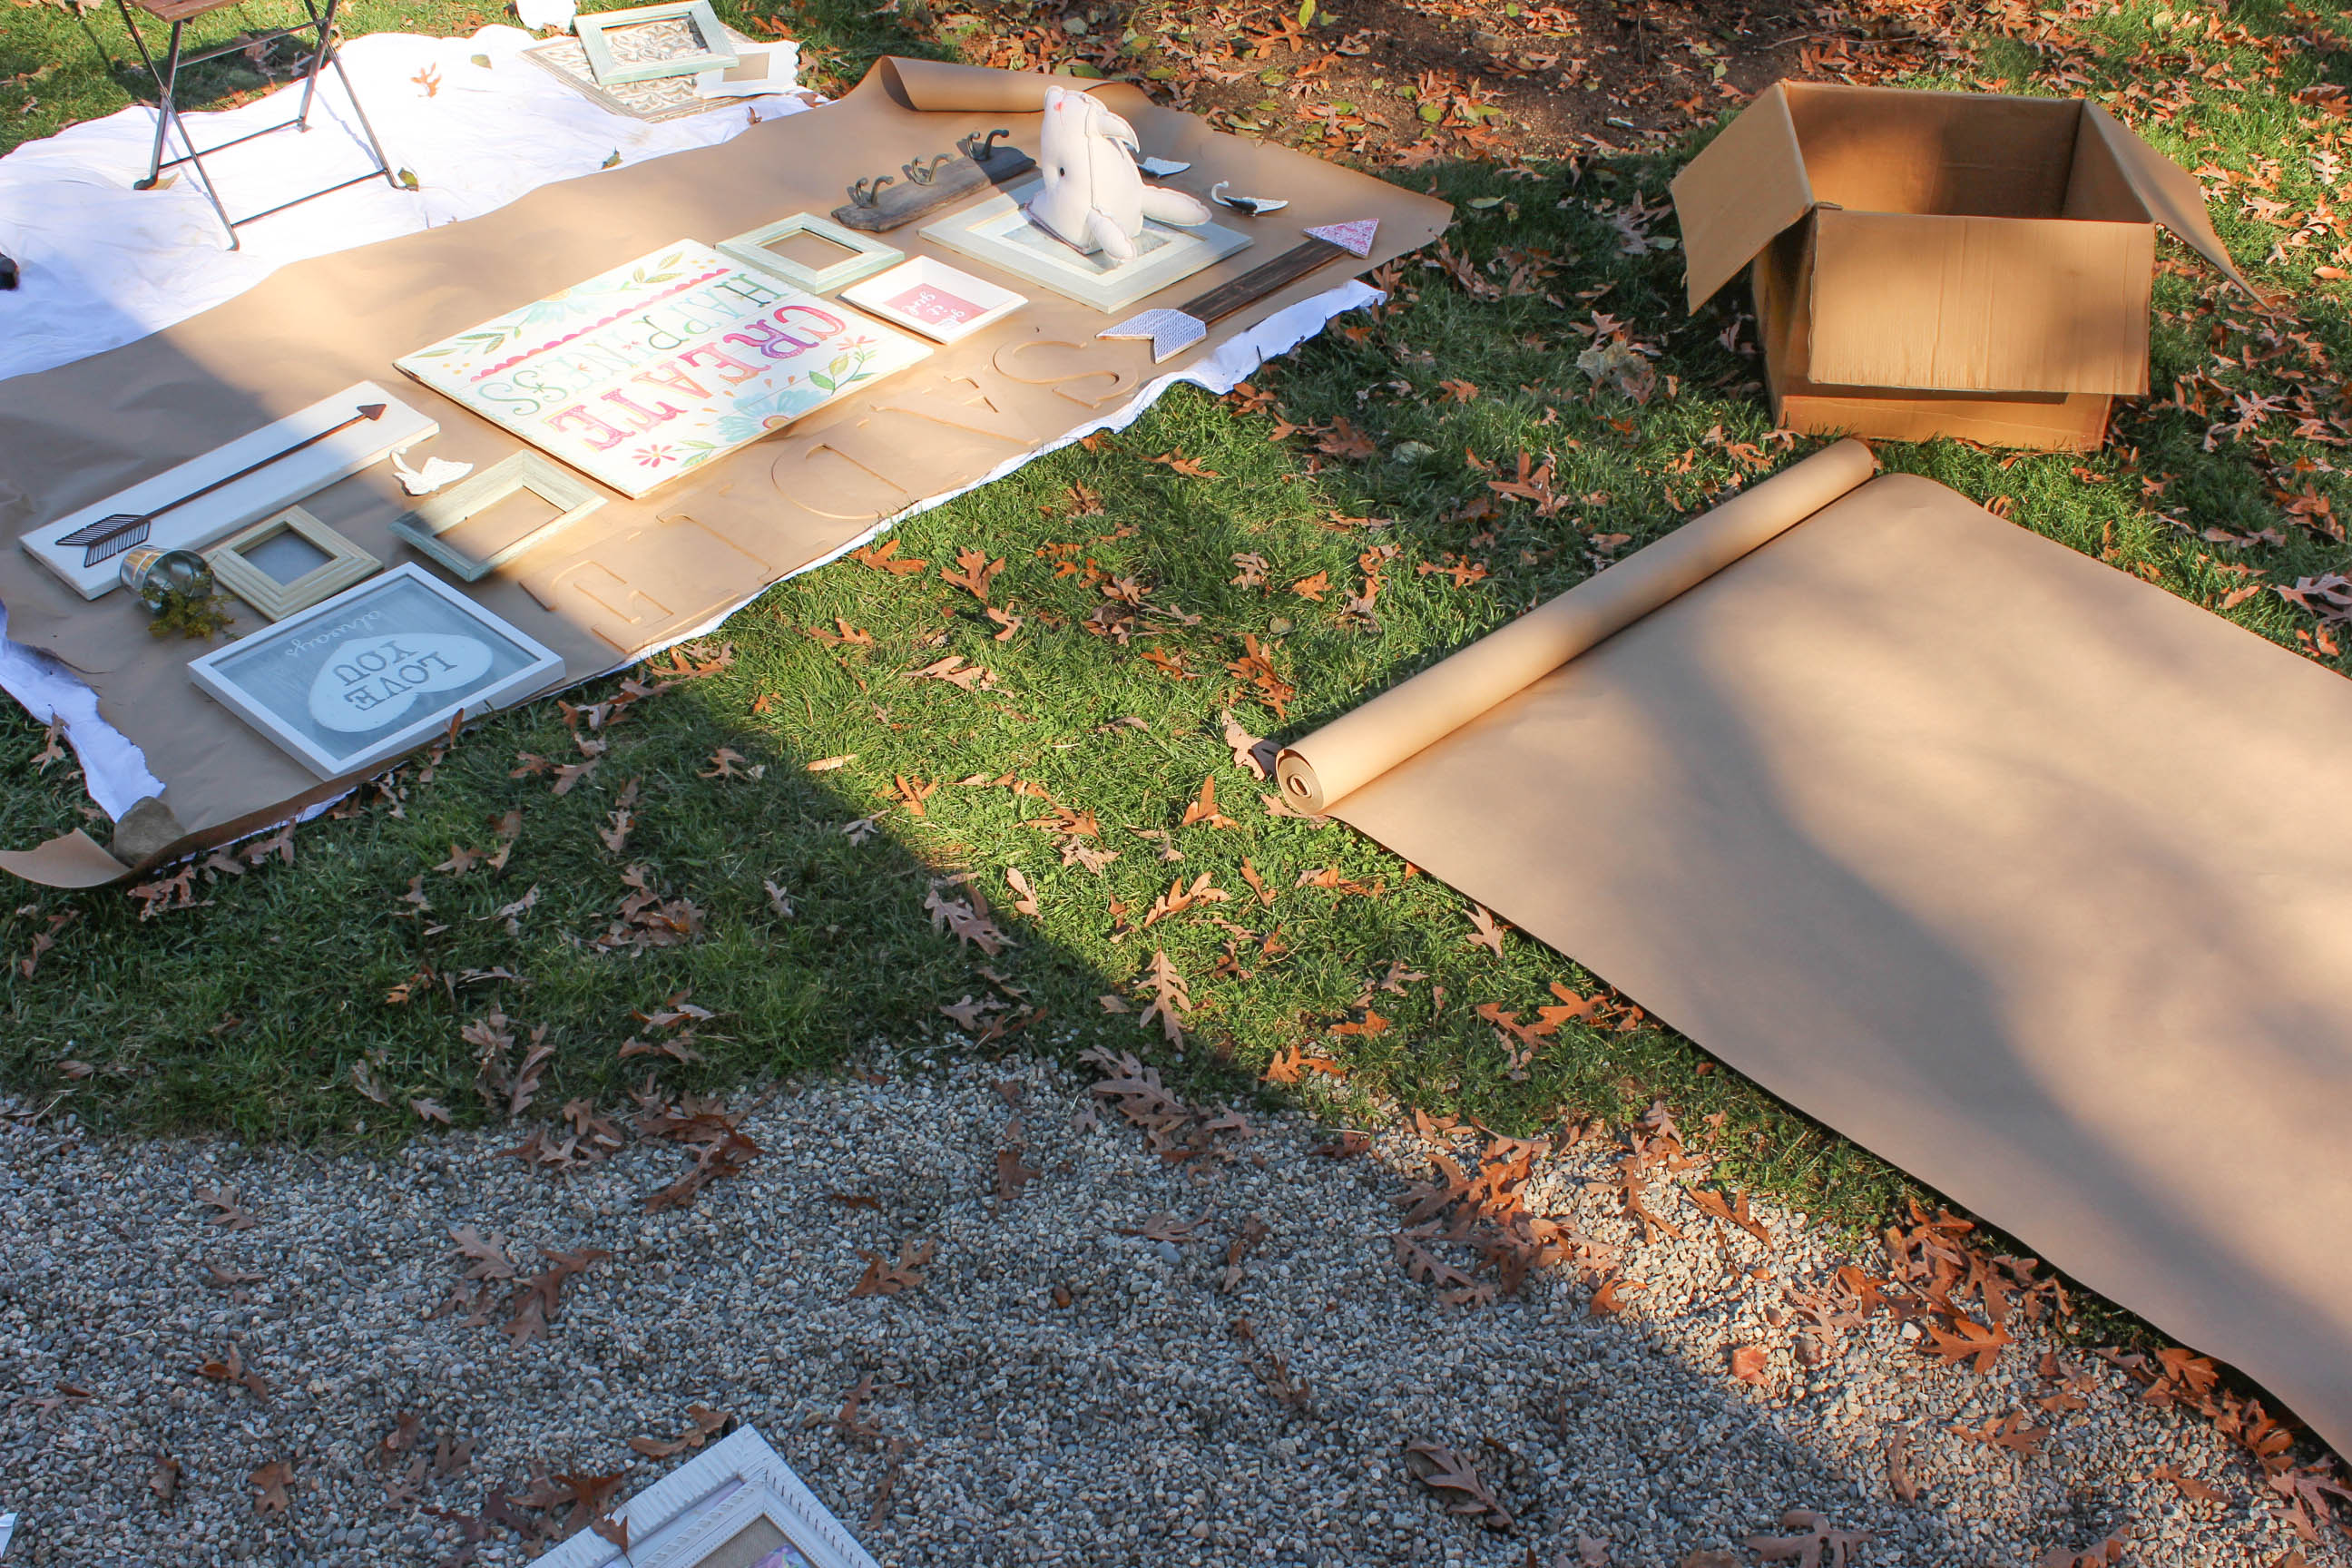
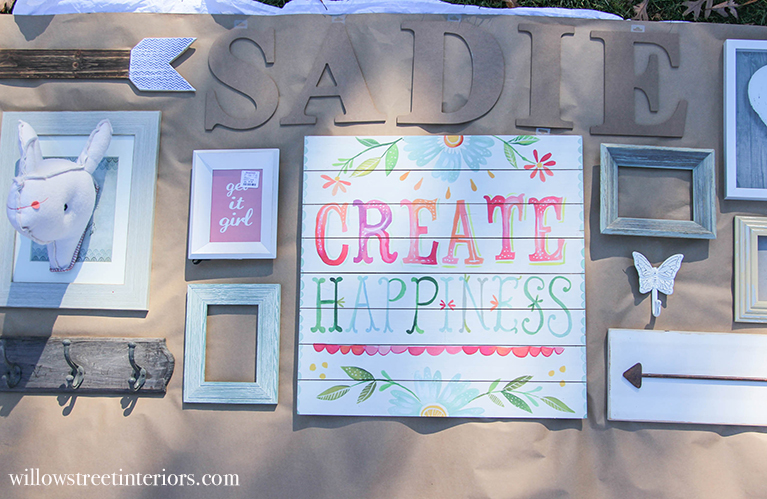
I then start to experiment and lay out my frames on the paper until I’m happy with how it looks. I already had all the images and art I wanted. However, if I was to update this wall with some recent family photos then I can get custom picture tiles made online. It might be something I look into if we redecorate. If those would not be feasible at the time I do choose to refurbish the room, I might have to look into other options like getting a few Photo to Canvas Prints done for the room. But all that completely depends on ‘if’ I do choose to redecorate.
That said, I was pretty happy with the layout here but noticed that the lighter green frames weren’t working for me.
So out came the spray paint. Laying out your frames like this is so helpful because if you have misjudged how your wall decor is going to look together, it’s easy to pull something out or make changes.
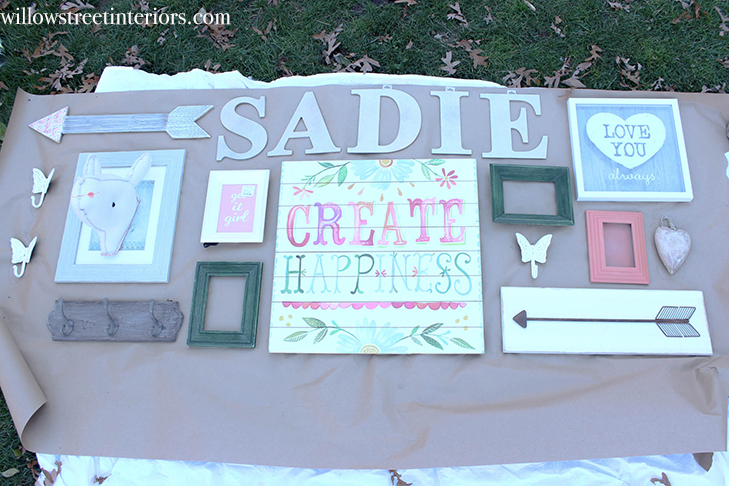
I decided to go deep green with two of the frames and coral with the other. You can’t really see it in the photo, but I also wiped the green frames down with a little bit of gold acrylic paint once they were dried, to soften the look just a little. Sadie’s name also got a couple of coats of silver spray paint.
After I was happy with the layout, I moved on to the last step. Tracing the wall decor onto the paper!
If you look at the photo before the one above, you can just barely see that I had already finished tracing everything onto the paper. This is the best close up that I have of what that step looked like.
And that’s just about it, Guys! Once you’re done tracing all of your pieces onto your paper, all that’s left to do is to hang the paper on the wall {be sure that your upper most elements are hanging at the proper height}, and voila!! Time to get the hammer.
Leaving your paper on the wall, pound those nails into the wall right over the paper. When you’re done, tear the paper off the wall, exposing all of the perfectly placed nails, hang up your frames and decor, and stand back and admire your handiwork.
Works perfectly, every time!
Oh, and I’m joining Stephanie over at Casa Watkins Living this year for her My Home Style Blog Hop, and I hope you’ll come back this Thursday to see how my home has evolved since we moved in! It’s come such a long way! I’ll also be sharing tips and sources for creating a similar style in your own home.
I hope you’re all having a fabulous week, Friends. Thanks for being here!
Laura ?

LAURA! This is genius! I’m so excited to give this a shot. And I’m so happy it’s fall too. Time to break out the pie dishes and get baking. Thanks for sharing this tip. PINNING so I don’t forget!!!
Aw, thank you, Mallory! I’m so glad it’s helpful!!! xoxo
Thank you soooo much for sharing how you do this! I’ve attempted a couple picture walls in my house and they end up looking sad hahah! I’m going to try this 😀
I know, gallery walls can be tricky! Hopefully this will simplify thing a whole bunch. Let me know how it goes, and thanks for stopping by! xoxo
Oh my gosh, I love this! The wall, the tutorial, everything!! thanks os much for sharing how you created this stunning wall!