How to Make Your Own Wooden Arrow Wall Art
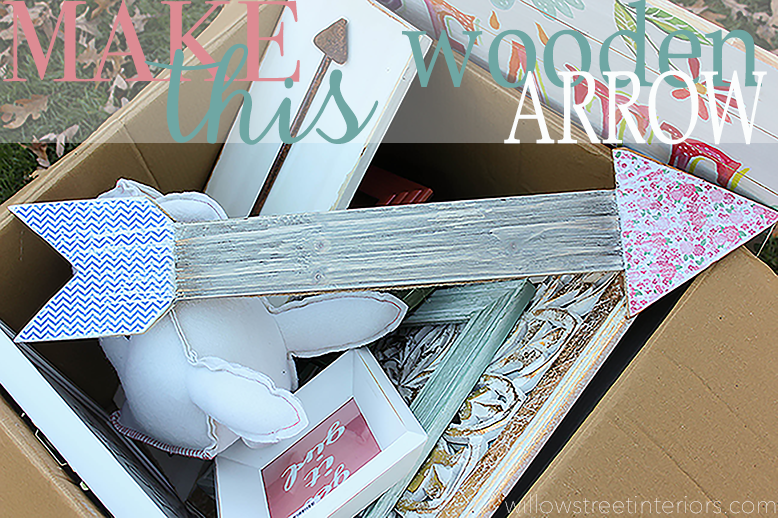
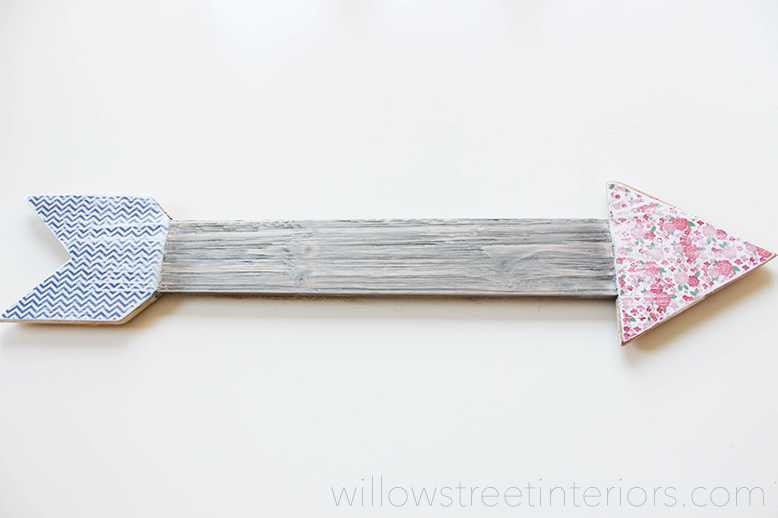
Hi there! I hope life has been treating you well this week. We’ve had a pretty crazy one, and it’s only Tuesday! But, oh my goodness, the weather these last few days! It’s been warm and sunny and just perfectly sublime, so I was pretty thrilled to have an excuse to be outside today making this darling little arrow you see up there.
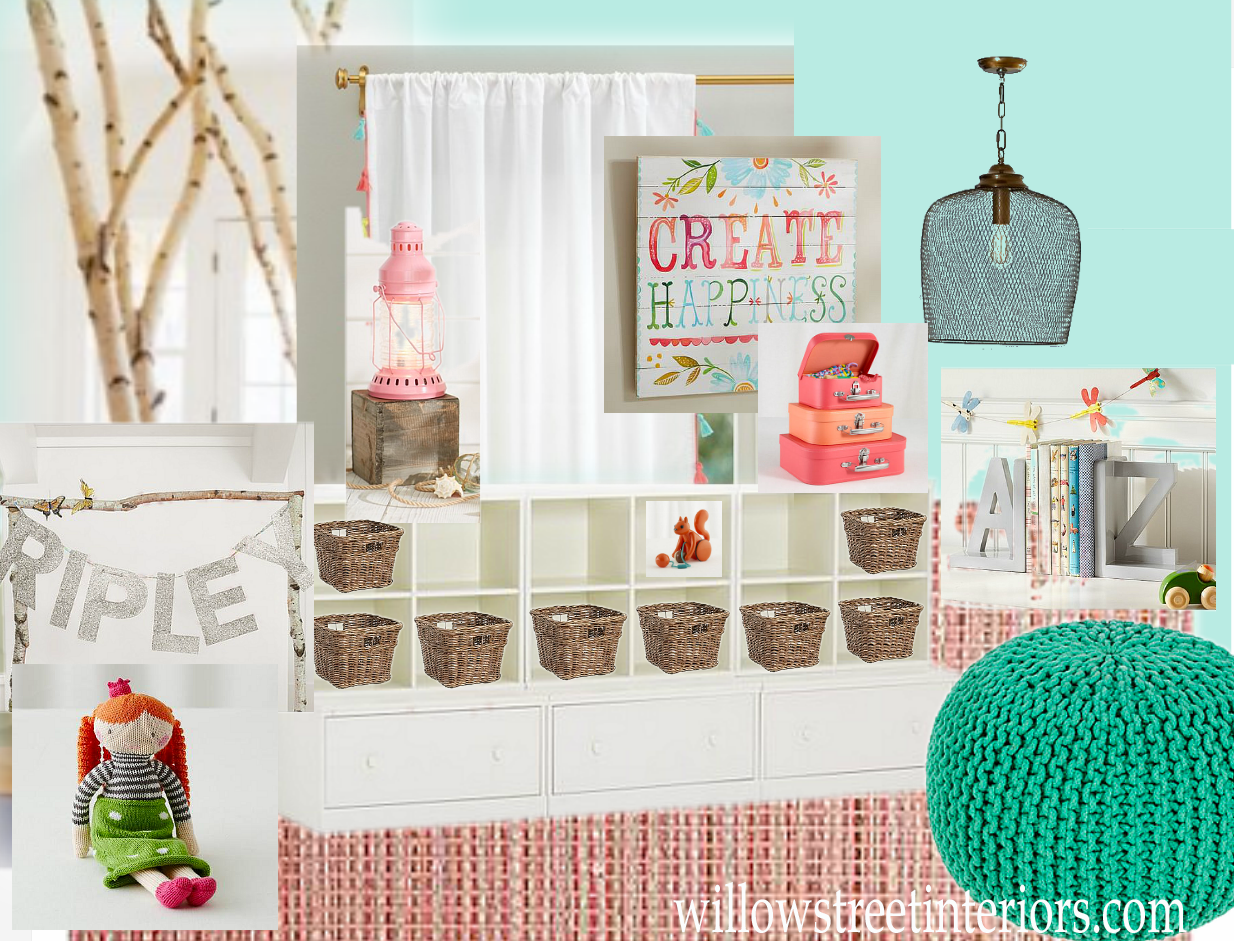
Remember the mood board I shared awhile back featuring that sweetie pie playroom?
Well, the progress has been tremendous, and we’re getting into the final stages now. The painting’s been done and just about all of the large items have been put together and installed. So this week is all about the details and styling the room. A few weeks ago, I discovered a shop on Etsy called Just Add Sunshine Inc. The shop owner was selling these gorgeous little wooden arrows, and I thought one of them would be perfect for my client’s daughter’s playroom. I showed her, and to say she wholeheartedly agreed would be an understatement. She was beside herself with how adorable they were, and I have to say, so was I. I went to place the order that night, and as luck would have it, they were already sold out! 🙁 My client was devastated, and honestly, I was pretty bummed too. They were so adorable, and one of them would have been the perfect addition to the gallery wall that I’m installing in the room. As I was busy trying to hunt down something at Michael’s in an attempt to fill the would-be empty space, guess what I came across? An unfinished wooden arrow! I thought, I’m not the greatest painter, but I can sure as heck mod podge some paper onto that, and I’m pretty sure it’ll be adorable. And you know what, I made one and it came out just as I was hoping it would!
I love it when that happens. Because, let’s be honest, it doesn’t always work out that way. 😉
Well, I gave it to my client today as gift from Willow Street. She was thrilled, and the process was honestly pretty simple if you have a few hours (mainly waiting for stain and mod podge to dry), a few supplies, and the need for one of these cutesy wooden arrows. Here’s what you’ll need:
• a wooden arrow from Michael’s
• wood stain or paint
• scrap book paper
• sandpaper
• mod podge
• a couple of foam brushes
• paper towel for blotting
• white acrylic paint if you make the body of your arrow like this one!
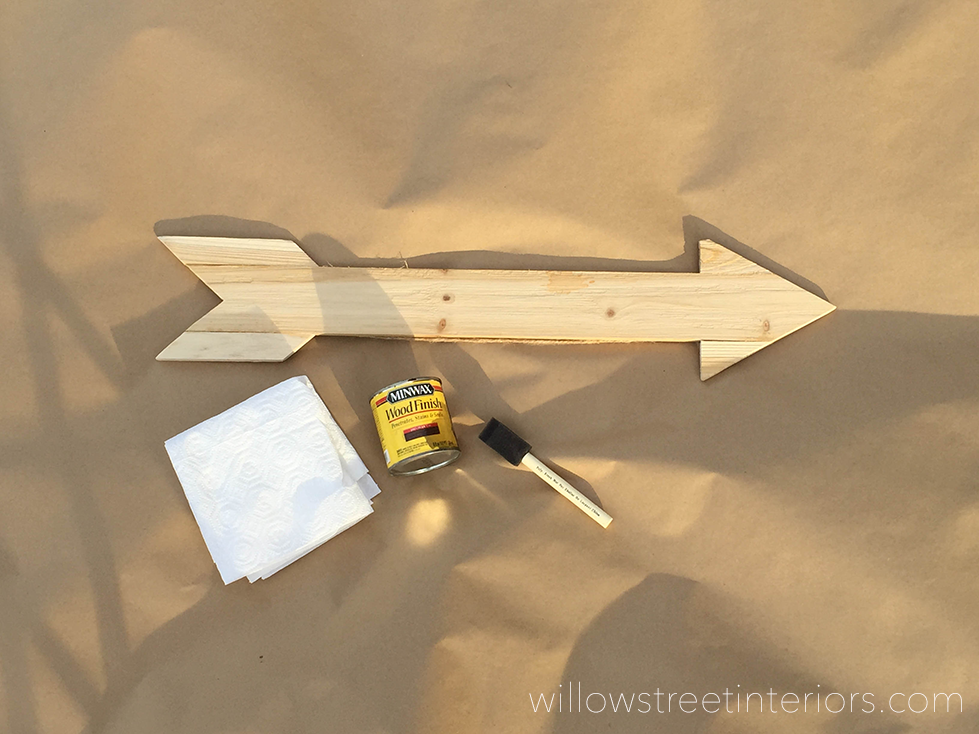
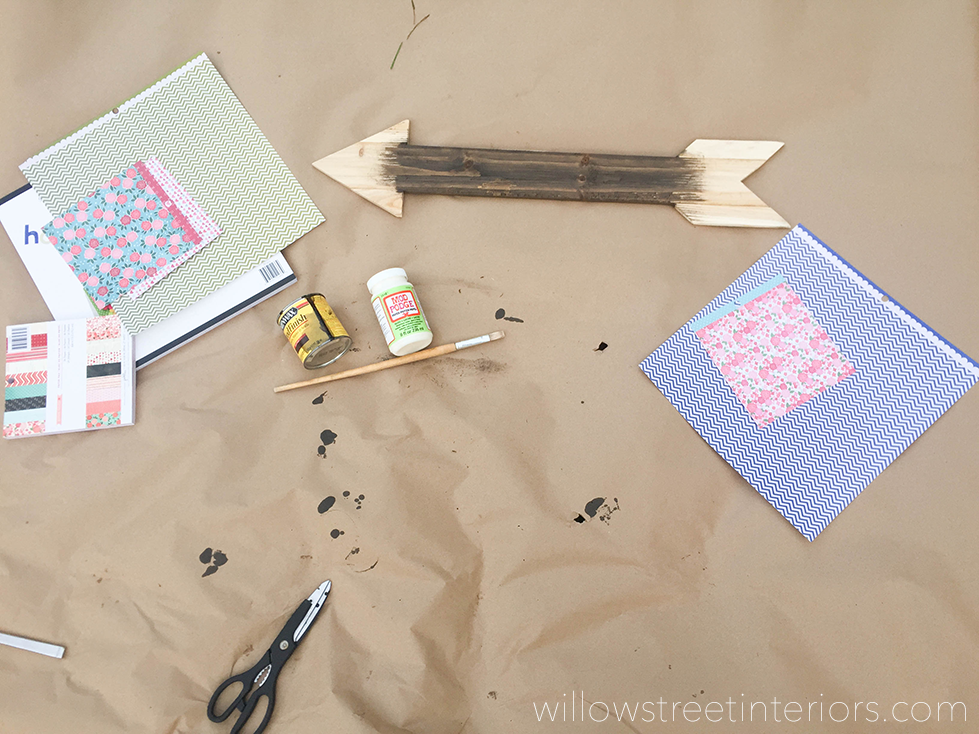
Here you can see the wooden arrow from Michael’s, along with some wood stain, a foam brush, and paper towel. I used Minwax Mahogany Stain because that’s what I had, but you can use any color you like. Paint would work as well.
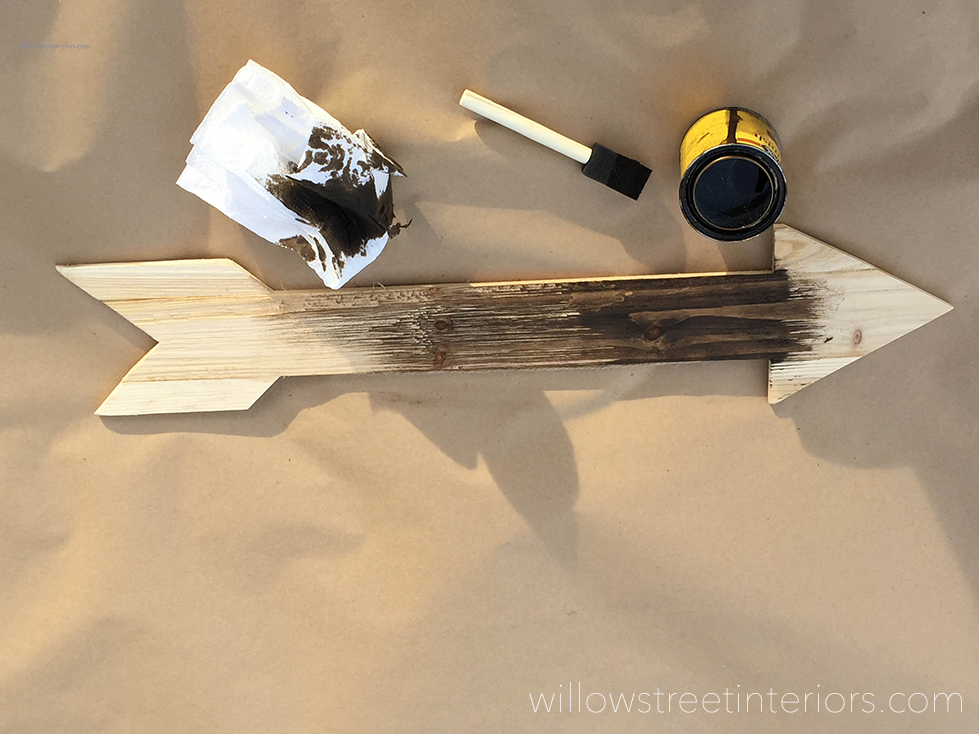
Begin staining and blotting as you go. I was looking for an uneven, rustic look with this arrow, so I didn’t want the body of the arrow to be thoroughly saturated with stain. Add a little stain, and then wipe it off. Do that over and over again until the body of the arrow is covered. I tried to capture that process in the photo above.
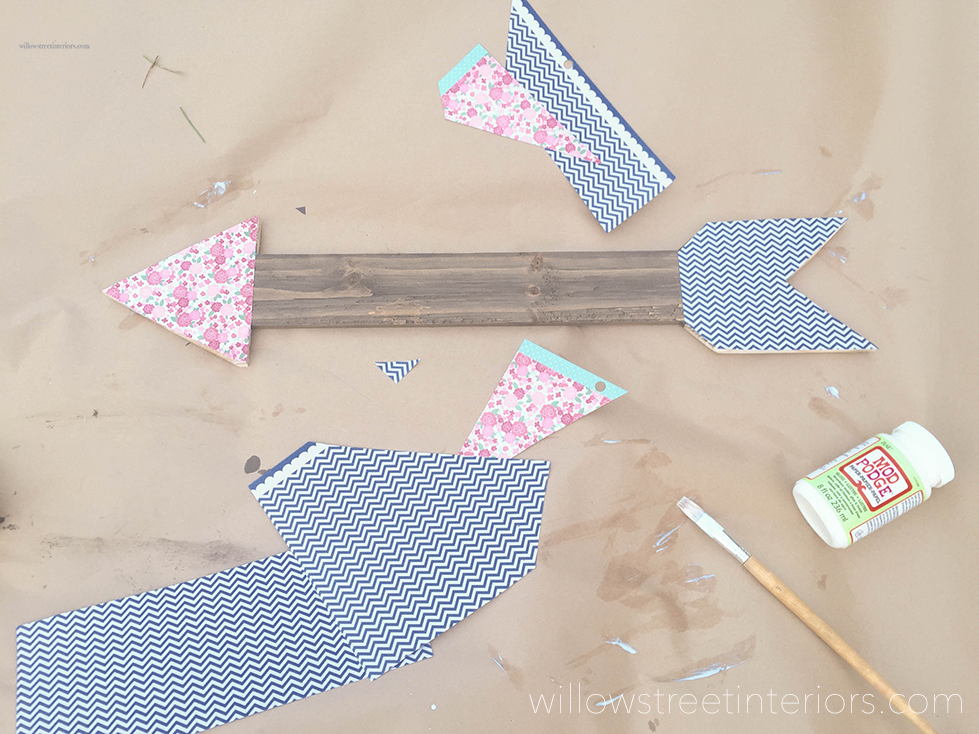
Once your arrow is stained, get out your scrapbooking paper and choose a couple of different colors or patterns that you like! Trace the arrow head on the back of one piece of scrap book paper. Then, trace the arrow’s tail on the back of the other piece of scrap book paper. Next, cut the two templates out. Take your mod podge (glossy or matte, it doesn’t matter) and paint it on to the arrowhead and then onto the back of the arrowhead template that you just made. Affix the template to your arrowhead. Follow those same steps for the arrow’s tail.
This is what you’ll have at this point. I’m not sure how well you can see the details in this picture, but at this point it will be very obvious that you’ve just basically glued some paper onto an arrow. Don’t worry though. It won’t look like that for long. Wait 2 hours for the mod podge to set.
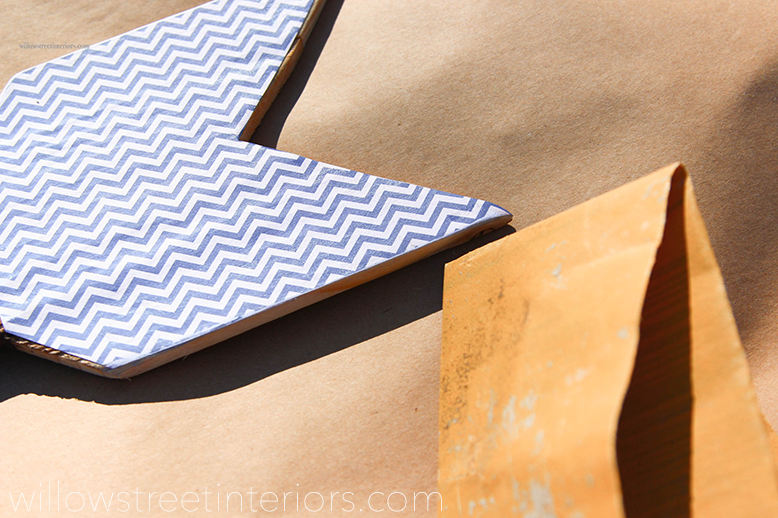
Once the mod podge is dry, get out your sandpaper and go to town! you really want to focus particularly on the edges where the paper meets the wood. Sand, sand, sand!
You can see here that I’ve really sanded the edges, and then once that was done, I moved on to the rest of the paper and the body of the arrow as well. Once that is done, add another coat of modge podge over the tail and arrowhead. Don’t mod podge the body.
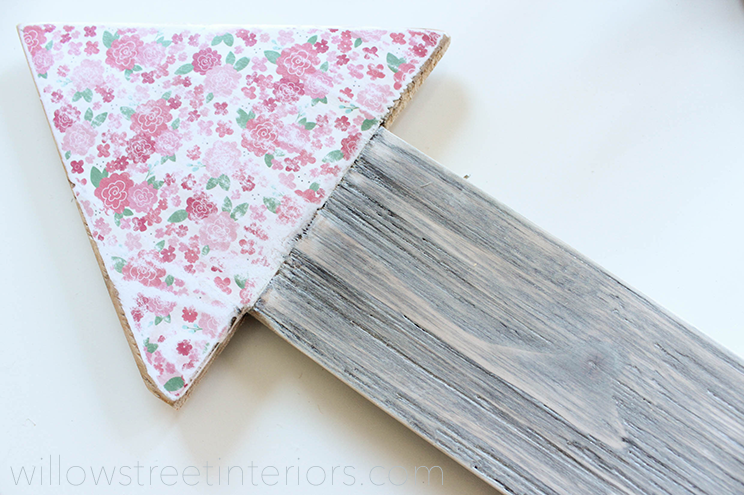
One thing I forgot to photograph here, because it was kind of a last minute decision as I was planning the layout for the gallery wall… After everything else was done, I decided the body was too dark for the space and the other wood elements that I already have going in the room. So, I grabbed a little bottle of white acrylic paint, mixed 3 parts paint to one part water (literally about 3 tablespoons of paint to one tablespoon of water) and painted over the body of the arrow. I then wiped the paint up the same way I wiped the stain earlier, and then quickly sanded the body again. I honestly waited 4 minutes, tops, to do the final sanding because I wiped off nearly all the wetness of the paint when I went over it with paper towel. I love how it turned out, and the color ended up working perfectly!
I can’t wait to finish things up and show you all the room! The curtains have been on backorder but should be arriving Friday, so hopefully I’ll be able to get it photographed by Sunday or early next week.
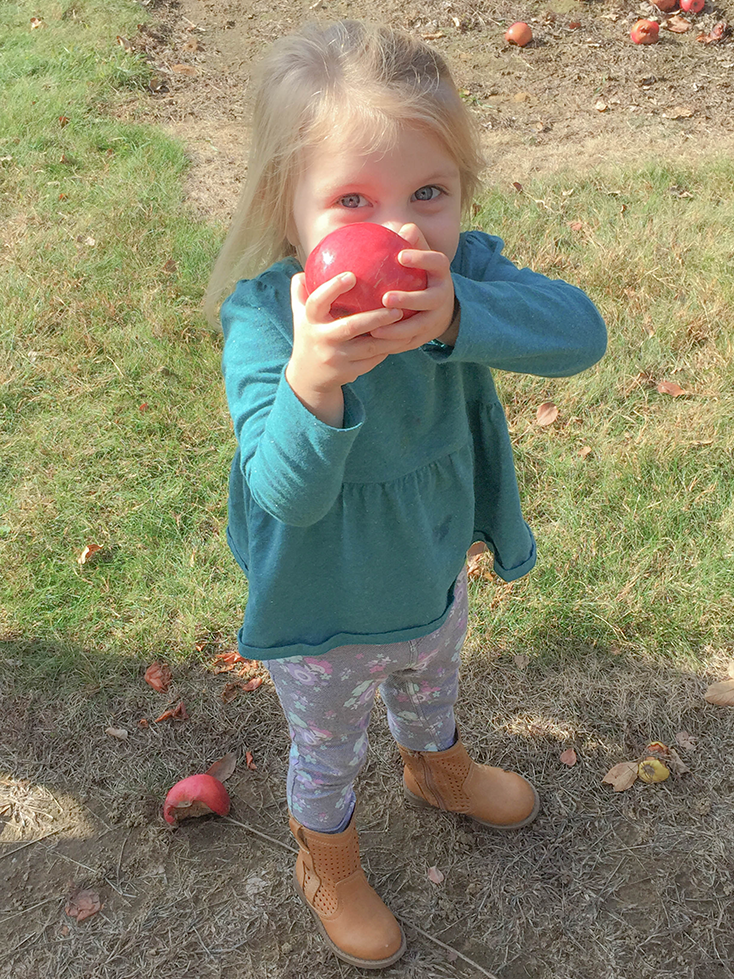
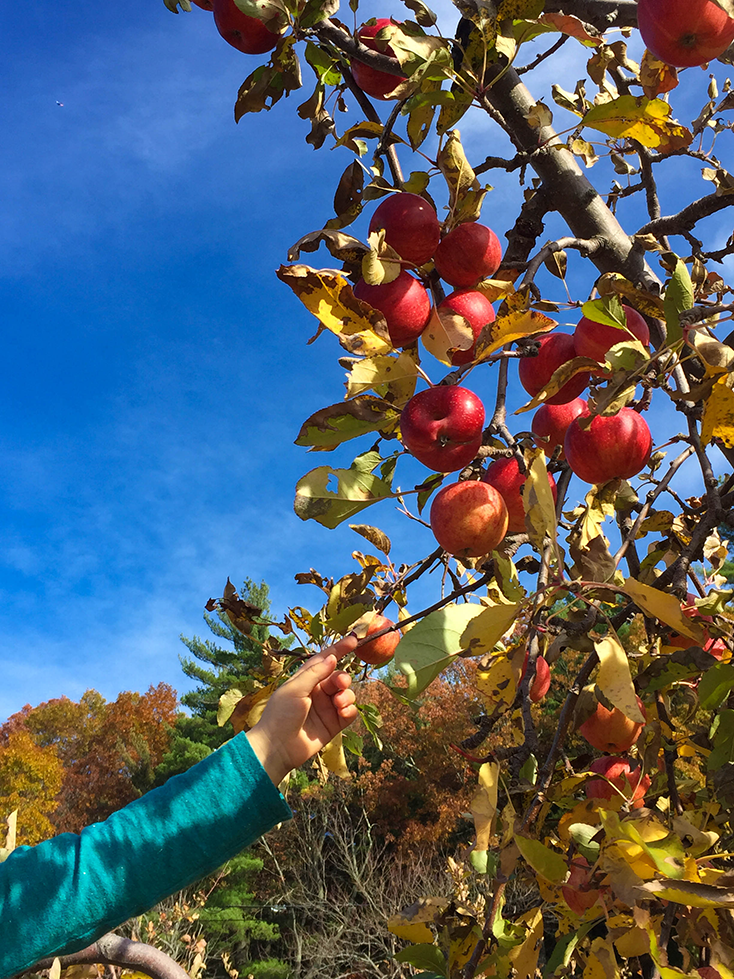
But before I go, I wanted to share a couple of cute photos from yesterday afternoon. My husband and I were able to schedule appointments relatively close together and, driving home, we passed an orchard and made an impromptu decision to stop and pick a few apples with Ayla. The weather’s been so gorgeous, and we won’t get many more sunny, blue sky days…
So we’re just trying to soak it all up whenever we can.
I hope you are too. Have a great rest of the week, friends!
Laura ♥
To see the playroom all finished up, click {here}
<a href=”http://www.bloglovin.com/blog/14497181/?claim=wzr52behnby”>Follow my blog with Bloglovin</a>

