6 Steps to the Perfect Outdoor Space
I’m linking this post up to Krista over at The Happy Housie’s (and six other amazing bloggers’) Outdoor Extravaganza Link Party! There’s so much outdoor inspiration over there – don’t miss it!
Hey Guys! I hope you all had a wonderful Memorial Day Weekend, and that the week’s been treating you well. The last few weeks – who am I kidding – the last few MONTHS, just flew by, and I honestly don’t know where the time’s been going.
We decided to take the kids on a little getaway last weekend, after weeks of what seemed like non-stop busy-ness, and it was so nice. And also made me realize that I’d like to take a 2 week vacation, and not a 3 day one, lol!
Man, it was hard to come home. We went to Vermont and stayed right at the base of Ascutney Mountain. Made s’mores, visited a living history farm museum, watched ice cream get made the old fashioned way and sampled it, walked through downtown Woodstock on the sunniest, most beautiful spring day and ate outside at a cafe.
It was nourishment for our weary, overworked souls, and such great family time.
I’m going to blog a bit about the trip in an upcoming post, so I’ll save the rest for that.
Tonight I wanted to share some simple tips for styling your outdoor living spaces in preparation for summer. Because who doesn’t like a spot to relax in the shade, sipping on an iced coffee, when the weather warms up?
And making those outdoor havens super pretty is a lot easier than you’d think, when you keep a few things in mind.
1. Zones
Look at your overall space and ask yourself what you’d like to use it for. Potting and planting? Set up a potting table with hooks for your planting essentials along a back wall or fence. Additionally, a fence or back wall doesn’t have to be boring, dull colors. You can paint them any color you like, creating a more aesthetically pleasing outdoor area. If you didn’t want to paint, you could consider a composite fence instead. The sleek design of a composite fence can make your garden look more modern if that’s the look you’re going for. Grilling, dining, relaxing? Map out a few different zones based on your own needs. For this space, my sister and her husband wanted a place to relax and kick back, and another space to sit down for casual dinners on the deck. She wanted to get a patio installed after seeing the article ‘Patio of the Week: Inviting Terrace in Oregon Inspired by Italy‘, however, her husband wanted to keep the decking. If their budget wasn’t so restricted I would’ve sided with my sister but I think the deck works just fine at the minute. I told them if they wanted to get a patio installed, they should contact a landscaping company that would be able to help them with designs etc. It’s something for them to consider for the future though.
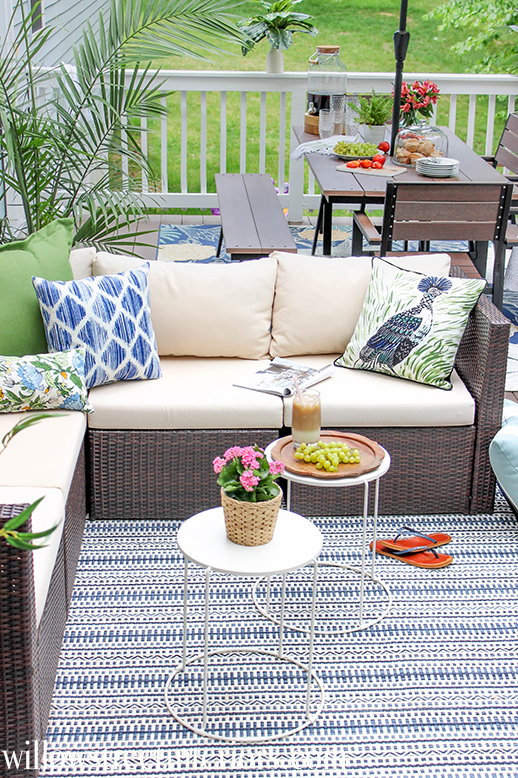
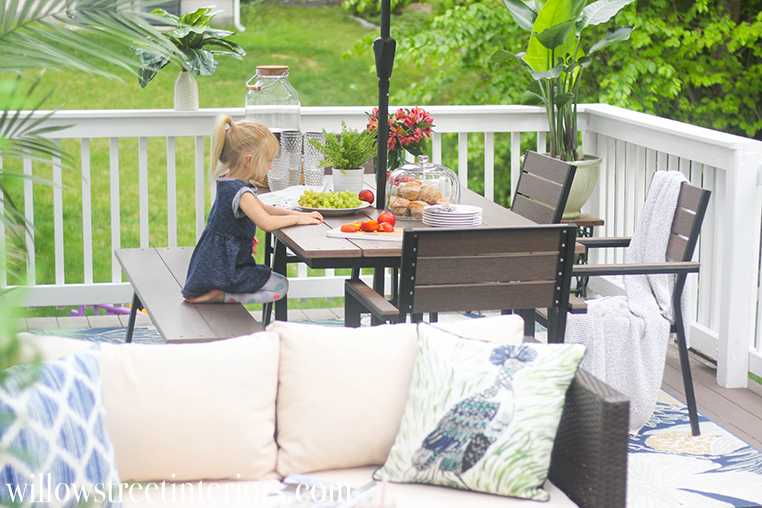
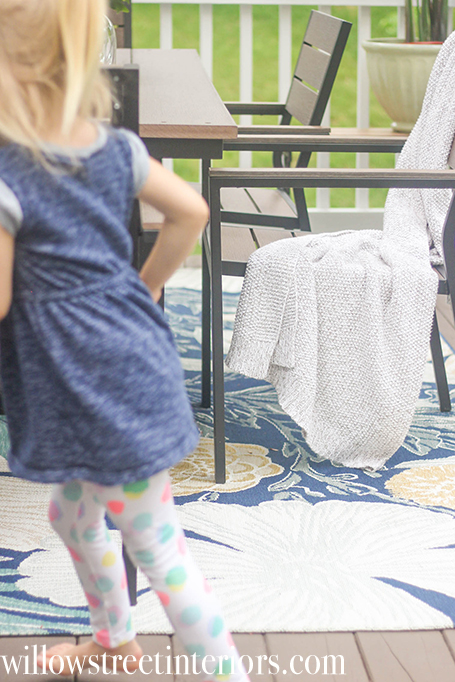
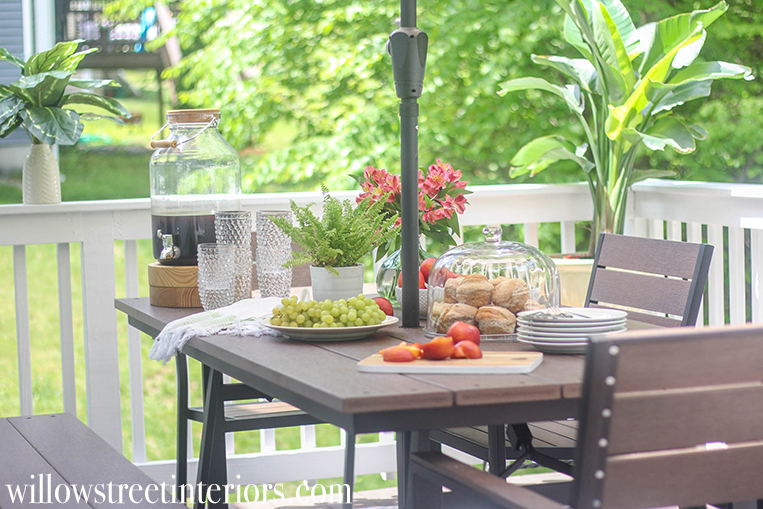
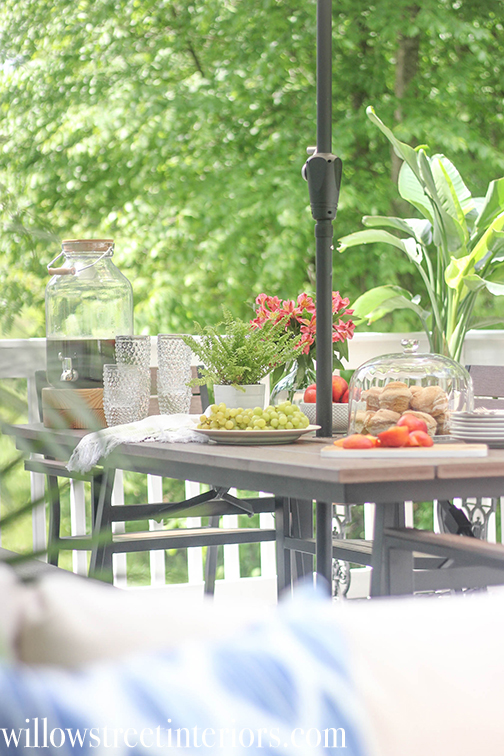
See how I’ve broken the space into two separate zones?
One for relaxing, and one for dining…
2. Define Large Areas
When it comes to larger areas like ones used for seating or dining, define your spaces!
Choose your anchor pieces, for example a dining table for one area, and some sort of seating arrangement for another. My sister and her husband wanted a sectional, but you could easily create an equally beautiful sitting space with adirondack chairs, benches, outdoor loveseats, etc.
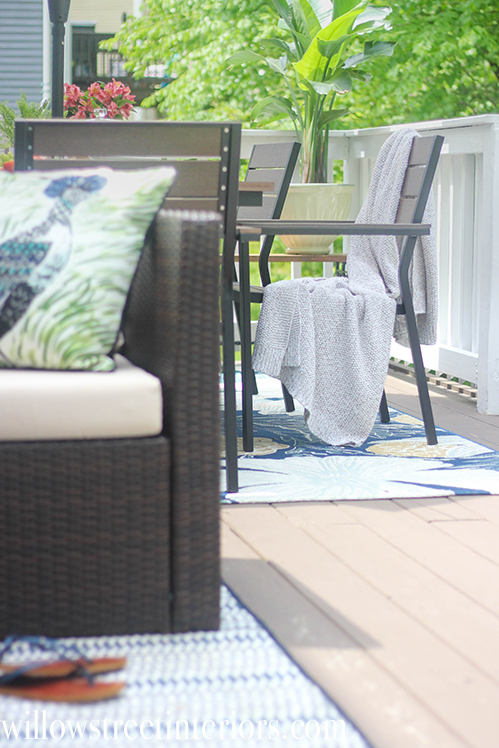
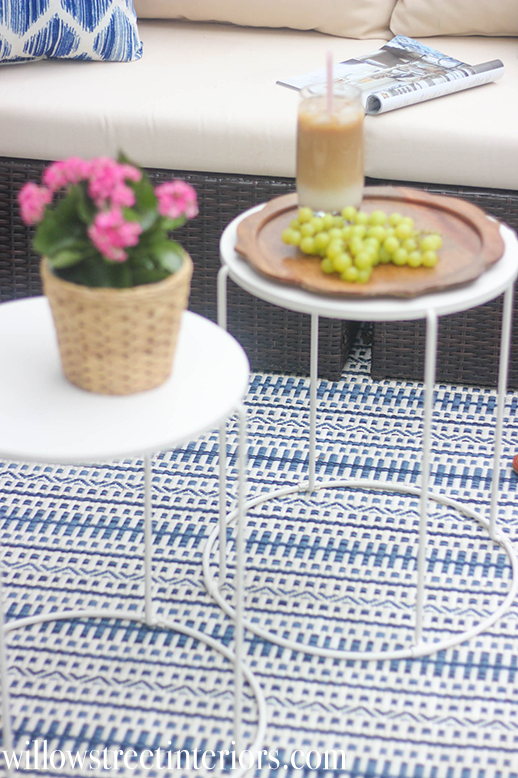
Further define and anchor the space with outdoor area rugs.
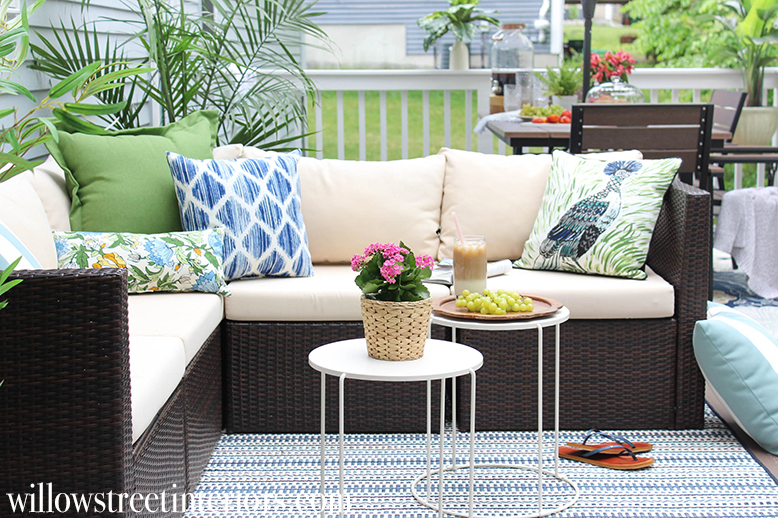
See how I’ve used two different rugs as anchors? Just like inside your home, you can mix and match rugs within the same space so long as the colors complement each other, and the pattern sizes are different.
If rugs aren’t a possibility, you can also achieve the same goal with an umbrella over your dining table, and a coffee table or fire pit in the center or your sitting area. If you can do both, like I did here, even better.
3. Plants
Never underestimate the power of lush, green or flowering plants to help anchor your spaces and bring in some vibrancy and life.
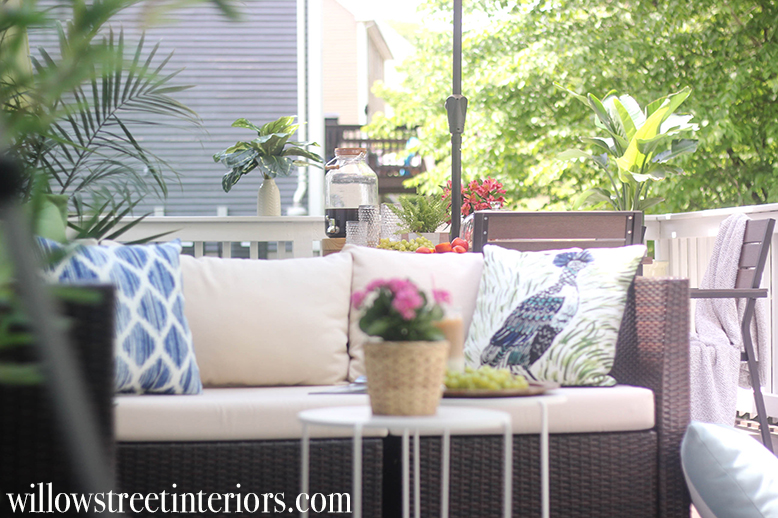
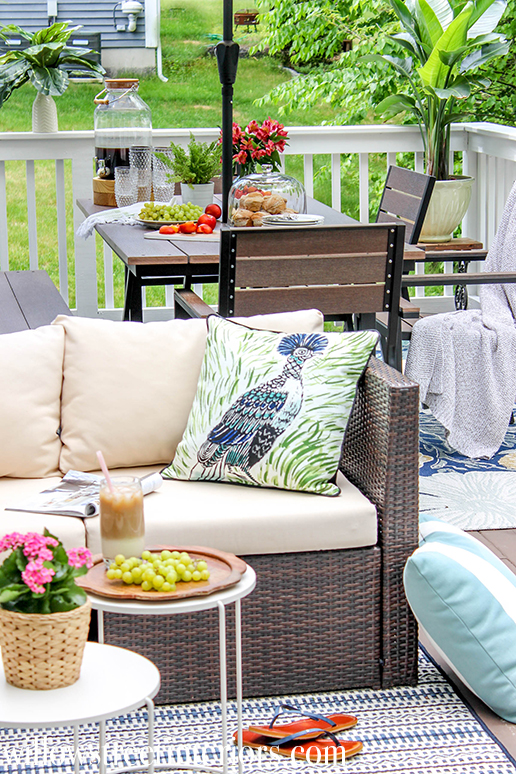
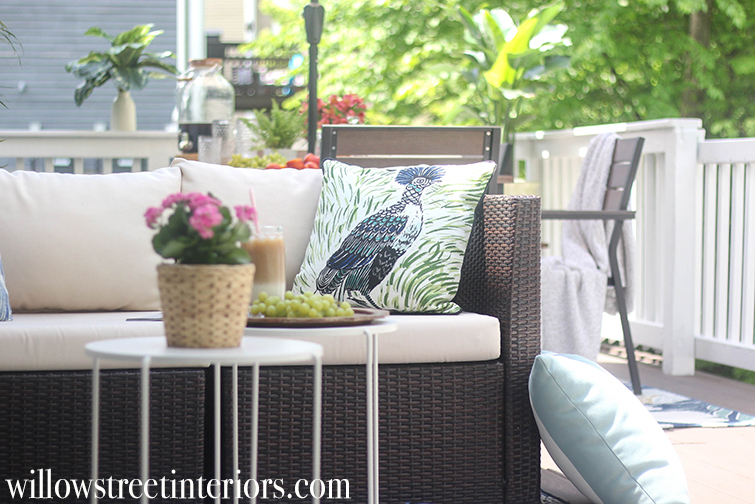
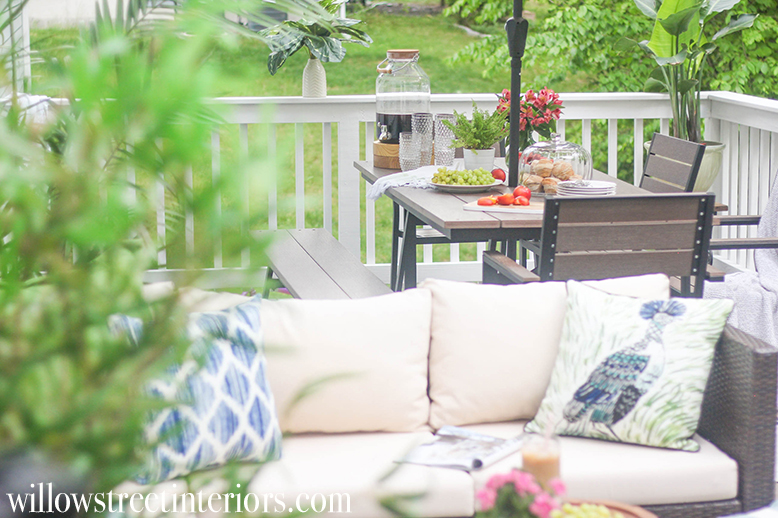
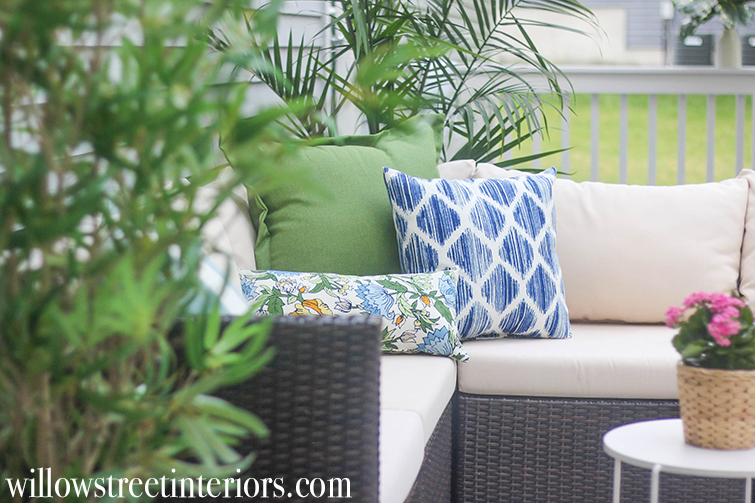
Here, I mixed some tropical plants that will thrive in a bright, but mostly shady spot like this, along with some pretty flowers.
It’s also important to think about the plants that surround your patio. It’s all well and good having your patio be filled with pretty plants but if the bush or trees that surround it aren’t well kept too, it will look bad. Be sure to hire someone like The Local Tree Experts to trim the surrounding trees to make sure they fit in with the aesthetic you’re going for.
4. Pick a Color Palette
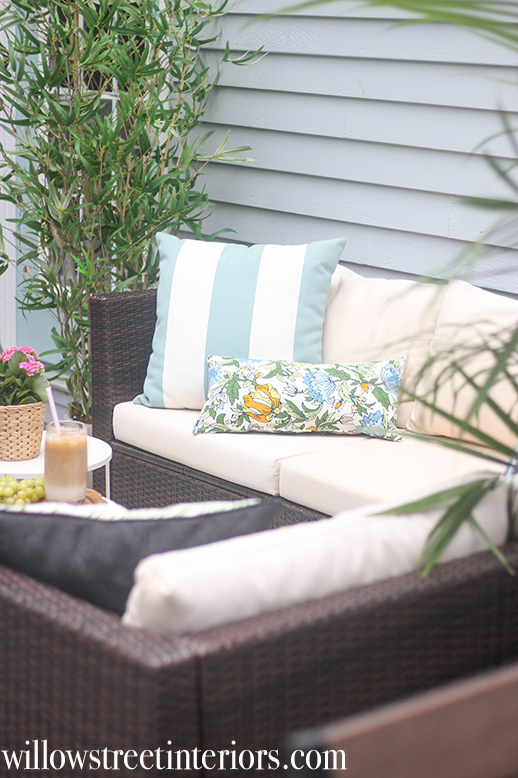
My sister already owned the sectional and dining set, along with a few soft blue pillows… I decided to freshen up the lighter blue a little by working in some navy and green, which was the palette I really wanted to go with.
And actually, here’s a good tip for you…
If you have an ‘older’ design element that you’d really like to use, but you’re not thrilled with the color, find an inspiration piece that contains both the ‘older’ color and the ‘newer’ colors that you’d like to use.
This will kind of create a jumping off point for you to really introduce the newer colors in a bold way, while still managing to keep things feeling cohesive.
Case in point…
The old pillows are the spa blue striped ones. I introduced that floral pillow which contained lighter blue tones, green and navy, and then just went nuts with the green and navy!
And it totally works, right?
5. Pattern and Texture
And while we’re on the topic of pillows, I might as well introduce pattern and texture here.
Mixing patterns is super fun, and helps to create a really beautiful look.
Just make sure that when you’re mixing them, you choose patterns that are different in shape and size, but similar in color. This will prevent things from looking busy and keep your space pretty and cohesive, mmmkay?
I really brought in texture through plants here, which is most likely where yours will be coming from too if you’re designing an outdoor space!
I know what you may be thinking. Umm, we’re outside. Plants are everywhere, lady.
But hear me out. Layering in potted plants of various kinds will do wonders for your space. It will help to anchor, add texture, color, life… They’re just so important.
6. Lighting
Ah, lighting. There’s nothing quite like the soft glow of twinkle lights or soft cafe lights when it comes to outdoor spaces. Depending on your outdoor space, you may want to opt for Lampadaire exterieur – fancy talk for outside street lamps – or consider the easier cafe lights options. Speaking of, my sister and her husband haven’t gotten around to installing their cafe lights yet. They’re actually expecting baby number two in a couple of weeks (and I’m so excited!!!) and there’s more pressing things for them to attend to at the moment! I promise to update you when they’re up though.
And if cafe lights aren’t a possibility for you, use lots lanterns and candles! I actually really love the look of well placed tiki torches too.
Ok, friends, that about covers it, I think. If you have questions or comments, ask away! I love to hear from you.
Oh, and also, I’ve been meaning to write an update about the business side of things for so long, but things have been nutty around here. I’ve been getting SO many inquiries and requests for design work, but I’ve decided to take on a very limited amount of work for the time being. Mainly for friends and family who don’t mind my adorably drooly, 5 month old’s design assistance 😉 And those jobs alone are keeping me plenty busy right now. I’m thinking that I’ll be taking on more of a full work load next spring for those who may be wondering.
And one more thing. Geez, it’s the blog post that never ends!
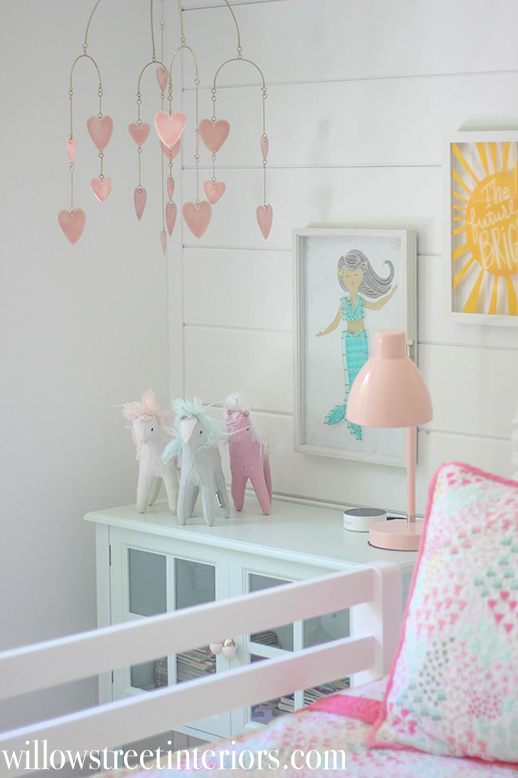
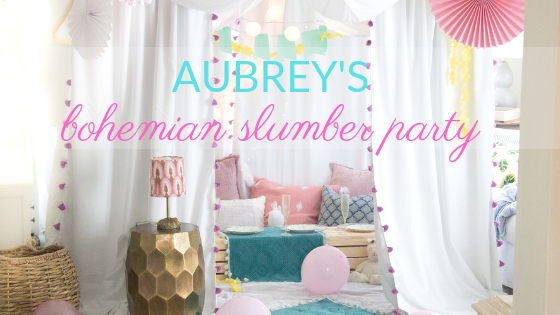
I’m going to be revealing this space that I’m doing for my niece next week, so come on back! This is just a little sneak peek…
(P.S. the stuffed unicorns were my tiny client’s decor addition.)
Happy almost Friday!
Laura ?


Great job!!! I will take some of your ideas to my deck ?
Oh yay! I’m so glad, Tatiane! Thanks so much for stopping by. xoxo