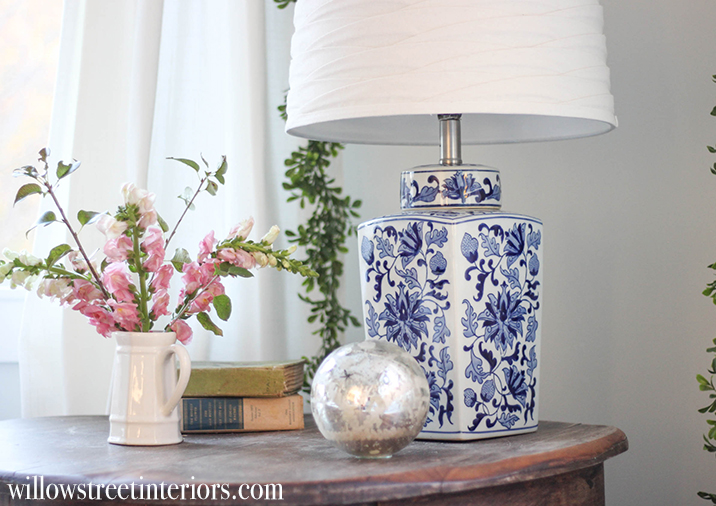
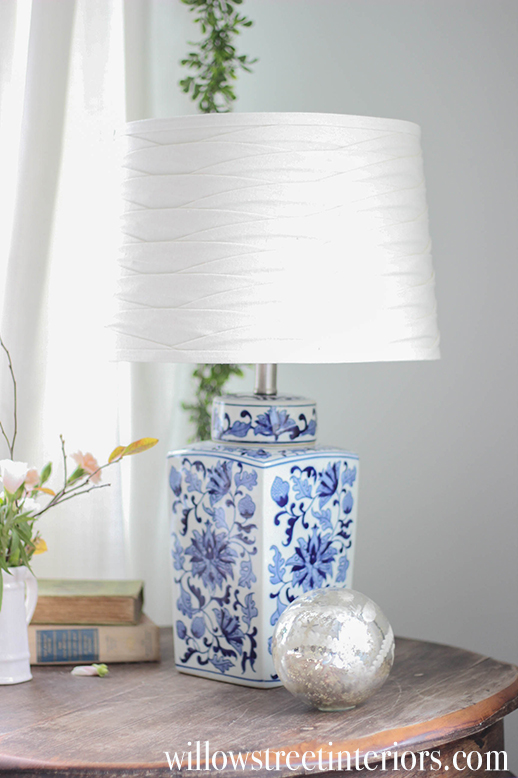
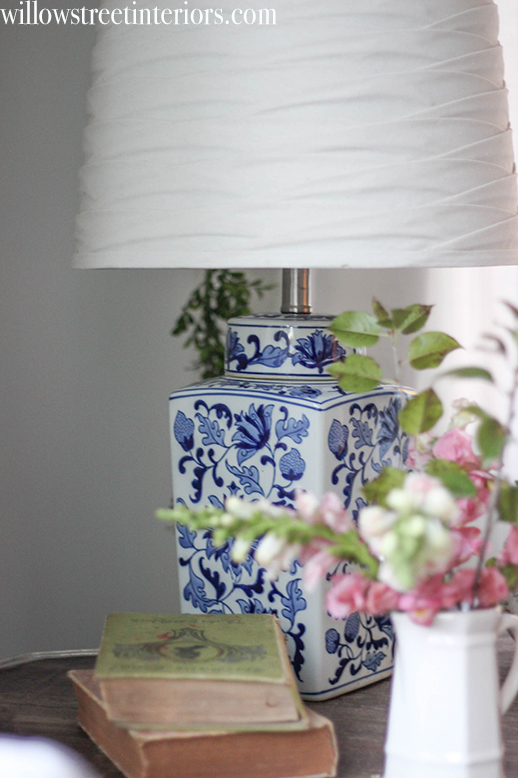
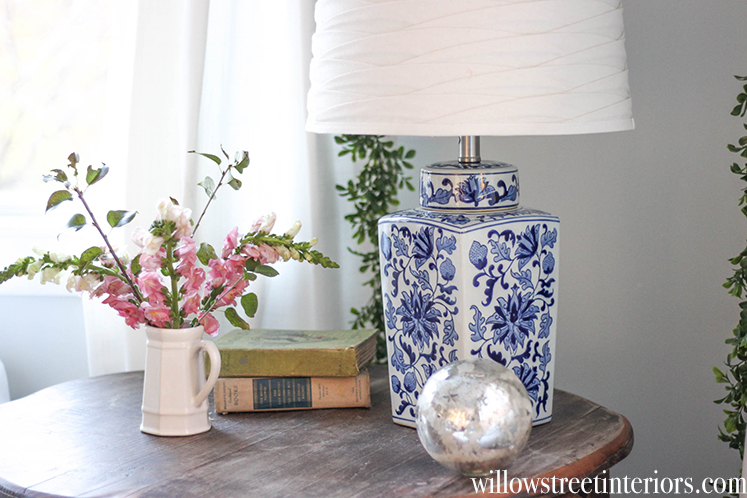
Hey Guys! I have a simple tutorial on how to make this beautiful ginger jar lamp that I’m going to share tonight!
But first, did you all get out to vote today? I’m not one to get involved in the political sphere, but I have to say that this year’s election is depressing and concerning beyond words, and casting a vote was a big struggle for me. I’m nervous about the future of our country, regardless of the outcome, while at the same time doing my best to rest in the fact that God is in control.
But anyway, I don’t really want to get into it more than that tonight. There are plenty of other blogs that you’d no doubt be visiting if you were looking for political commentary, and I think we’re all probably oversaturated and overburdened with it enough already… I know I am! So, this blog post is a welcome distraction for me tonight, and I hope it is for all of you too.
As I was plotting and planning for Christmas this year, I decided I’d had enough with the aqua curtains that I had up in my Christmas tour last winter and in my most recent fall tour. Love em, but I crave change every few months. It’s like a disease, folks. If you’ve been a reader for awhile, you know that I love changing out curtains and pillows fairly regularly, and I have quite the interesting collection of both! Table cloth draperies, and shower curtain pillow covers, for example. Pretty shower curtains though. Don’t get scared 😉 You can see my easy no-sew pillow cover tutorial here if you missed it last fall! It was one of the first posts I ever wrote, but one of my favorite tutorials for sure, because it’s so easy!
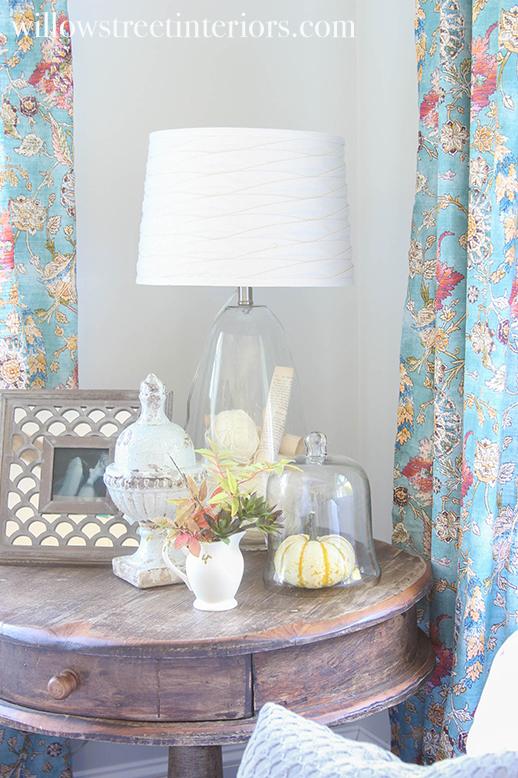
But anyway, I decided that I wanted to hang some of my white IKEA curtains for Christmas this year, and my clear glass lamp that I normally have on my side table was going to look too cold and unsubstantial against the white. I fell head over heels in love with this beautiful blue and white lamp from One Kings Lane as I was shopping for a client, but nearly $300 for a lamp is not in my budget. Plus, it’s actually fairly small, and $300 for a smallish lamp is most definitely not in my budget.
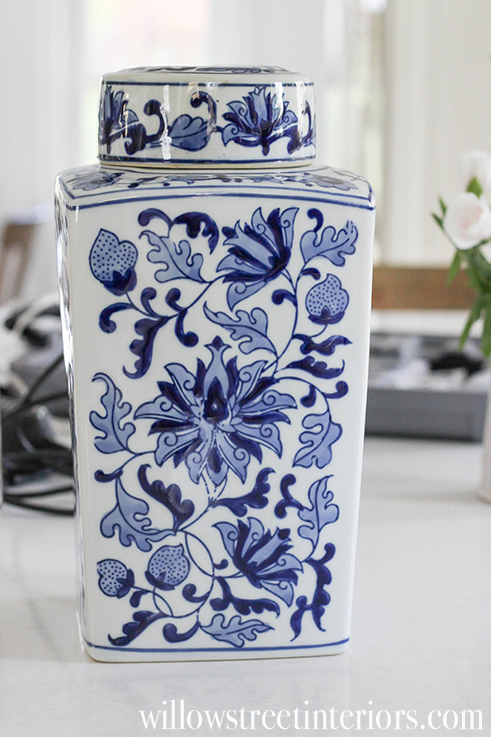
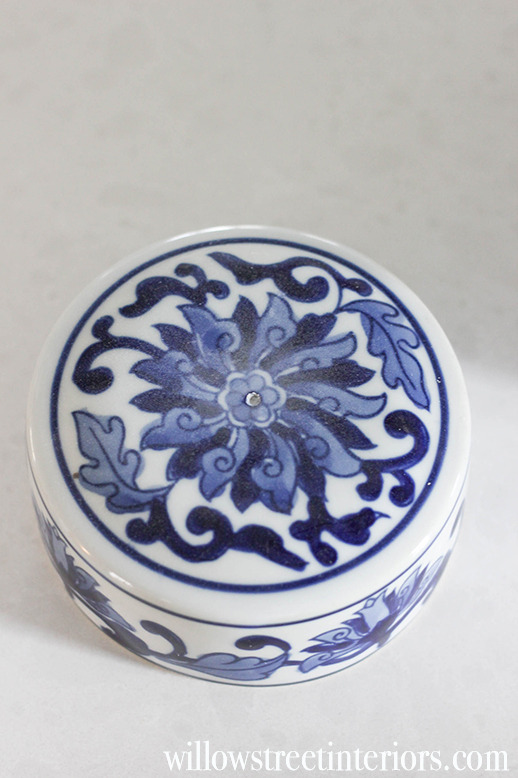
So I hit Homegoods, one of my favorite stores to visit when I’m looking for something that looks high end but fits nicely into our spending plan. I searched high and low for a blue and white lamp that day, to no avail. But what I did find was this beautiful ginger jar!!!
And I thought to myself, ‘that is the perfect size for a lamp base!’ I checked the price, and for $25, it had to come home.
So, are you ready to see how this ginger jar turned into the gorgeous lamp in the photo above? It took Michael about 25 minutes, start to finish to make it!
I took my glass lamp that you see above, and asked the hubs if it would be easy to swap out the actual electrical portion of it, and he said it was just a matter of unscrewing a bolt and dismantling. Yay!
FYI, if you don’t have a lamp that you want to take apart, don’t worry. They sell lamp kits super cheap on Amazon and most craft stores.
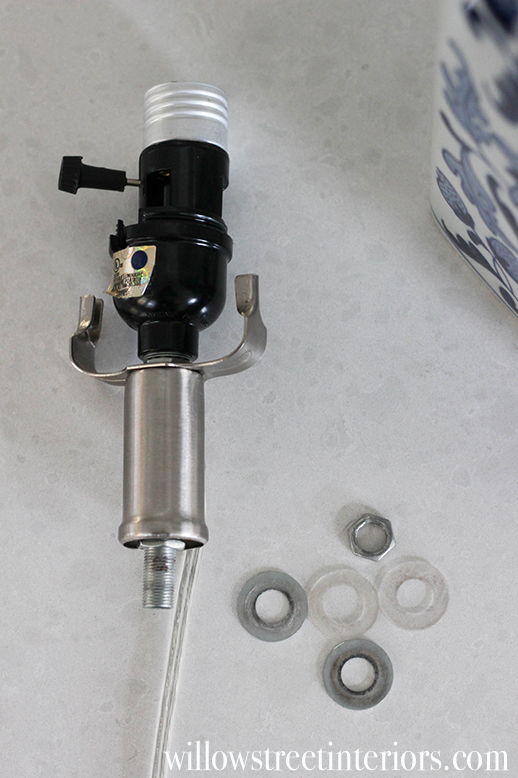
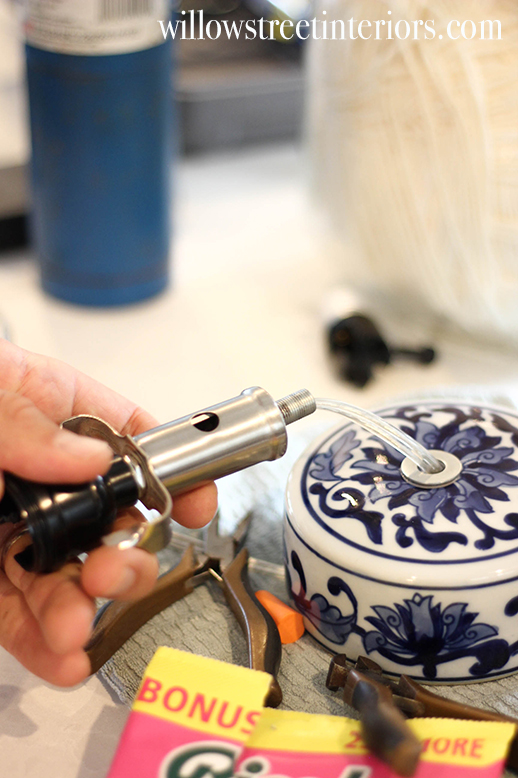
But regardless of whether or not you take one of your own lamps apart or buy a kit, you’ll have something like this in front of you.
Or, if you’re like me, and are afraid you’ll break your ginger jar as you drill the holes, your husband will have something like this sitting in front of him 😉
Aside from your lamp kit and ginger jar, you’re going to need:
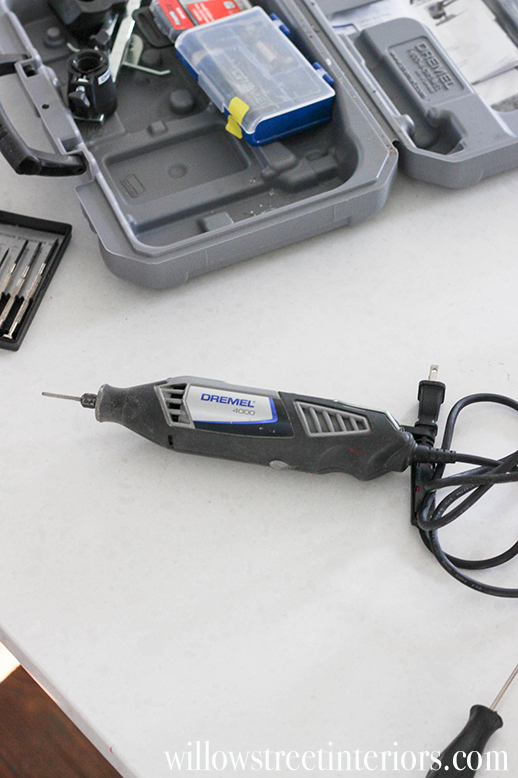
A dremel with a diamond bit. Easy peasy.
Now, lets get to it!
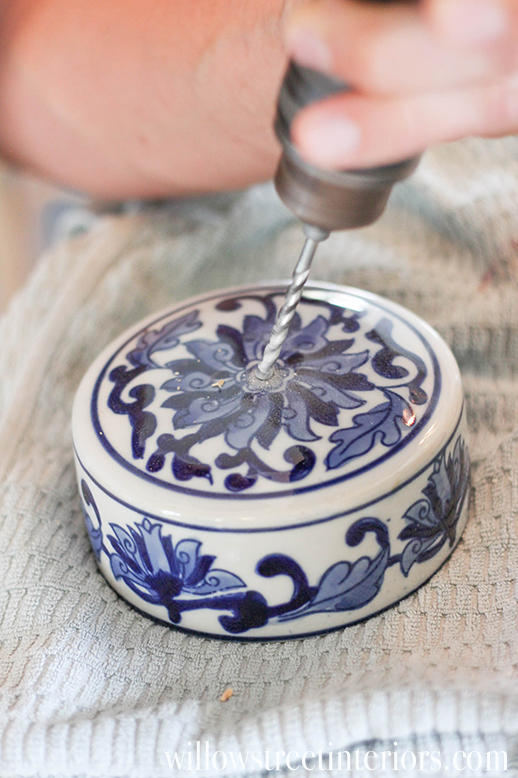
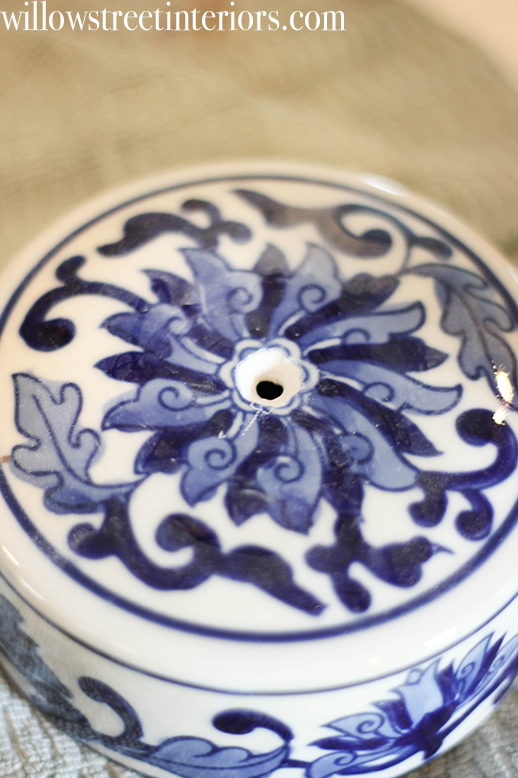
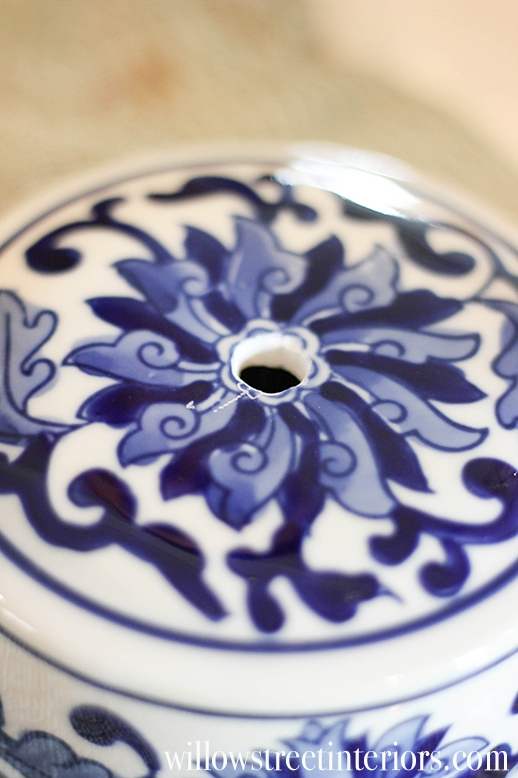
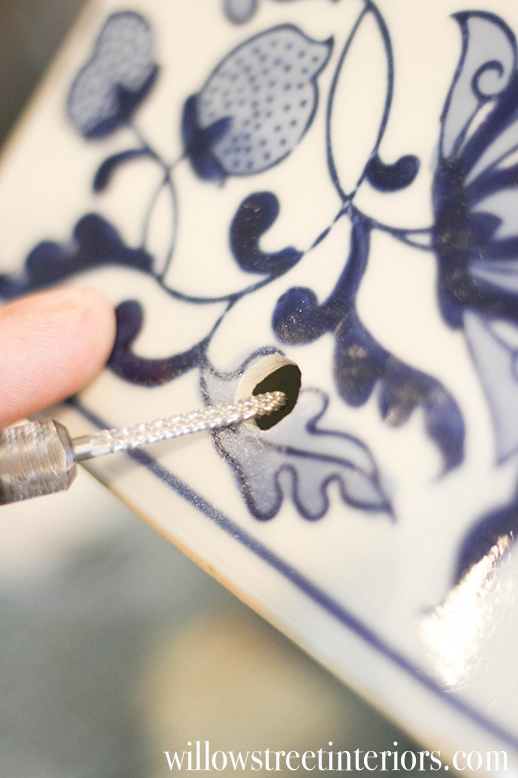
Begin by drilling a small hole through the lid of your ginger jar using your dremel with the diamond bit. Michael used this type of bit because it’s less likely you’ll crack the porcelain. Once you’ve drilled through to the bottom of the lid, begin widening your hole using the same drill and drill bit, by drilling in circular motions. Keep checking to see if the top part of your lamp kit will fit through the hole.
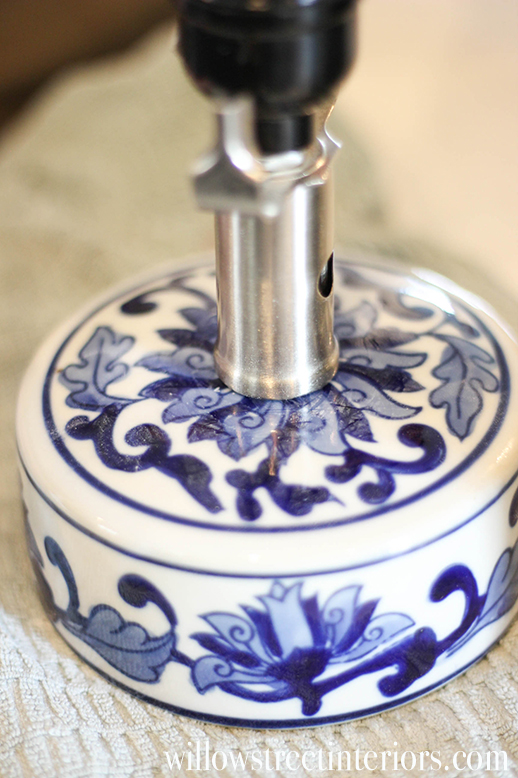
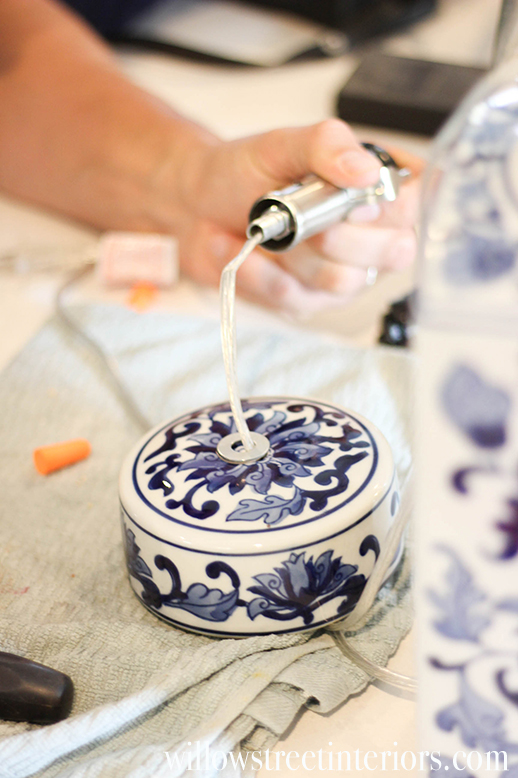
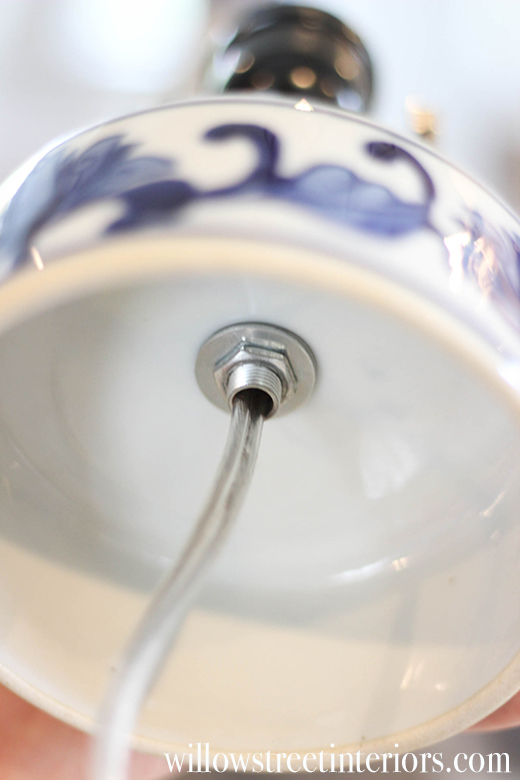
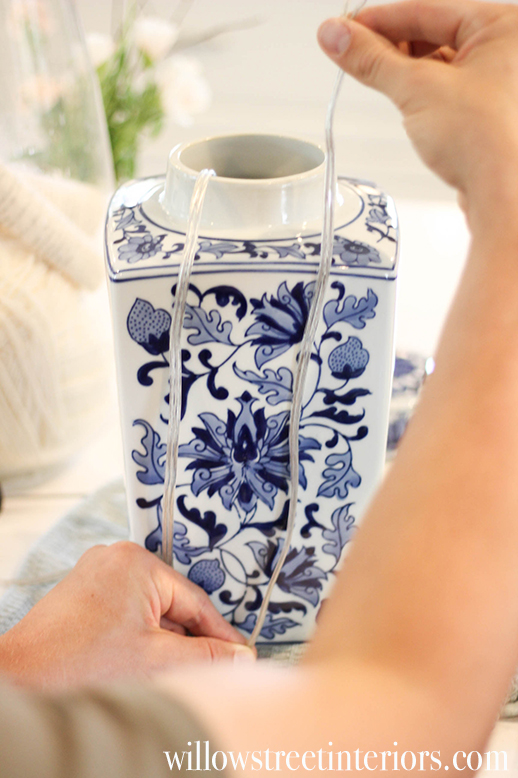
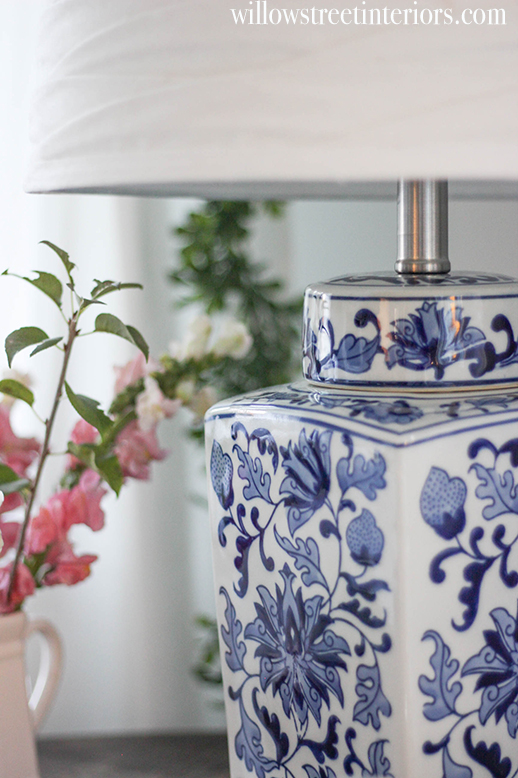
Once it does, stop, of course! Place a washer on top of the lid centering it over the hole, and begin feeding your cord through the lid. Once the cord is through, take your other washer, feed the cord through it, and center it over the hole on the underside of the lid, and bolt the lamp head to the lid by screwing the bolt into the bottom. See last photo ↓↓↓
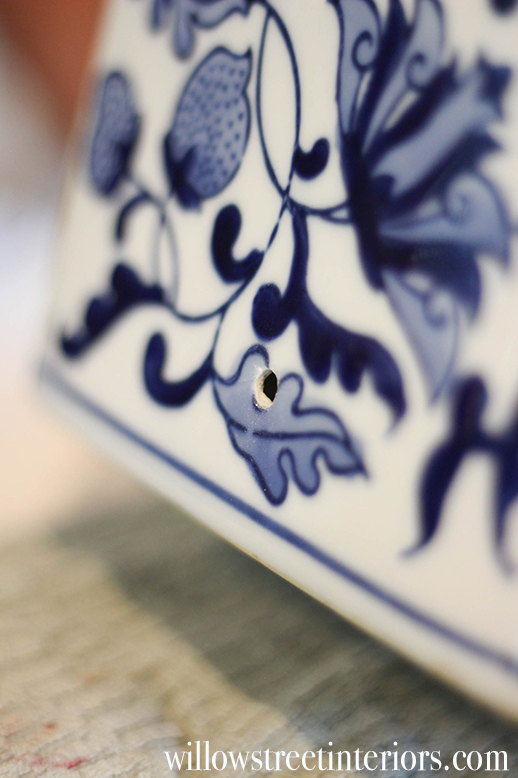
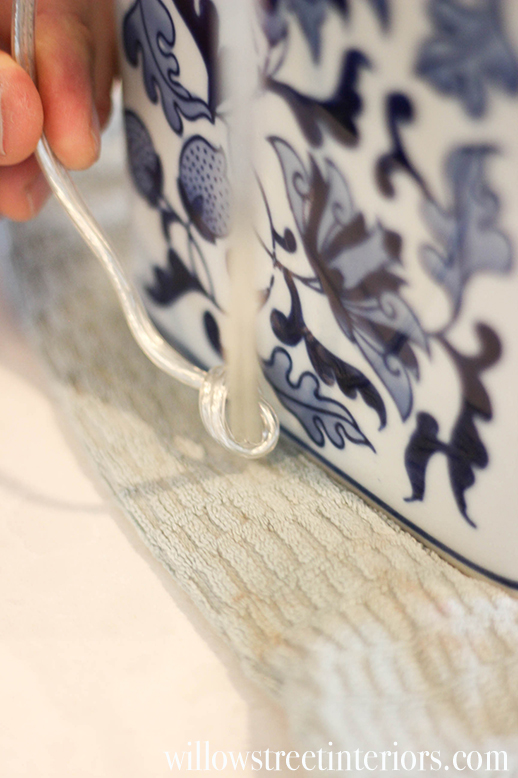
Now begin drilling your last hole on the bottom, back side of your ginger jar using the same method as you did for the lid. Once that’s done, you’re going to need to put a knot in your cord so that it stays put inside of the jar, and doesn’t leave any slack for a rambunctious kiddo or not-so-gentle-lightbulb-changer to pull the lid off of your jar.
Measure from the top of your lid, to the hole in your ginger jar base to determine where to tie your knot.
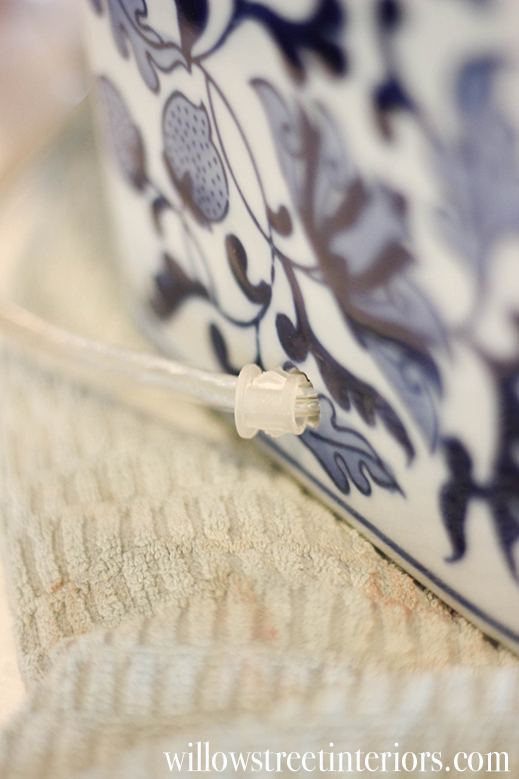
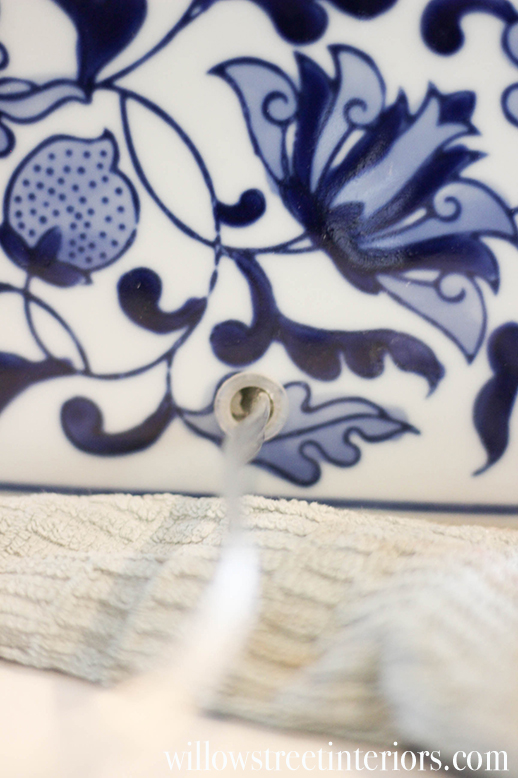
Once you’ve tied your knot, feed the cord through the plastic grommet that came with your lamp kit (or off of your own lamp) and then squeeze the grommet into the hole on the side of your ginger jar for a more polished look.
And guess what? You’re done! Screw in your lightbulb, fit your lamp shade onto the top, plug in your new lamp, and voila! A beautiful ginger jar lamp that costs $40 or so (if you have to buy your own lamp kit and a shade). Mine only cost $25 because I used a lamp and shade that I already had!
And by the way, friends, have you seen how much these things can cost you?
Check out this one from Ballard Designs! It’ll run you $179 with the shade, and….
Don’t tell anyone, but…
I like this one better 😉
One thing I should also mention though. I put two drops of hot glue on the bottom of the ginger jar lid to better attach the lid to the base. It’s not permanent by any means, which is actually good in my case, because I may want to use my other glass lamp again in the future, but it’ll give this lamp a little bit of extra security, and prevent the lid from jiggling every time I change the bulb. You could use more hot glue if you know for sure you won’t be taking the lamp apart again.
And I also want to give my amazing hubby a shout out in this post. I’m the designer, yes, but he’s the one…
who brings life…
to all of my crazy dreams.
And I appreciate him more than words.
And friends, I appreciate you being here, and I’d love to see your lamp if you make one. Tag me on Instagram or on Facebook if you do!!!
Have an amazing night, Everyone.
Laura ♥

 My Home Style Blog Hop {Before + After Edition}
 Seasonal Simplicity Fall Porch
 Seasonal Simplicity Christmas Tour
 A Sunny Girl’s Bedroom Reveal
Laura! How gorgeous! I love the lamp, the tutorial, the photos! I could just stare and stare. I’m going to try this out this weekend if I can find a jar 🙂
That’s so sweet of you, Jen! I hope you can find one this weekend. Tag me on IG if you do so I can see 🙂 Have a great day! xoxo
Laura, this is beatiful. Blue is one of my favorite colors and I’d love a lamp like this. I’ll have to get to Homegoods and see if I can find one. I’m looking forward to seeing your Christmas decorations. Thank you for sharing how you made this. I also love the pop of pink of the flowers. Have a good day, Laura!
Aw, thank you, Jeanette! It really didn’t take long to make, and I’m with you. I’ve always been a big fan of blue! xoxo
Absolutely amazing! I love a good ginger jar, but making it into a lamp is spectacular! Great project
Aw, thanks so much, Stephanie! xoxo