How to Make Antiqued Christmas Bell Garland
Hi Guys! How’s your weekend been going? Our town put on its annual Christmas parade tonight, and the girls loved every second. My parents live just up the street from the town common, and for the last couple of years they’ve planned a little Christmas party for all of the grandkids afterwards. This was the first year that I can remember the town closing out the night with fireworks, and the view from my mom and dad’s porch was perfect. So the kids had brownie sundaes and got to watch the fireworks with their cousins before we headed home, and it was such a special, memory making time for them. And honestly, seeing the wonder that things as simple as Christmas floats and fireworks conjure up in the kids’ eyes is pretty magical for me too.
But anyway, it’s getting late, and I want to share this really simple tutorial with you tonight. It’s one of my favorites so far!
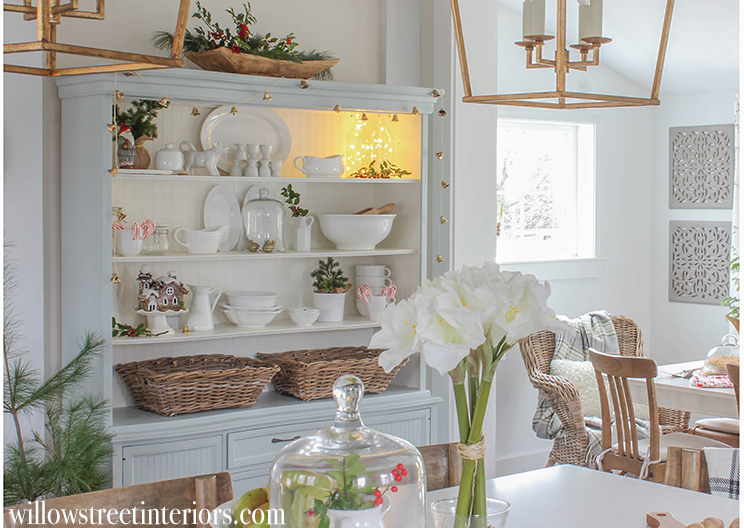
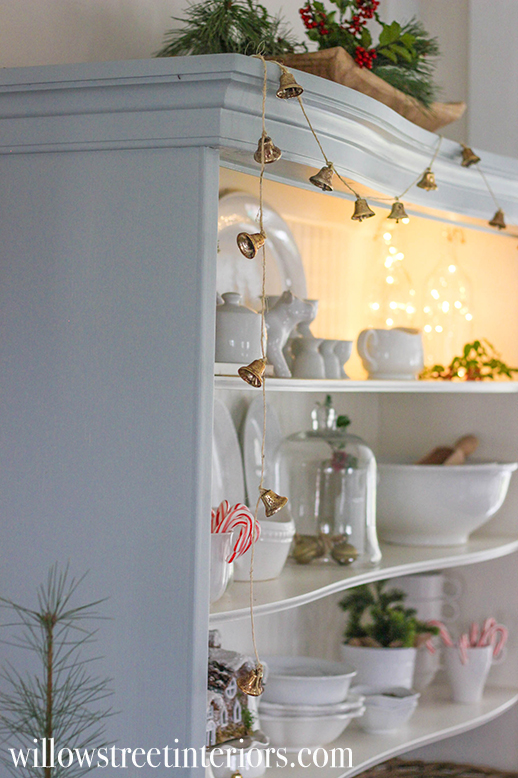
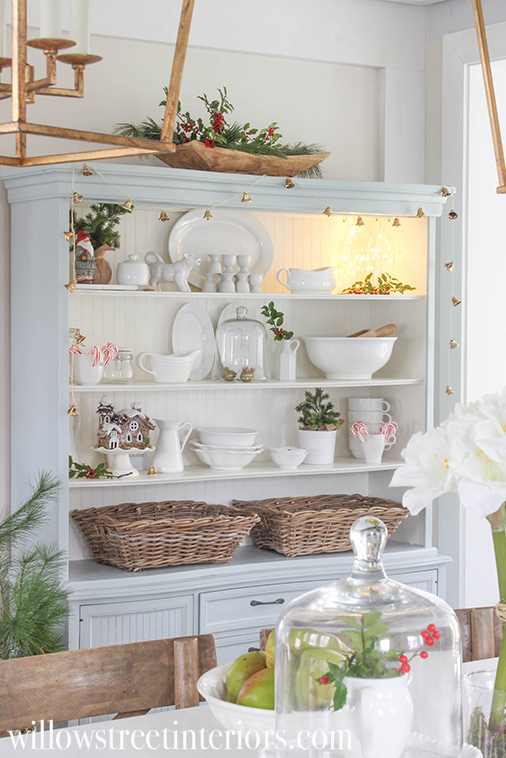
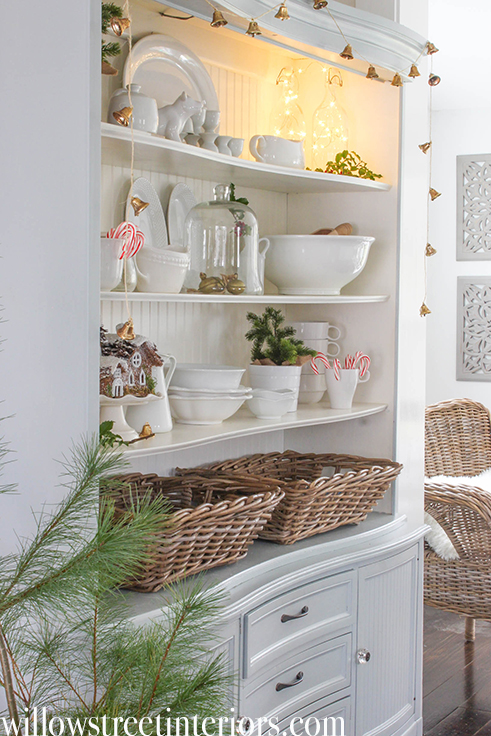
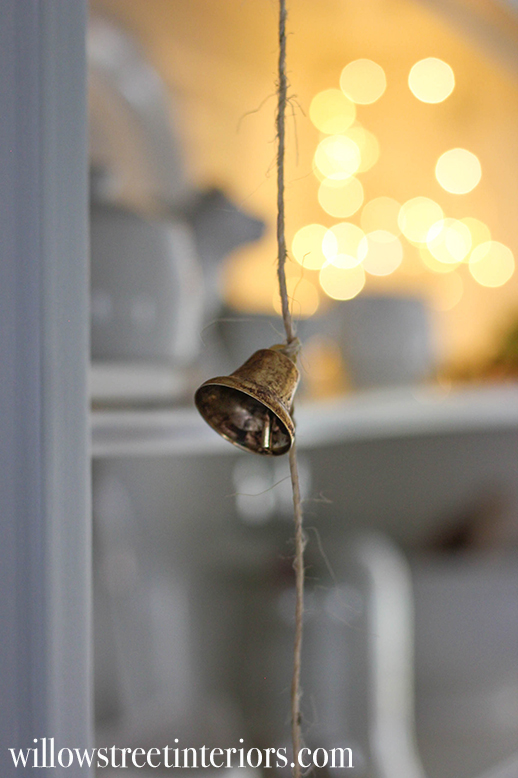
See that dainty, little garland that I have draped across my hutch down there? Isn’t it cute? I kind of want to make miles of it and drape it all over my entire house, but I promise I’m going to hold myself back. It’s so darn cute though, and it only took a half hour to make!
So I’m popping in to share the simple process with you tonight.
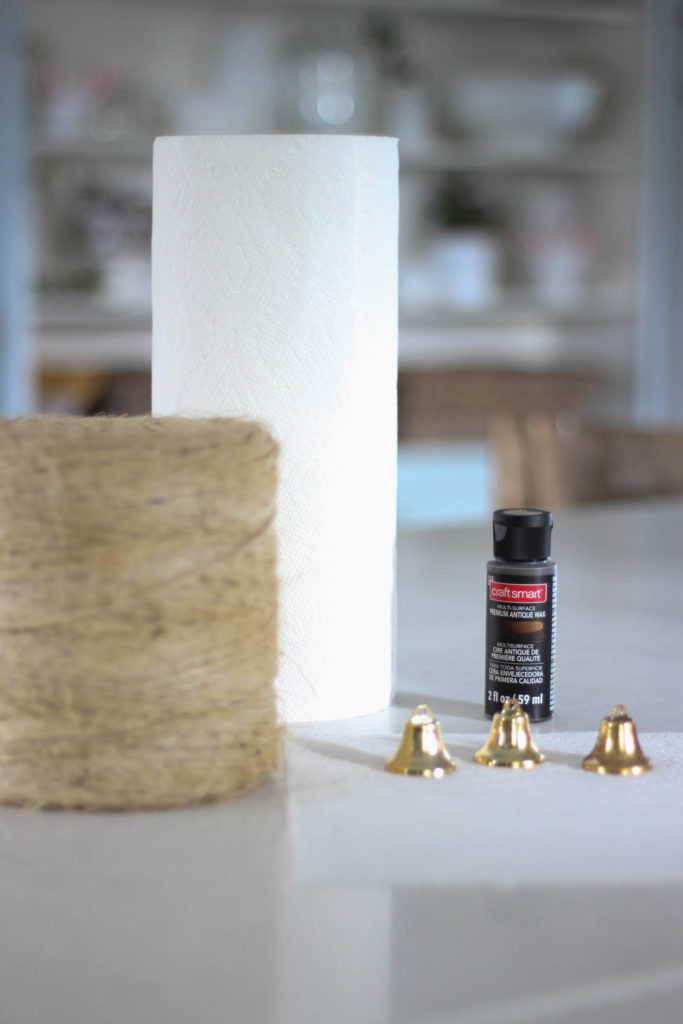
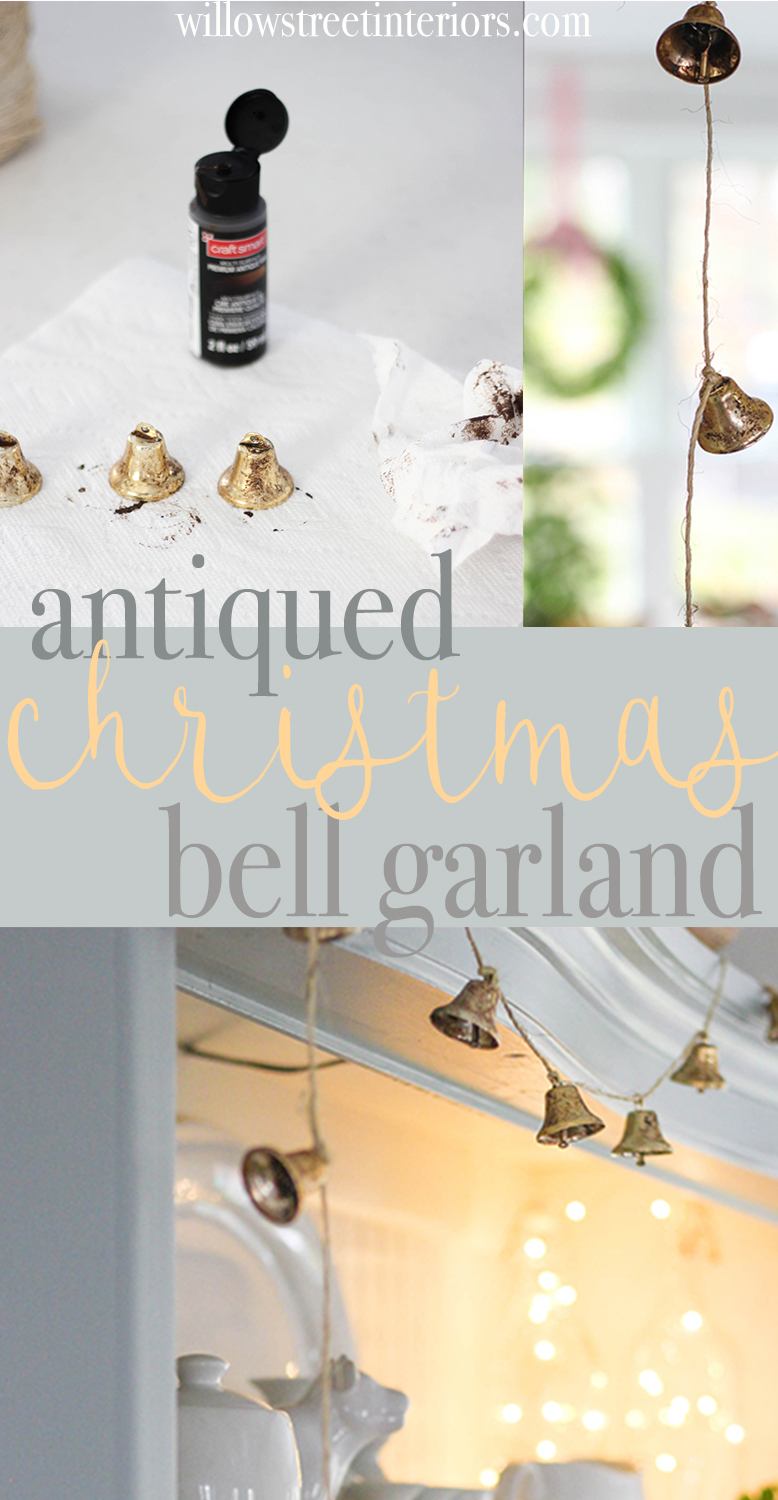
All you need for this project is:
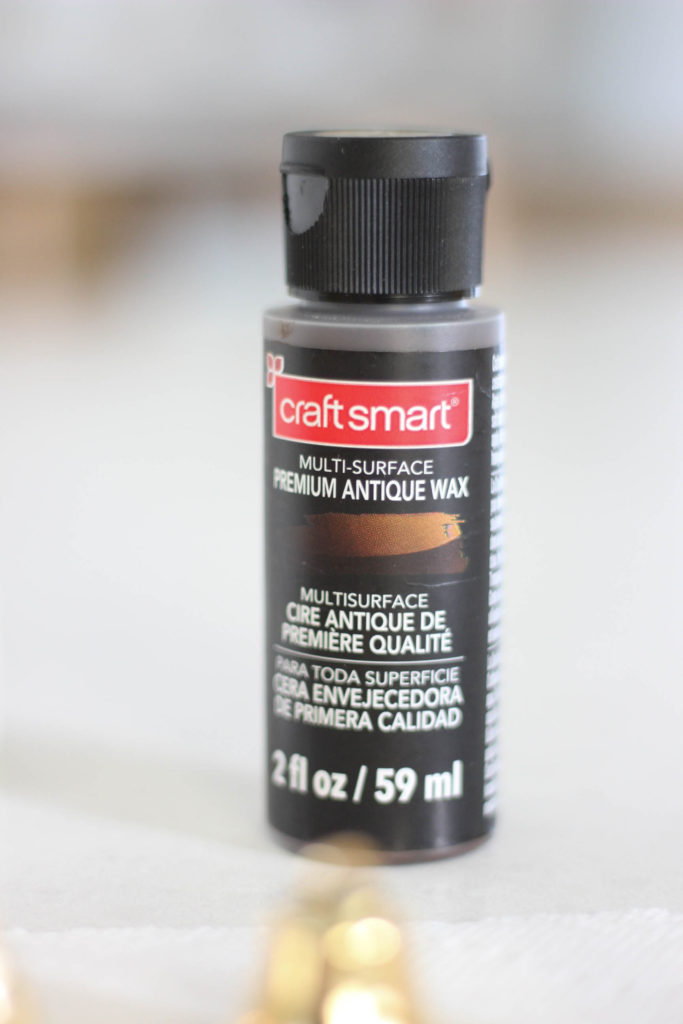
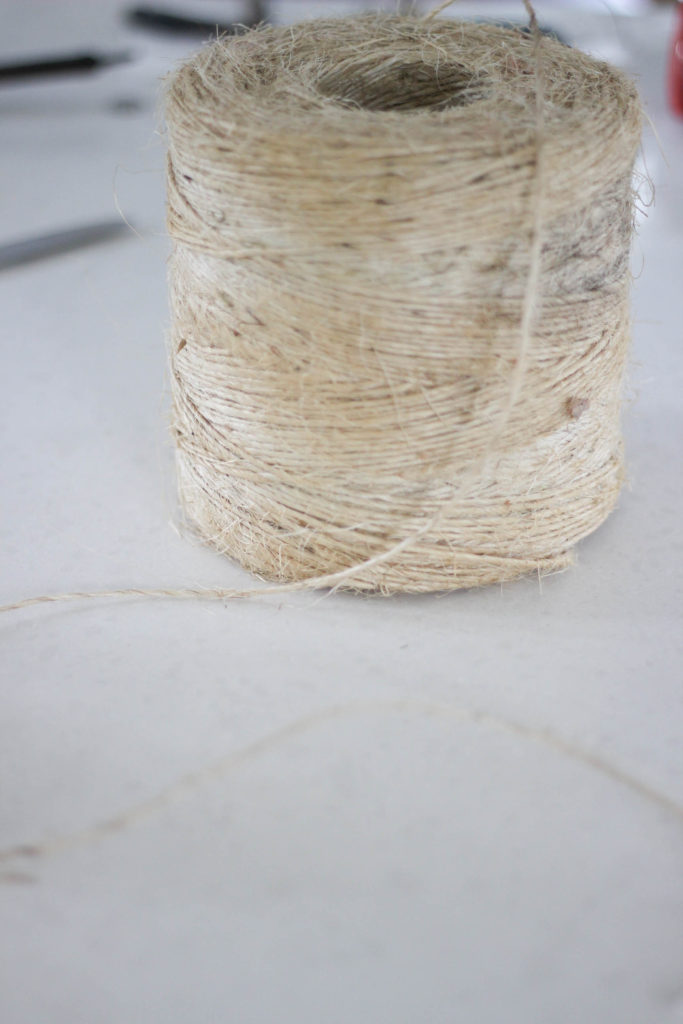
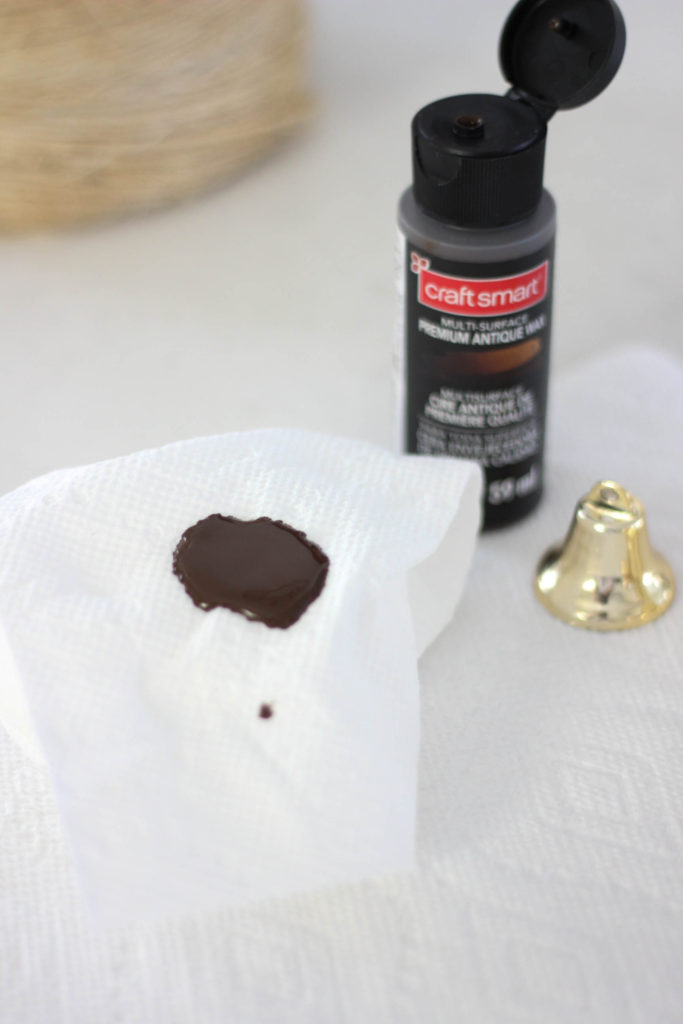
2 bags of brass bells from Michael’s like {these}, some jute string, a roll of paper towel, and this antiquing wax, also from Michael’s.
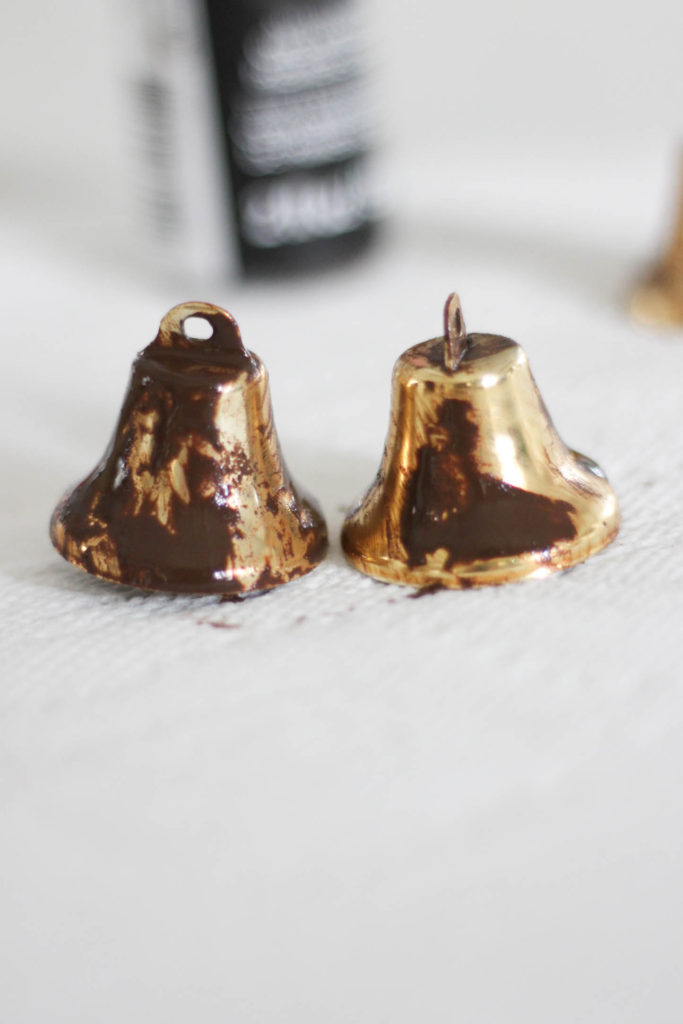
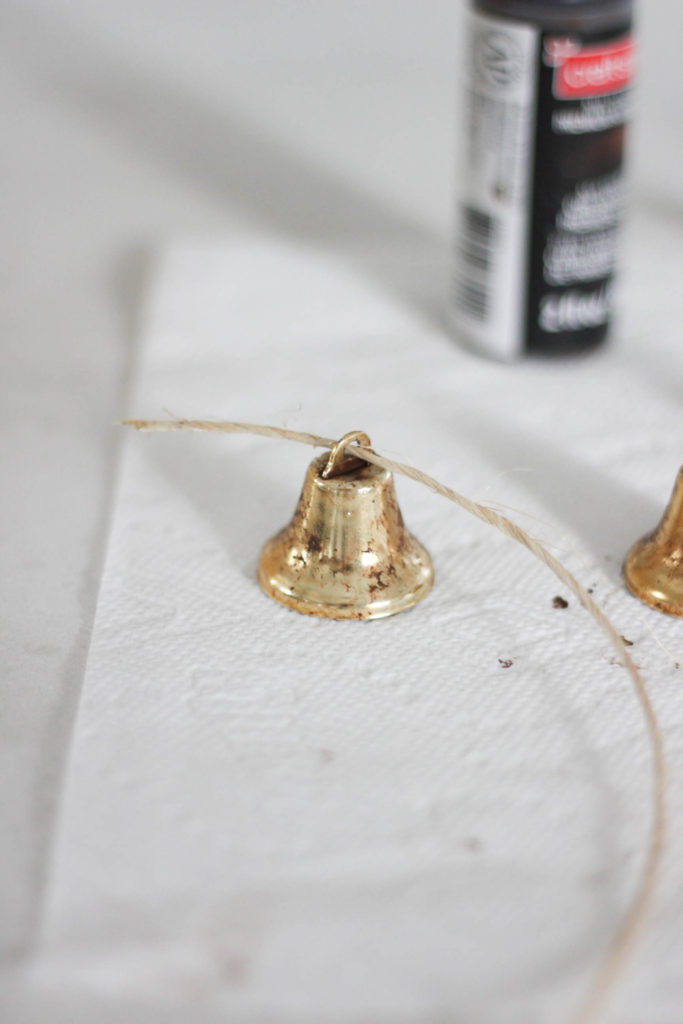
The process is embarrassingly simple! First, squeeze out some of the antiquing wax onto a piece of paper towel, and dab it all over your bell. Don’t forget to do the inside. You want to let the wax sit on the bells for 3 or 4 minutes before you start blotting it off again, so continue adding the wax (which has the consistency of paint) to your bells until three for four minutes have gone by, and then start blotting off paint from the bells you’ve already covered.
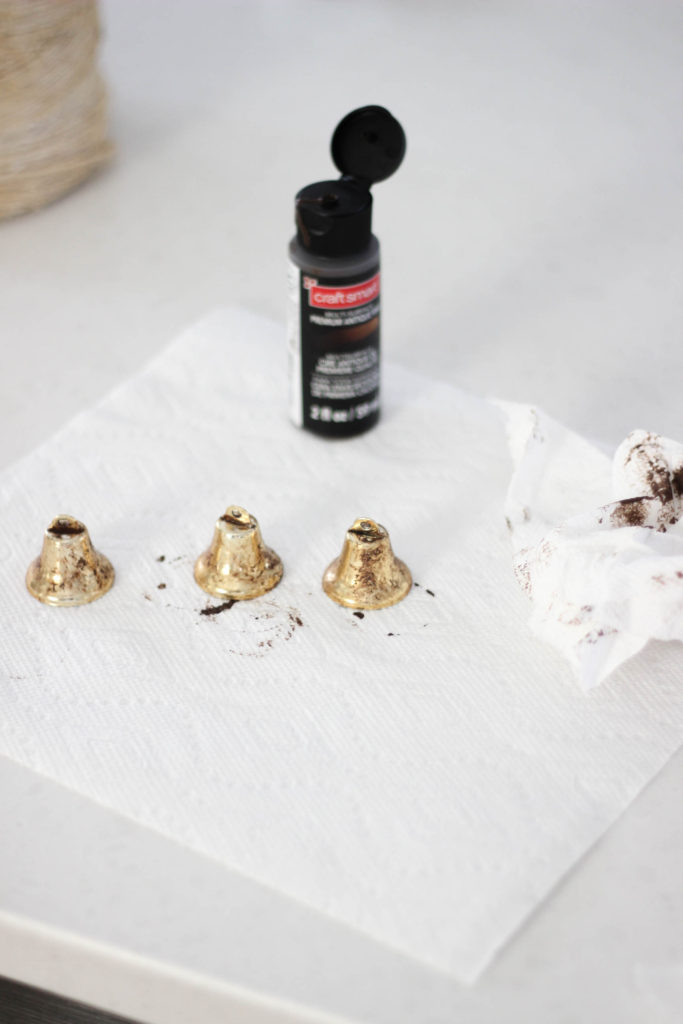
Do this until all of your bells are finished, and then let them dry for 15 minutes.
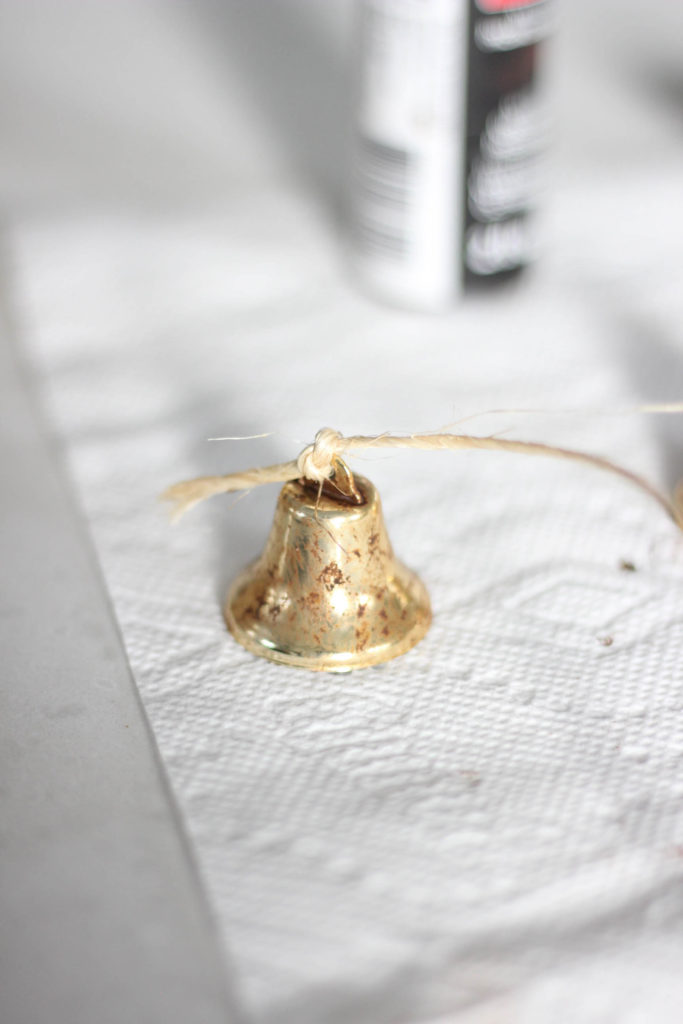
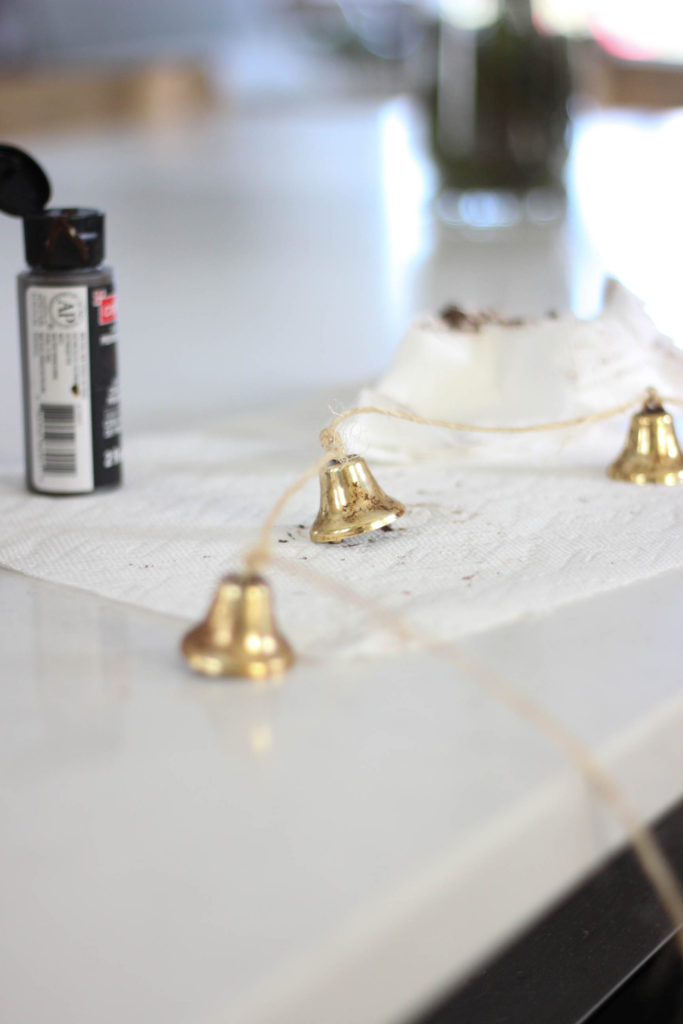
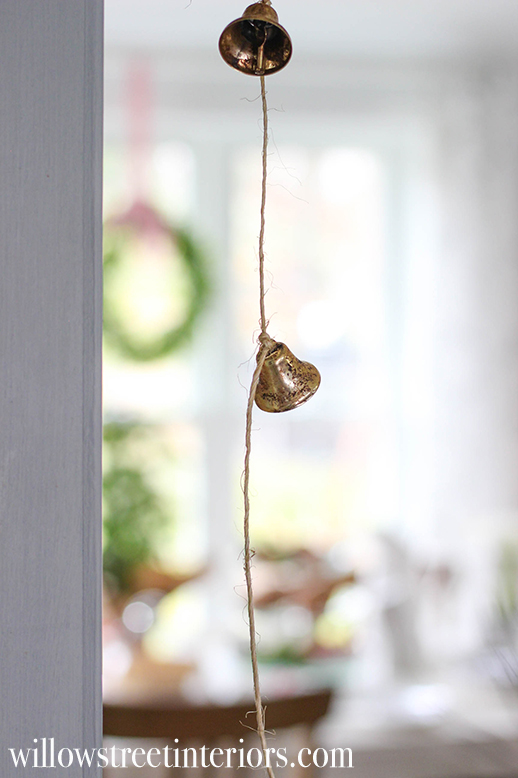
Next up, cut a piece of jute string, approximately 6 feet long. Start stringing the jute through each bell, tying each bell to the jute at 4 inch intervals. Your jute will fray quite a bit as you do this, and will look super messy, but don’t worry. Once you’ve finished go along and trim off the fray until your garland looks nice and neat.
And that’s it, folks! I seriously love how sweet and simple it looks, and I think it’s perfect for any spot in your house that needs a quiet Christmas touch. I already have a couple of wreaths in the kitchen (as you’ll see in my Christmas tour on Wednesday if you come on back!), and I felt evergreen garland would be little too heavy here.
This Christmas bell garland was the perfect solution.
I’d love to hear about how this goes if you give it a try.
Better yet, I’d love to see it, so tag me on Instagram or share it with me on Facebook, Guys!
Wishing you all a restful and relaxing Sunday tomorrow. And thanks so much for stopping by my little corner of the internet. I appreciate you being here!
Laura ♥
By the way…
if you like what you see here, you can {subscribe} to my mailing list and join me on {Instagram}, {Facebook} or {Pinterest}, so you never miss a thing!




This garland is darling! And it looks like a craft that I could handle. I am definitely planning to try it this week. I don’t have any jute but I have some cute red and white christmas string that I think I’ll try. Thank you for sharing!
Hi Jillian! Thank you! I think it would be adorable with red and white too! Tag me on IG if you’re on there so I can see! 😀
Super cute!! Something I could actually do 🙂
Oh yay, Rebecca! It was seriously the easiest project, and perfect for me because you don’t have to worry about how neat you are with the antiquing wax. Literally just schmear it on and blot it off 😀